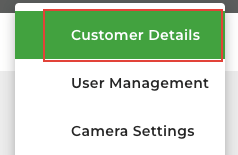
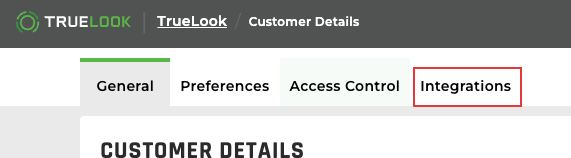
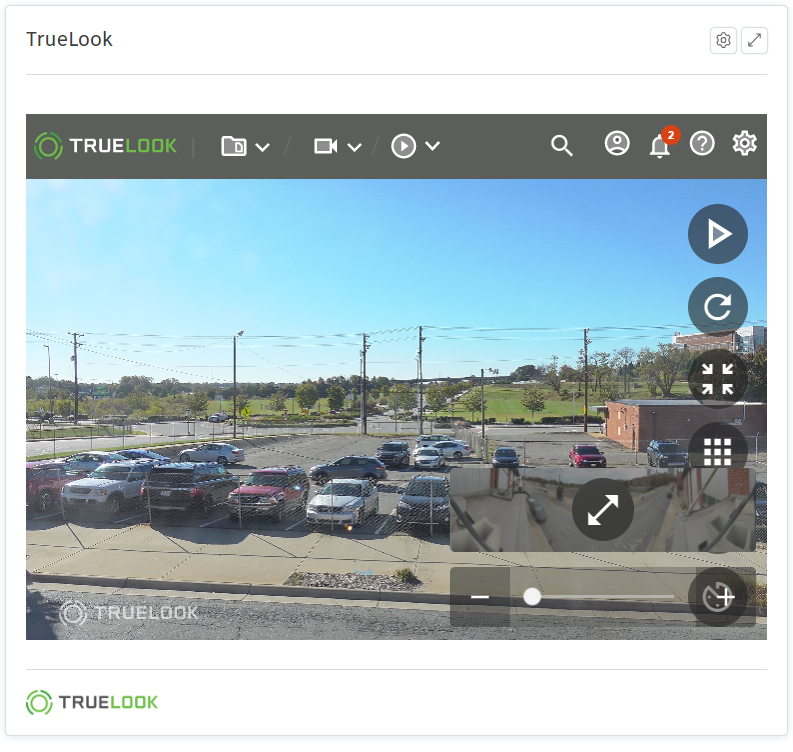
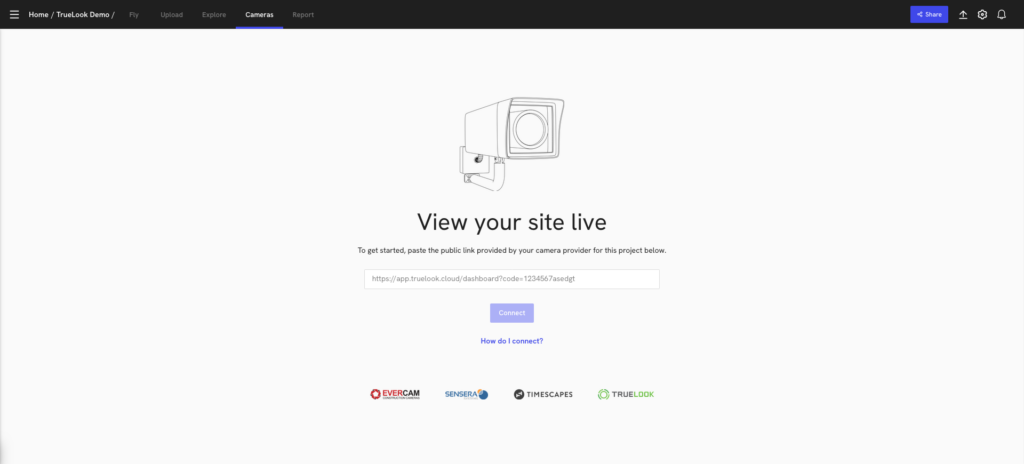
To access Integrations, access ![]() Settings in the top-right corner of the dashboard → Customer Details → Integrations tab
Settings in the top-right corner of the dashboard → Customer Details → Integrations tab
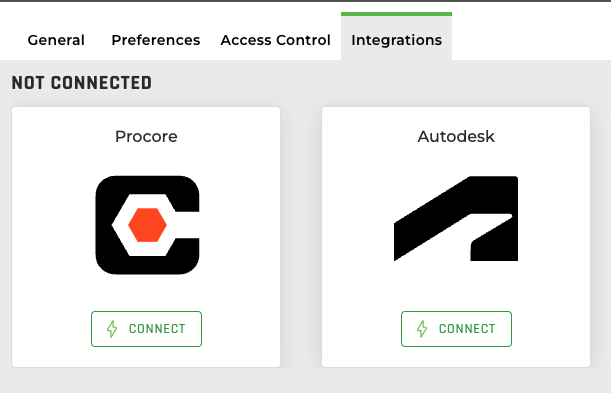
List of integrations:
| You can store TrueLook photos automatically into Procore, manually send camera photos to Procore albums, and access your Procore contacts to email or invite them to TrueLook.
Note: You must have a Procore account to access the Procore integration within the TrueLook Application. |
|
| You can store TrueLook photos automatically into Autodesk Construction Cloud, manually send camera photos to Autodesk albums, and access your Autodesk contacts to email or invite them to TrueLook.
Note: You must have an Autodesk BIM360 account to access the Autodesk integration within the TrueLook Application. |
|
 |
You can implement your TrueLook Camera into your DroneDeploy projects. This includes the camera controls available to you on TrueLook. |
| Your can add your TrueLook Camera to your Raken project. TrueLook Camera controls will available on Raken as well.
Note: Must have an active Raken Professional, Performance, or Enterprise subscription |
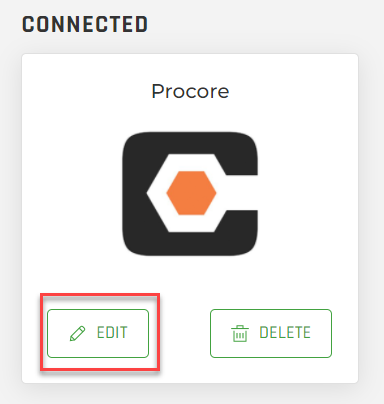
Procore
Video on How to Set up the Procore Integration:
Watch the video or continue reading for more details about on our Procore integration.
Quick Nav:
Requirements
Authorize TrueLook to Use Your Account
Admin Authorization and Install
Add New/Additional Projects
Linking Photo Albums and Time-Lapses
Share Images from TrueLook to Procore
Markup Image and Create RFI
Log in to TrueLook from Procore
Requirements
- Username & password for a Procore account with admin access to the Procore project.
- TrueLook account with customer admin access.
- TrueLook account with integration settings.
Authorize TrueLook to Use Your Account
Note: Authorizing only has to be done once. If you’re having issues with your Procore integration staying connected after this authorization process, try:
- Manually updating your Procore TrueLook application. (Manual Update)
- Adding your project from the Procore Permissions tab. (Add New/Additional Projects)
- If these don’t work, please contact us!
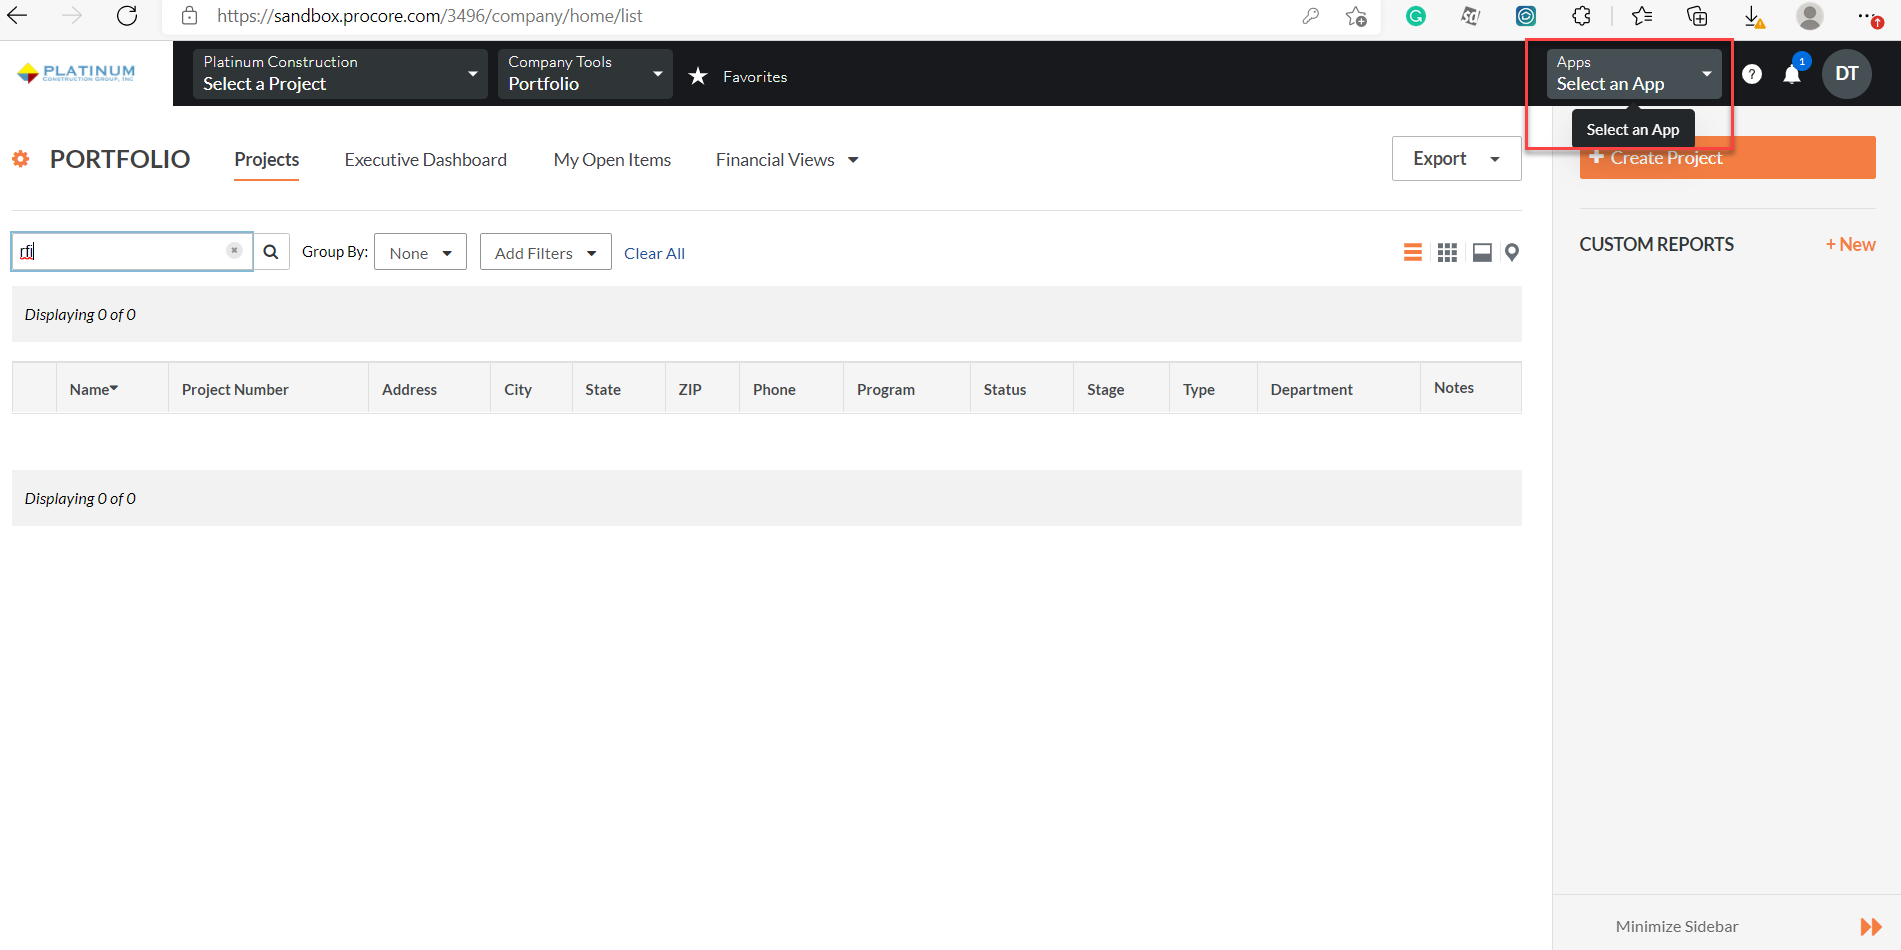
- Log in to Procore as a user that has permissions for integration settings.
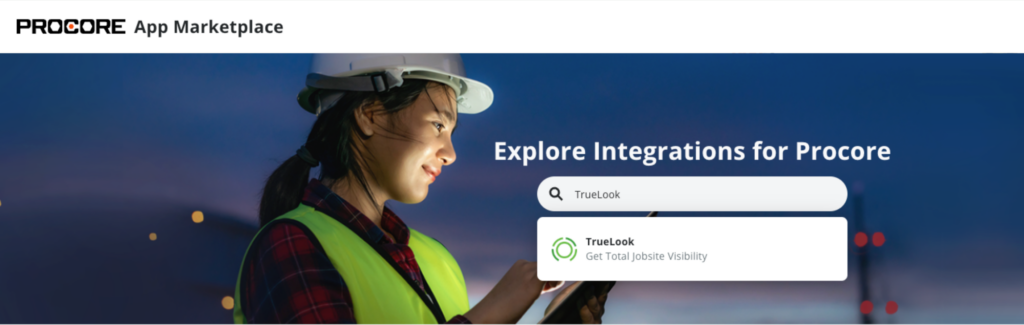
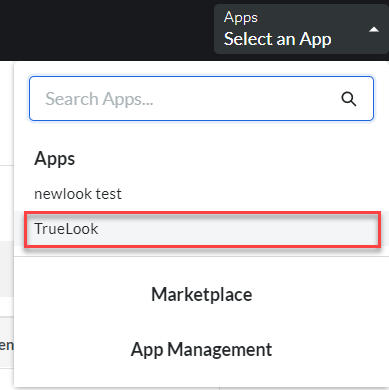
- Click Apps in the top-right corner, then select Marketplace.
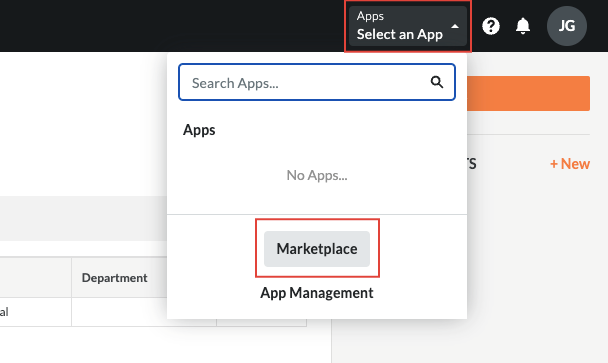
- Search for TrueLook and select it from the list.
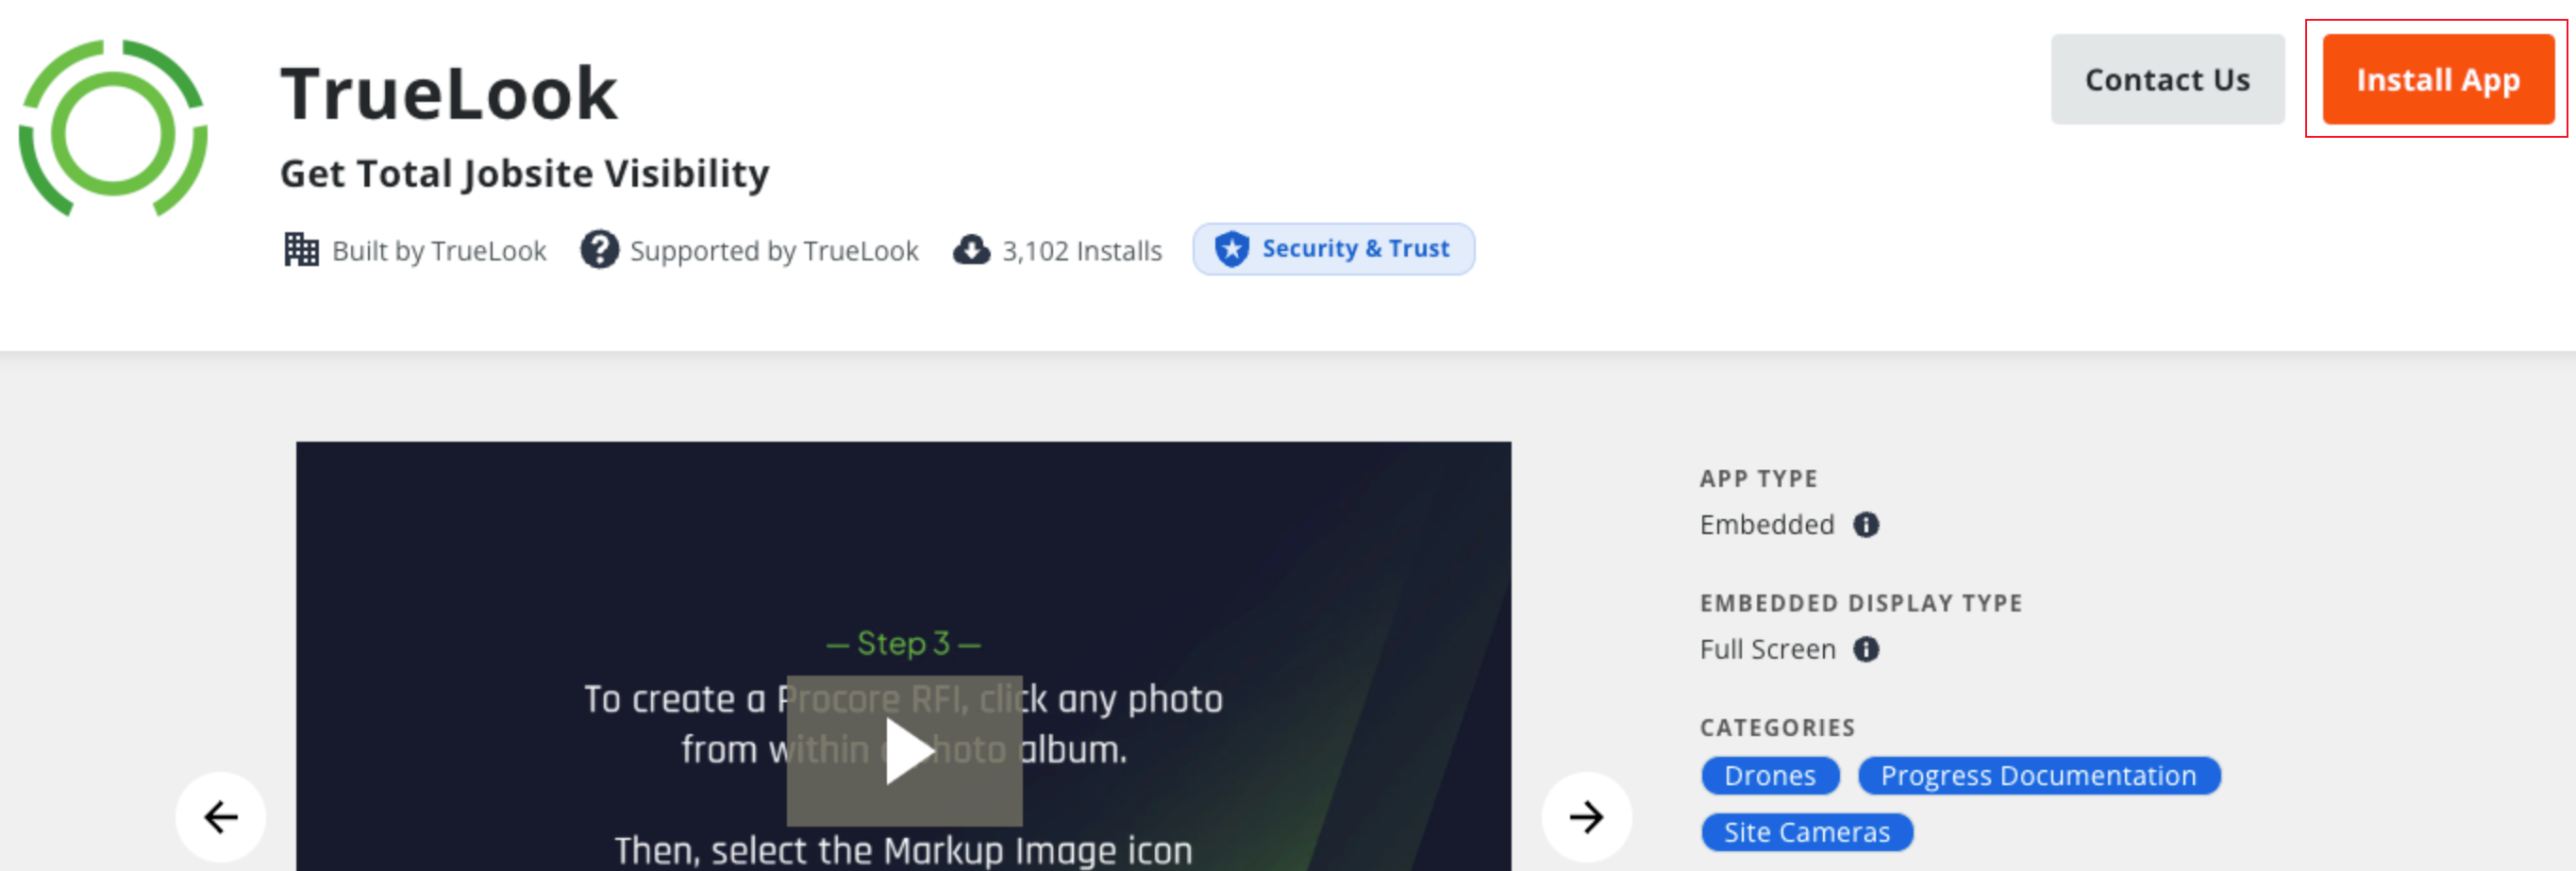
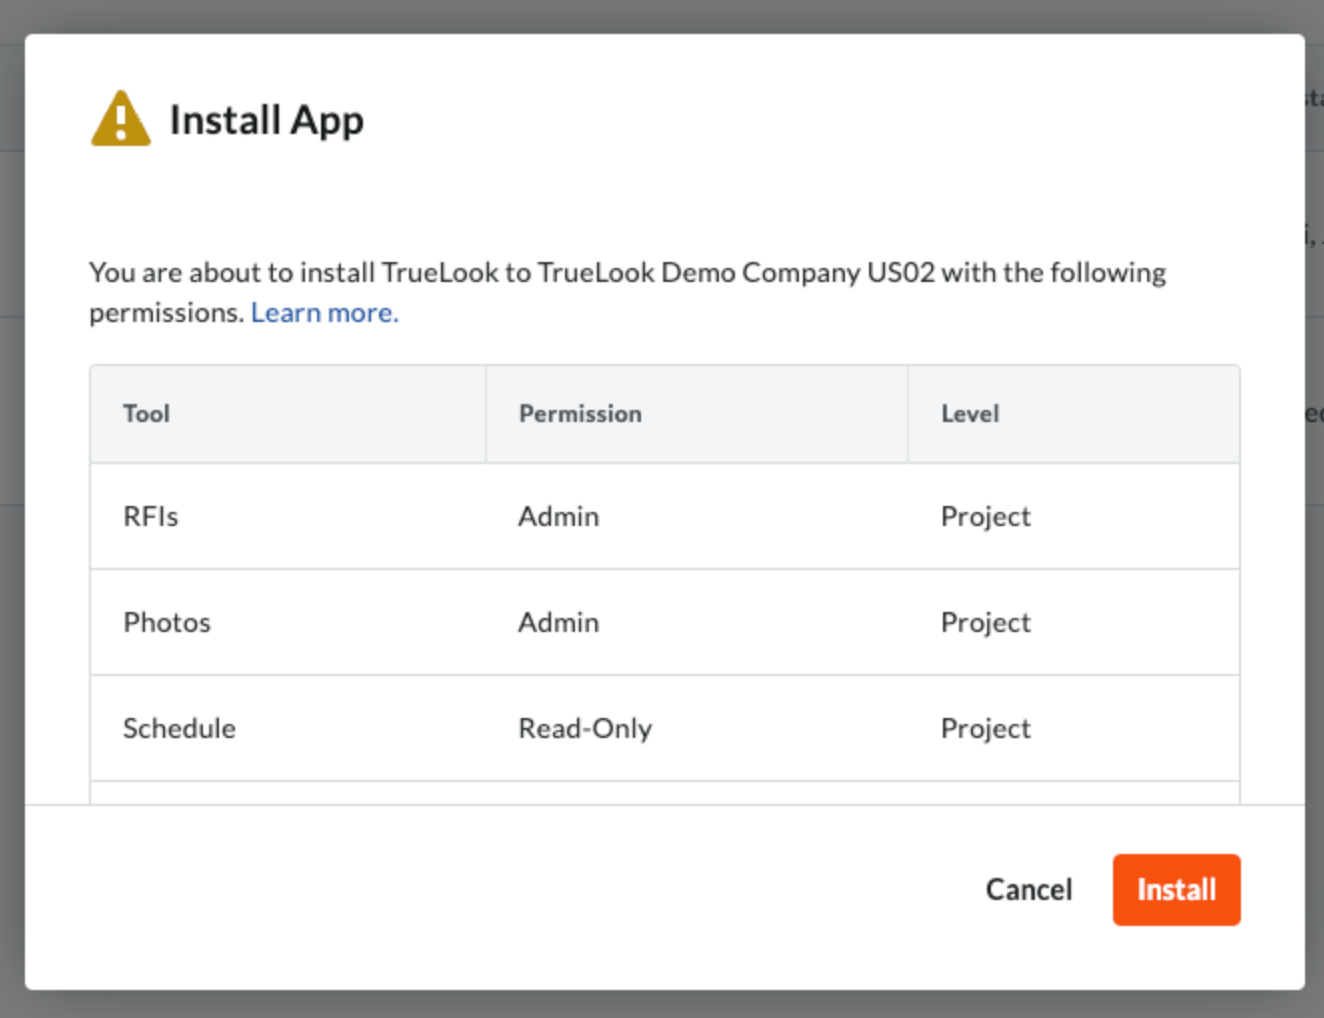
- On the following the TrueLook page, click Install. Select your projects to link to Procore and accept all permissions Procore requests.
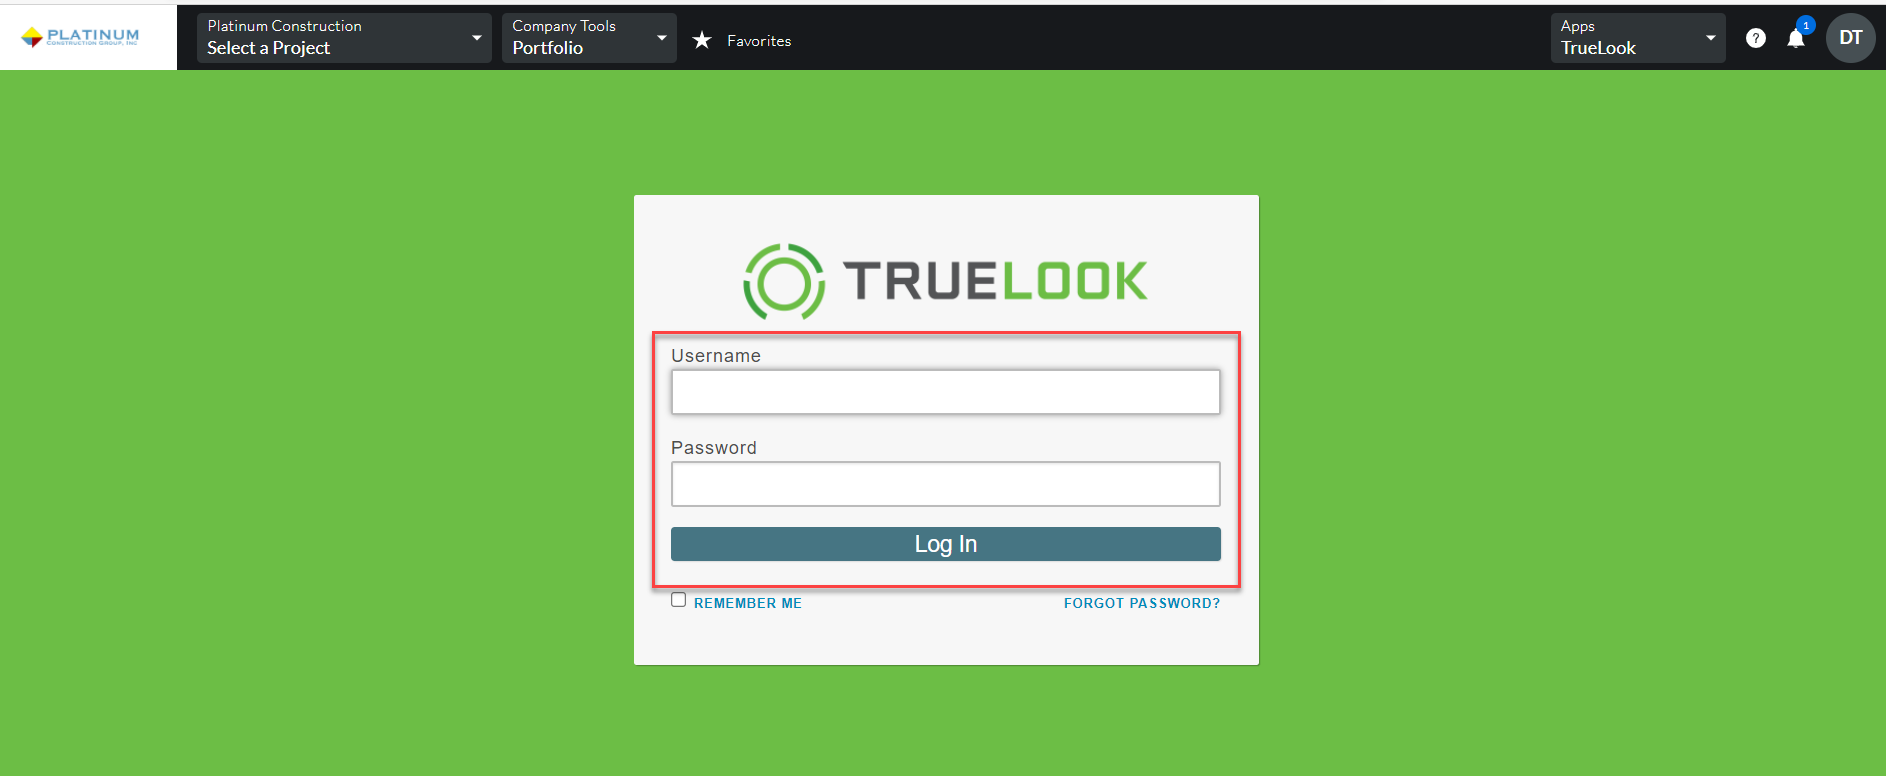
- Once installed, log in to the TrueLook app.
- Click the
 Settings icon in the upper, right-hand corner.
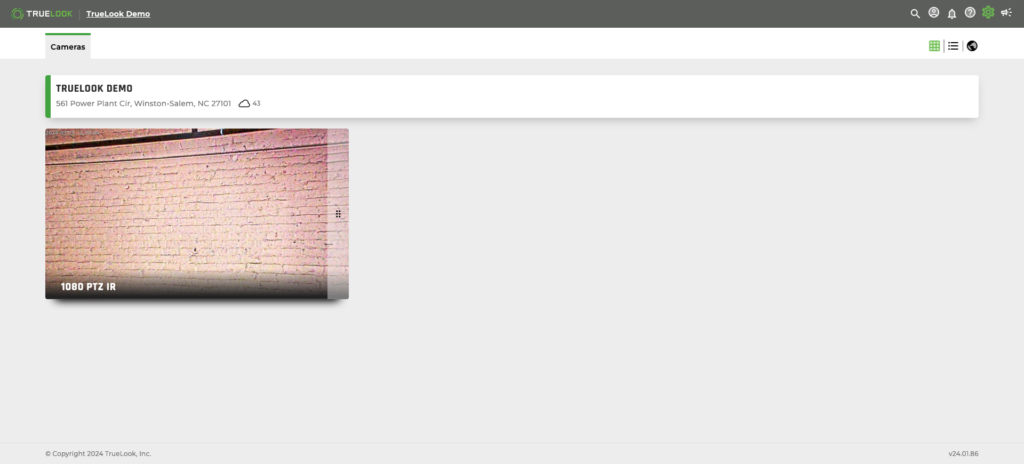
- Select Customer Details.
- Select the Integrations tab.
- Click Connect on the Procore widget. Note: You may need to log in again on Procore. Provide the same credentials used to install the TrueLook App on the Procore Marketplace.
- Click Allow on the Authorization required popup.
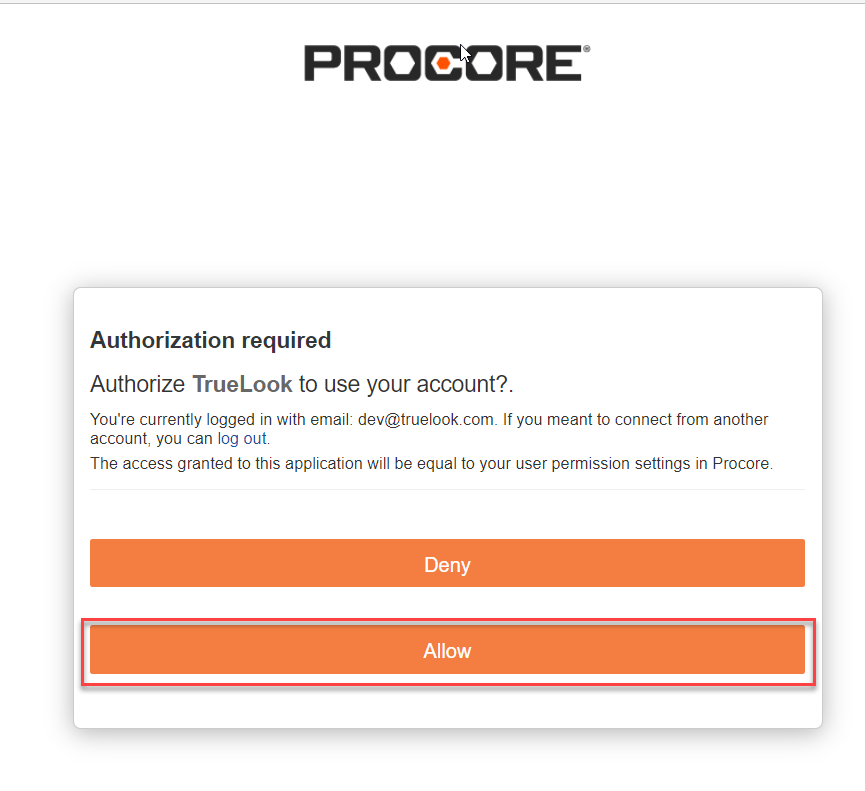
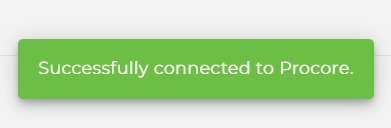
- You will see a message confirming the connection has been successful.
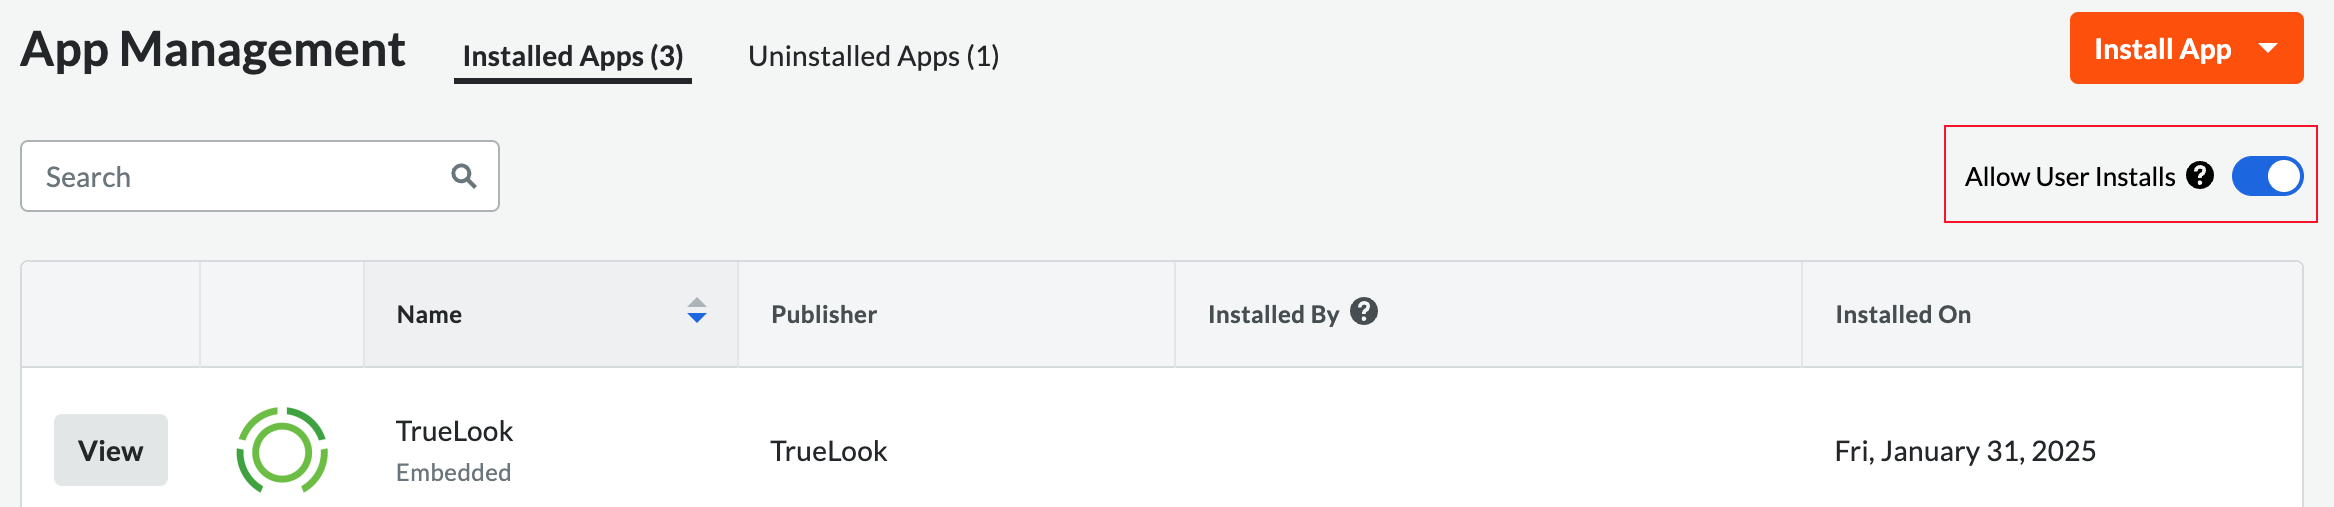
Note: If you want to allow other users to install applications, click the Allow User Install toggle. If you do not see the Allow User Installs toggle, please contact your admin to enable Procore themselves or by adjusting the permissions for your account.
Note: If you’re having issues with your Procore integration staying connected, try
- Manually updating your Procore TrueLook application. (Manual Update)
- Adding your project from the Procore Permissions tab. (Add New/Additional Projects)
- If these don’t work, please contact us!
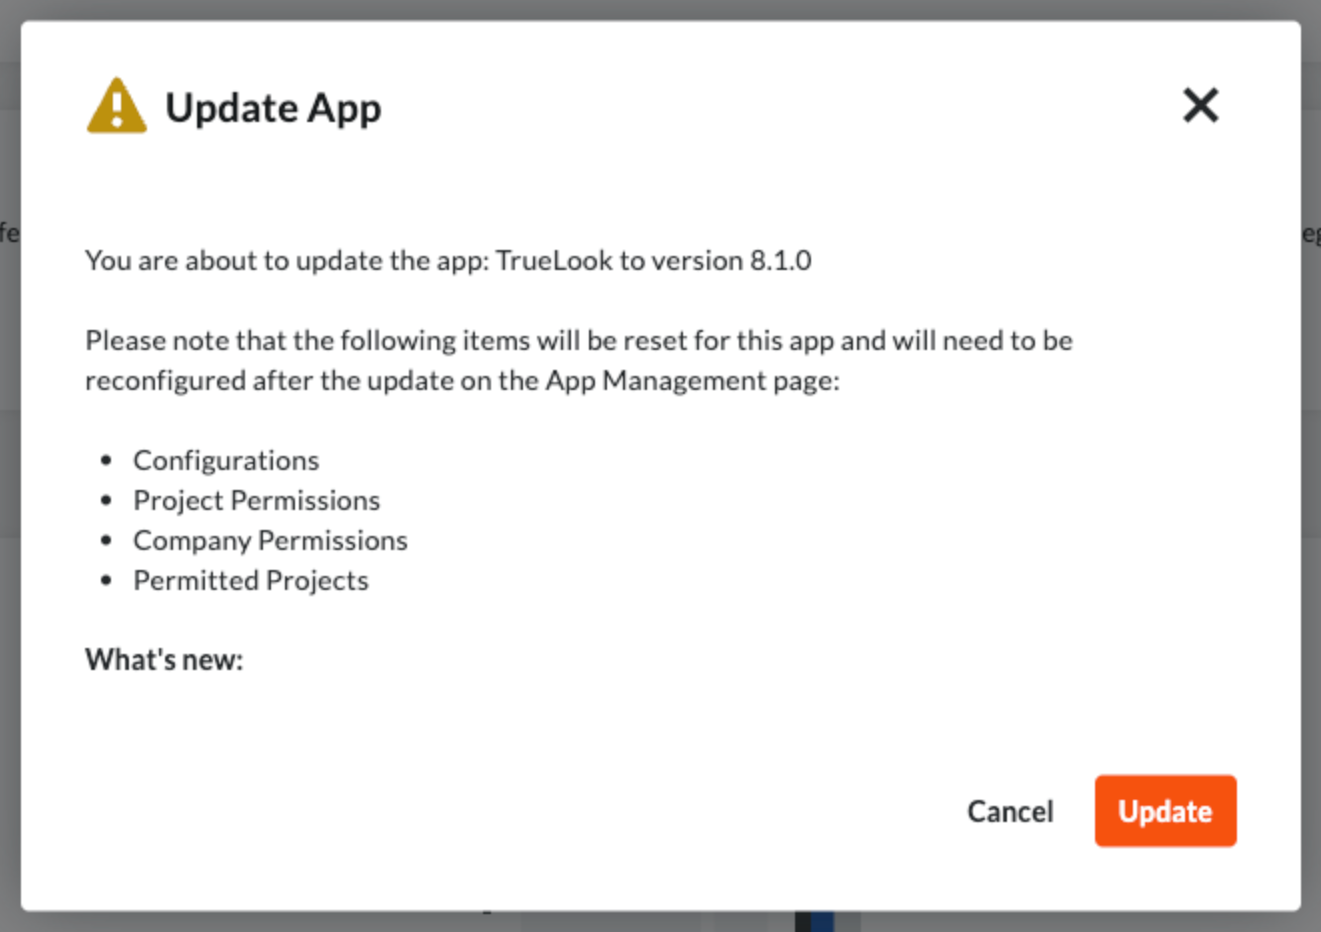
Manual Update
Procore may require you to update the TrueLook app installation on their website.
- Log in to Procore as a user that has permissions for integration settings.
- Click Apps in the top-right corner, then select Marketplace.
- Find the TrueLook application and see if it has the “Update Available” tag. Note: If it does not have this tag, you do not need to update.
- If found: Click View then click Update Available.
- Click Update on the pop-up window once, then click Update a second time to confirm.
Add New/Additional Projects
You can link new or additional projects in Procore. This will allow you to send images from an already created time-lapse or photo album. Linking Photo Albums and Time-lapses are optional.
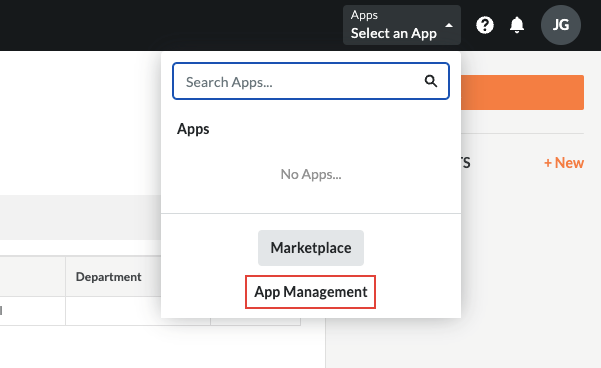
- Log in to Procore as a user that has permissions for project settings.
- Click Apps in the top-right corner, then select App Management.
- Select TrueLook, then click on the Permissions tab.
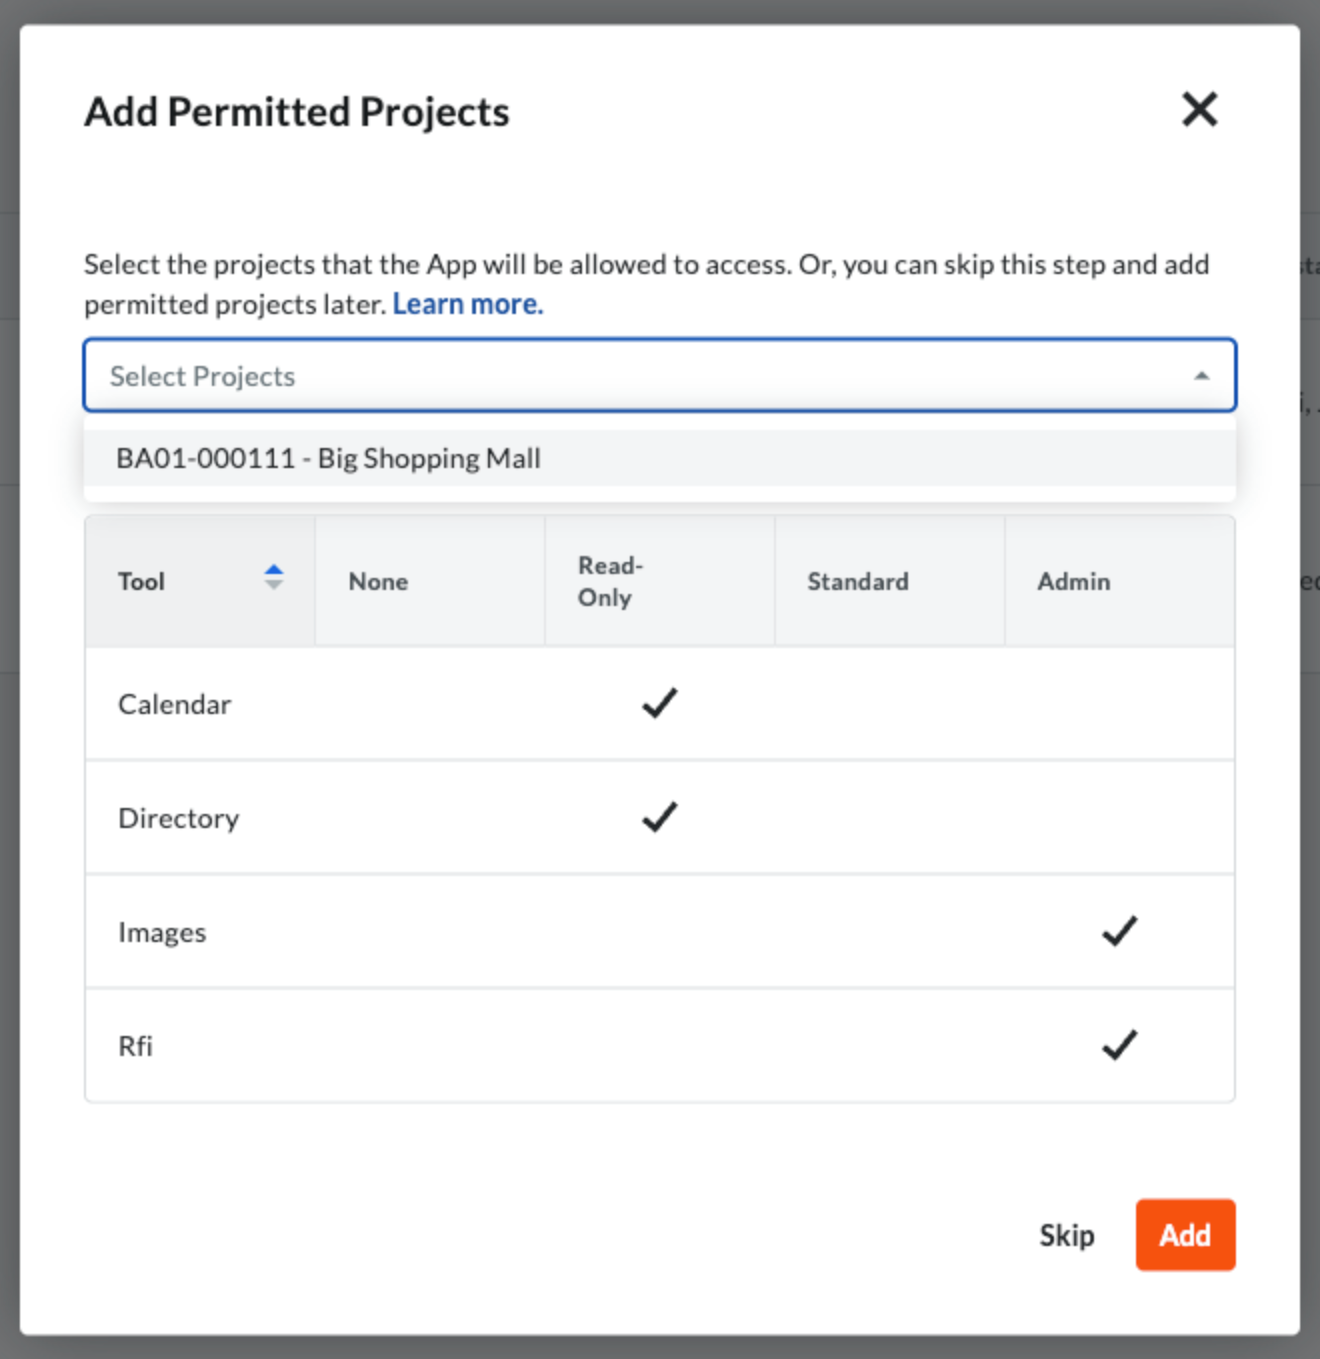
- Under Permitted Projects, you can select from your TrueLook projects. Click “Add” once they’re selected.
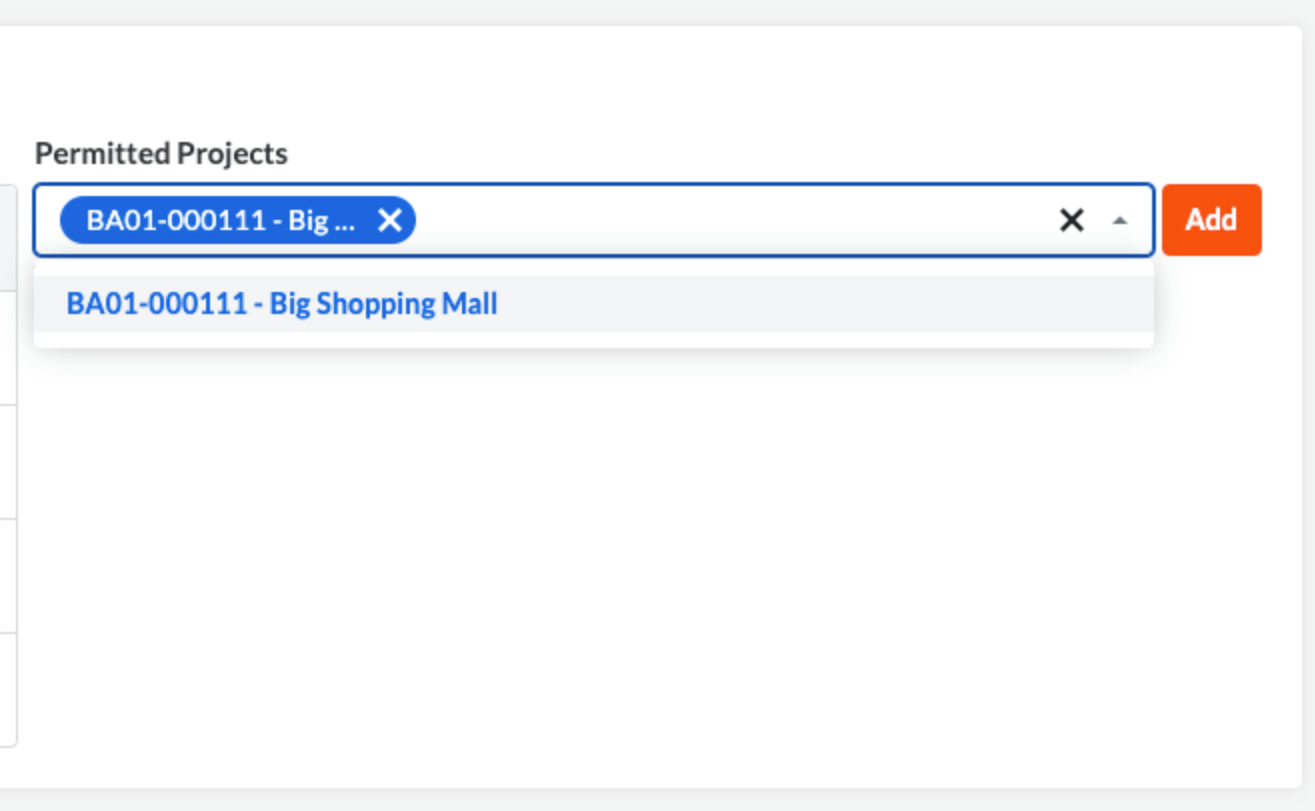
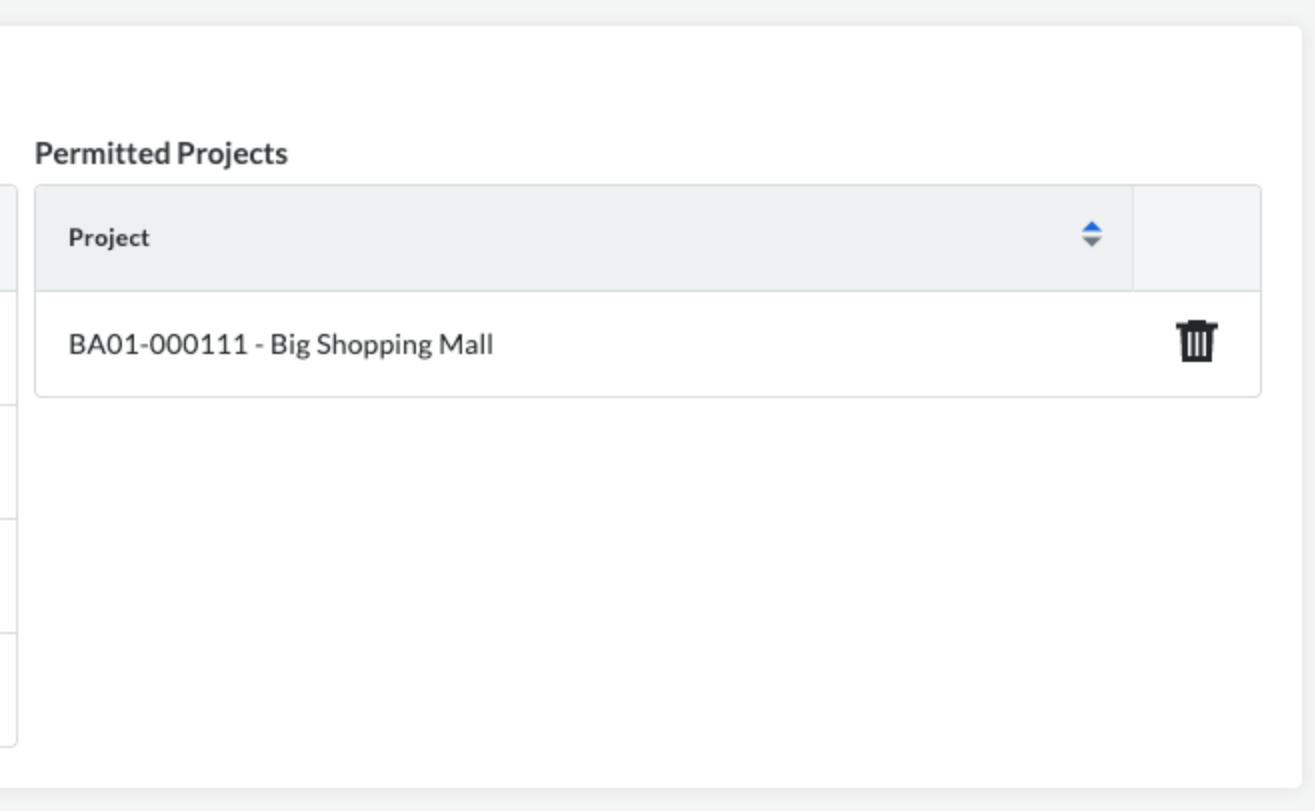
- Your projects are now accessible on Procore.
Linking Photo Albums and Time-Lapses
To link a photo album, you’ll need to connect them from TrueLook.
- Log in to TrueLook as a user that has permissions for integration settings.
- Click Settings in the top-right corner of the dashboard → Customer Details → Integrations tab.
- Click Edit on the Procore widget.
- Select the project to pull photo albums or time-lapses from.
- Select the photo albums or time-lapses to include.
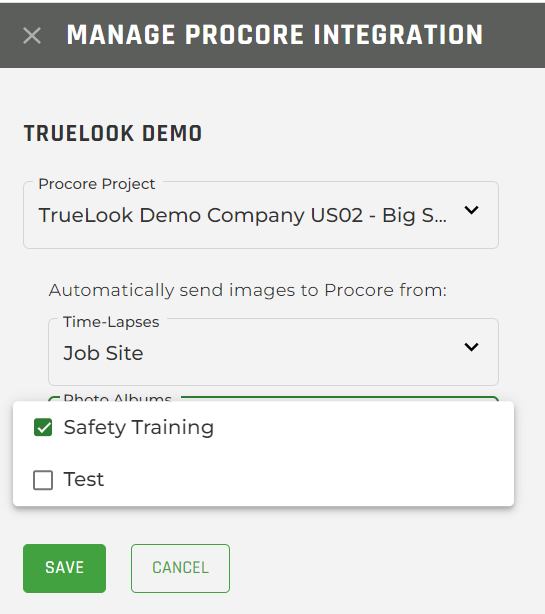
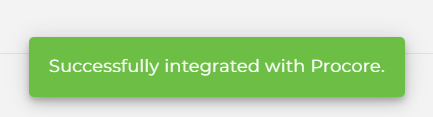
- Click Save. A confirmation message displays validating a successful integration with Procore.
Note: If time-lapses or photo albums are NOT selected, no images will be automatically sent to Procore.
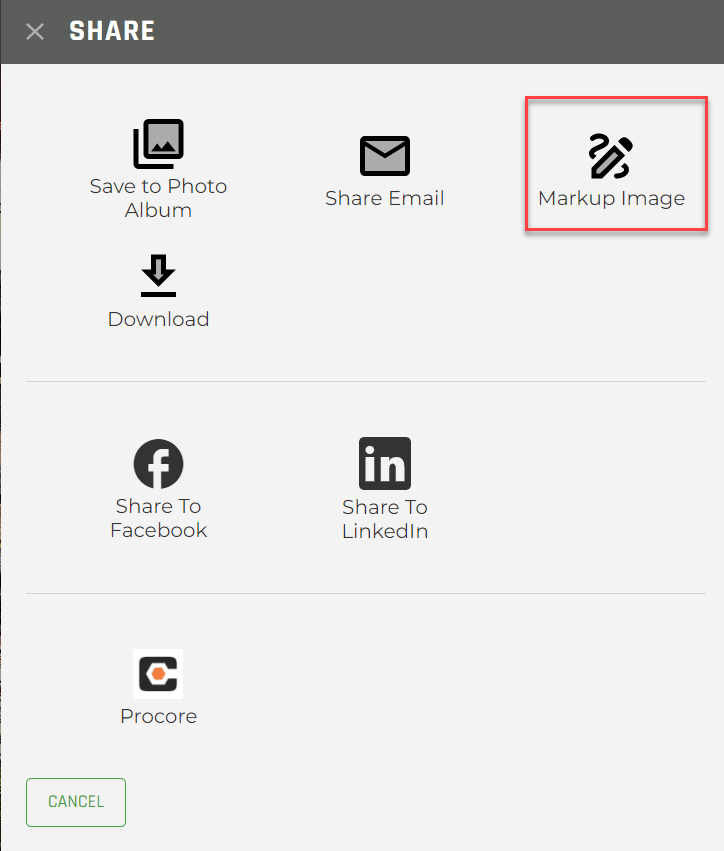
Share Images from TrueLook to Procore or Autodesk
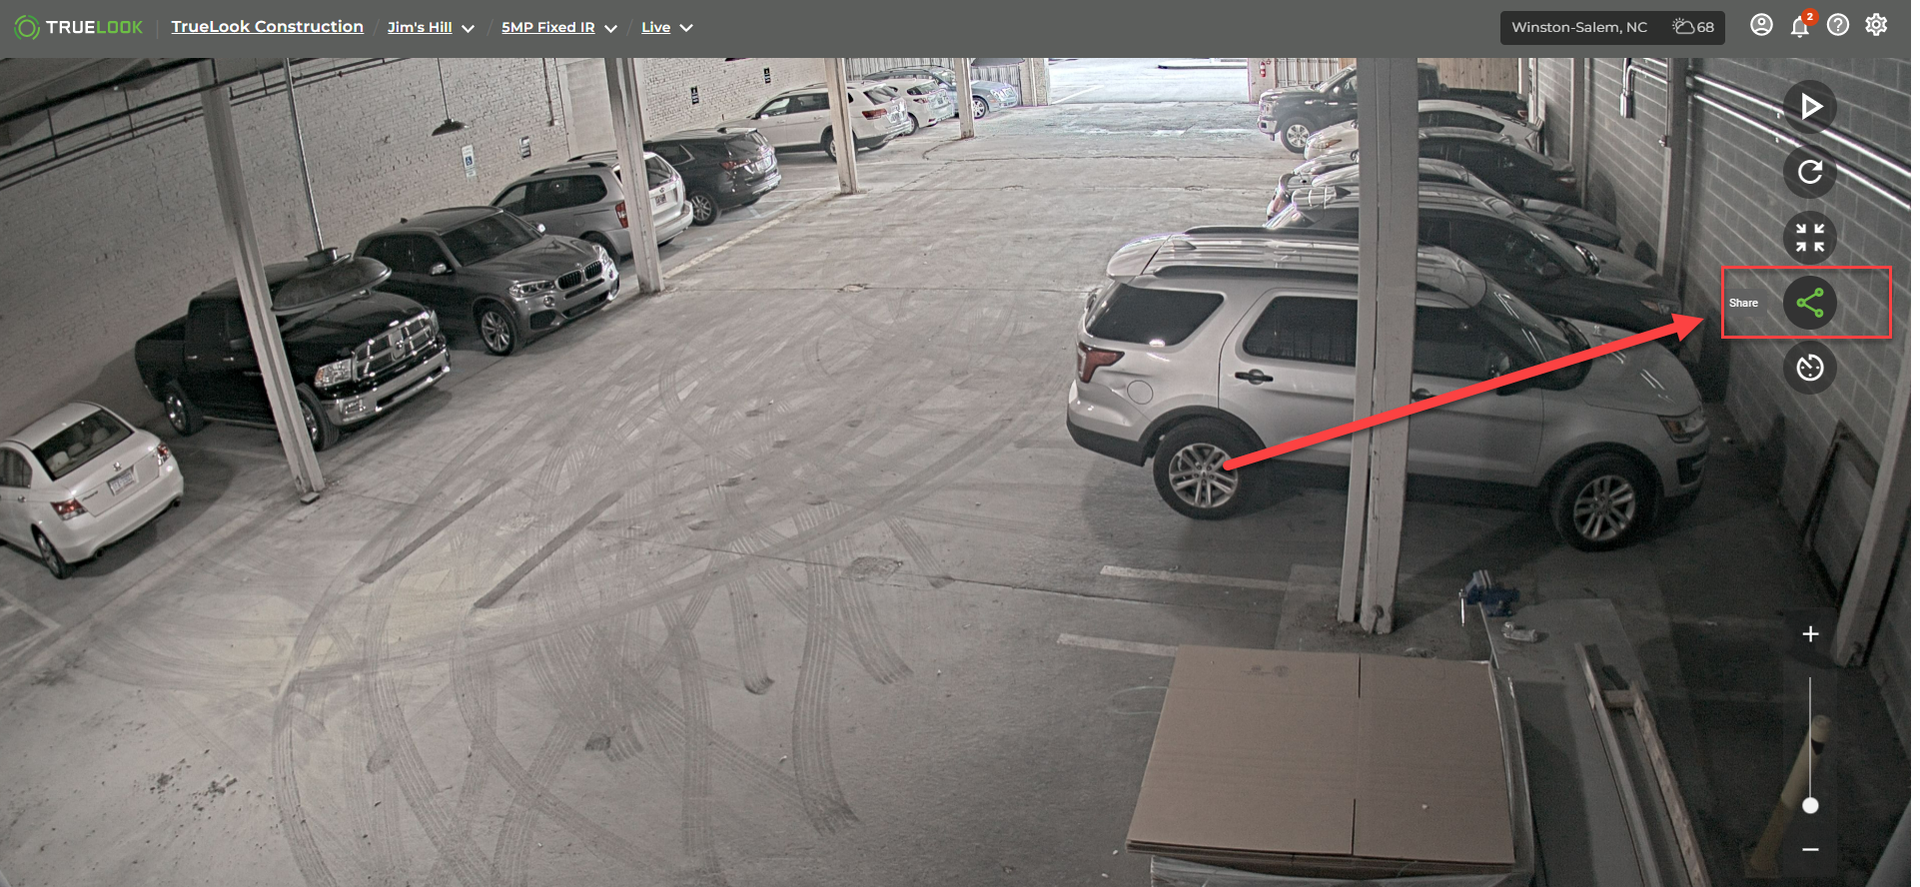
In TrueLook, navigate to the image you want to share with Procore or Autdoesk. Then click the Share icon.
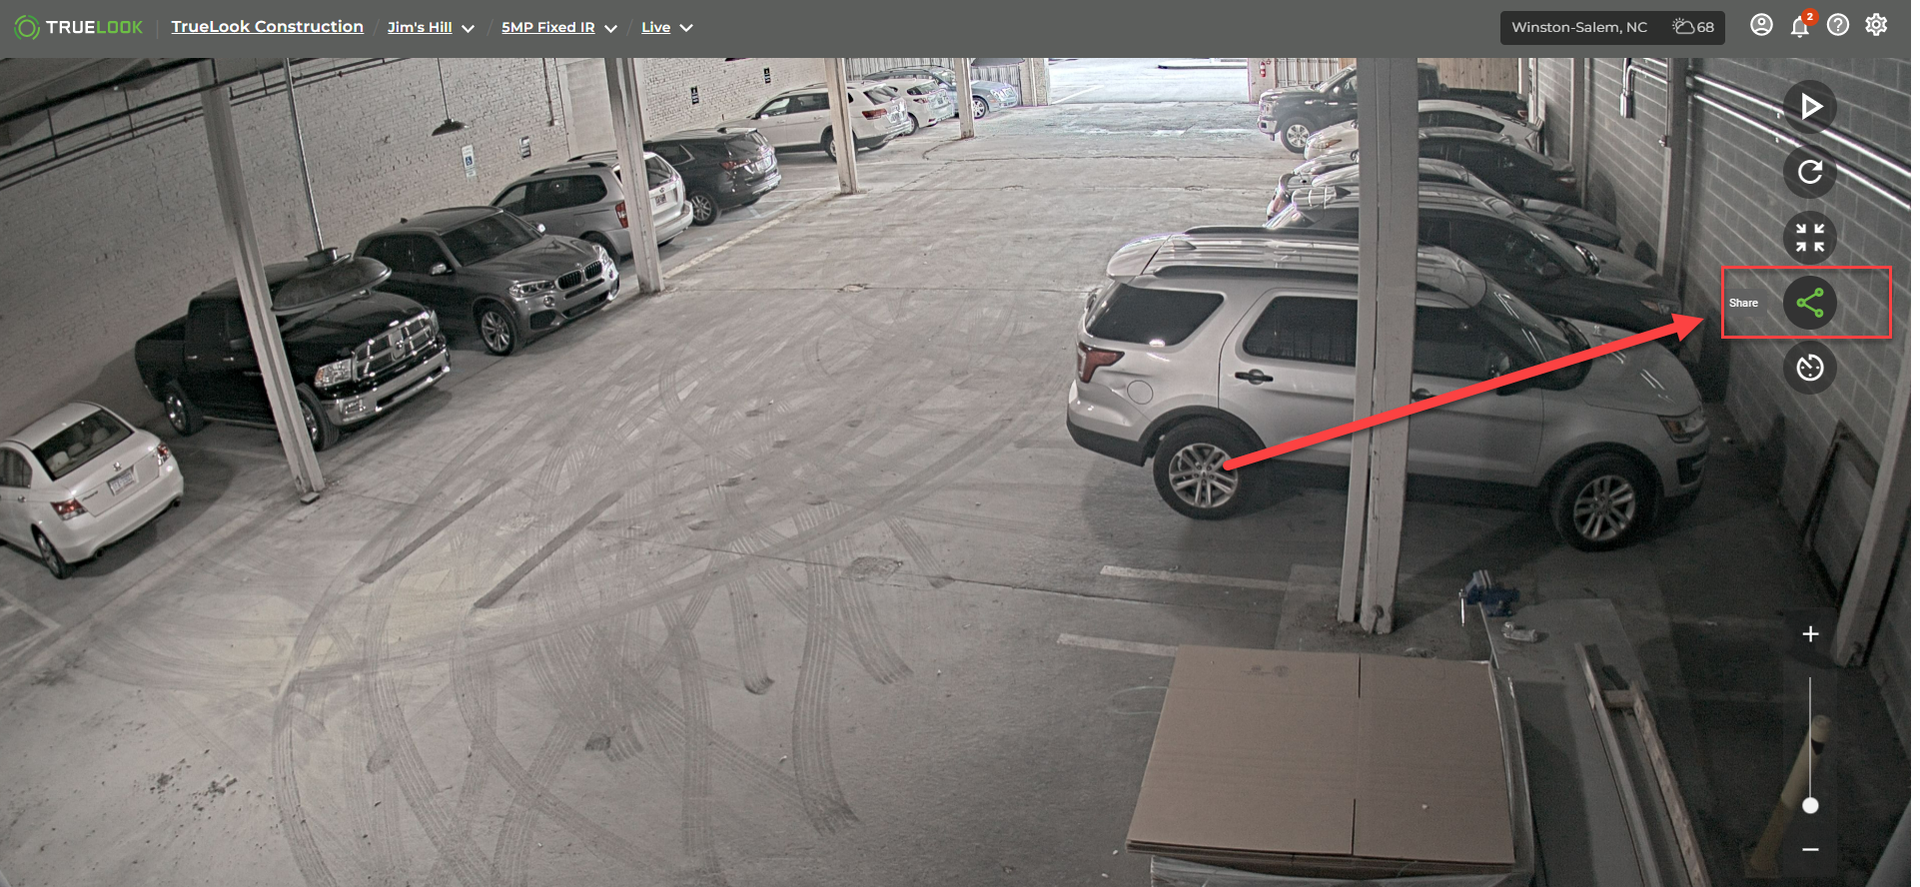
In the Share window, choose either the Procore icon or Autodesk icon.
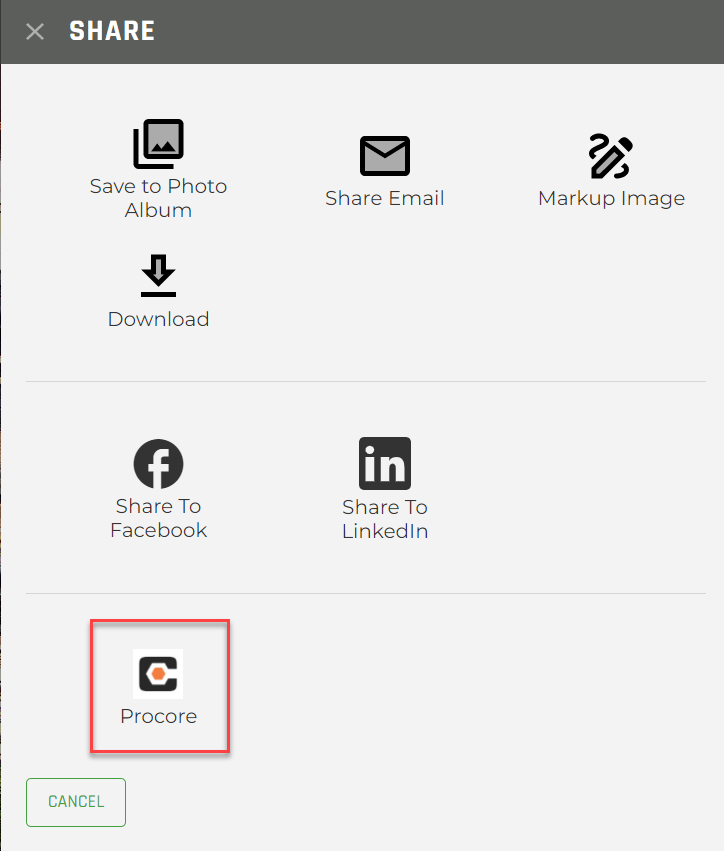
NOTE: The following images follow the “Share to Procore” section but the process will be the same for either integration. For Autodesk sharing, the only visual difference will be the title of the sharing menu which will read “Share to Autodesk.”
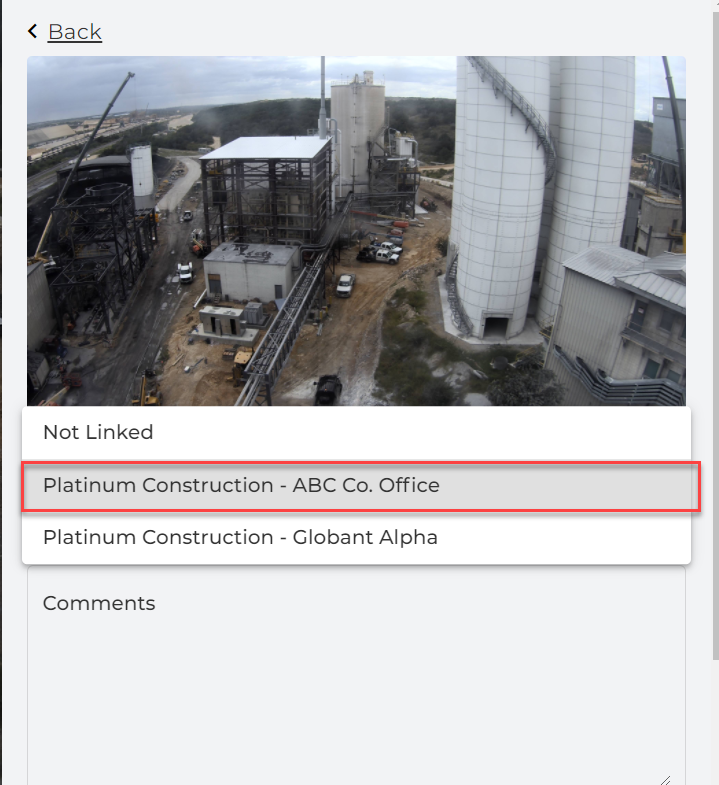
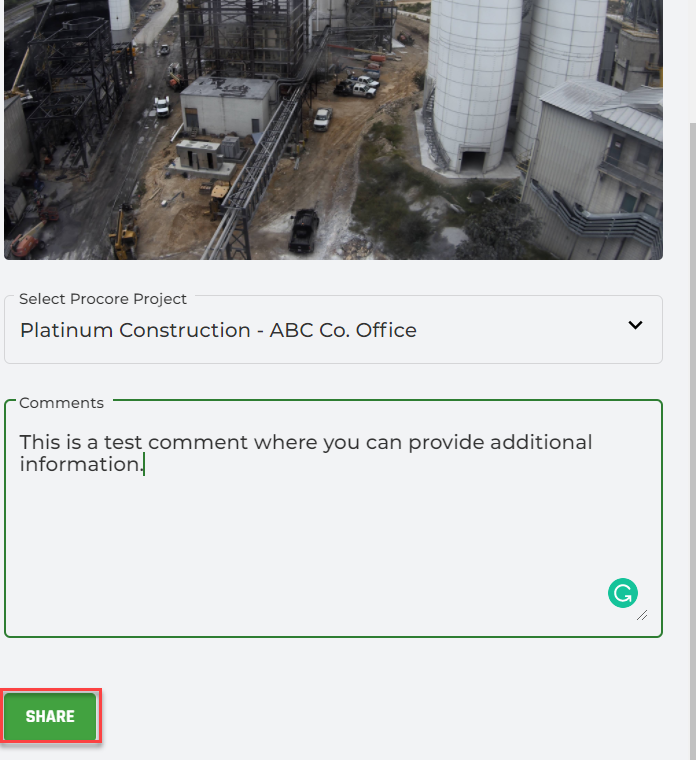
In the Share to Procore/Autodesk window, select the project you want to share from the drop-down.
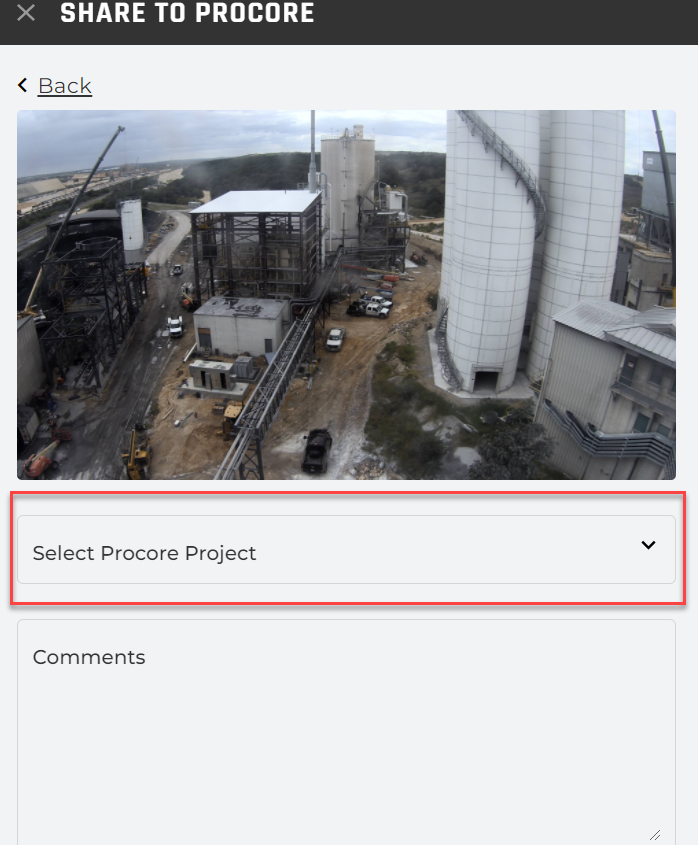
Type any additional information into the Comments field (optional).
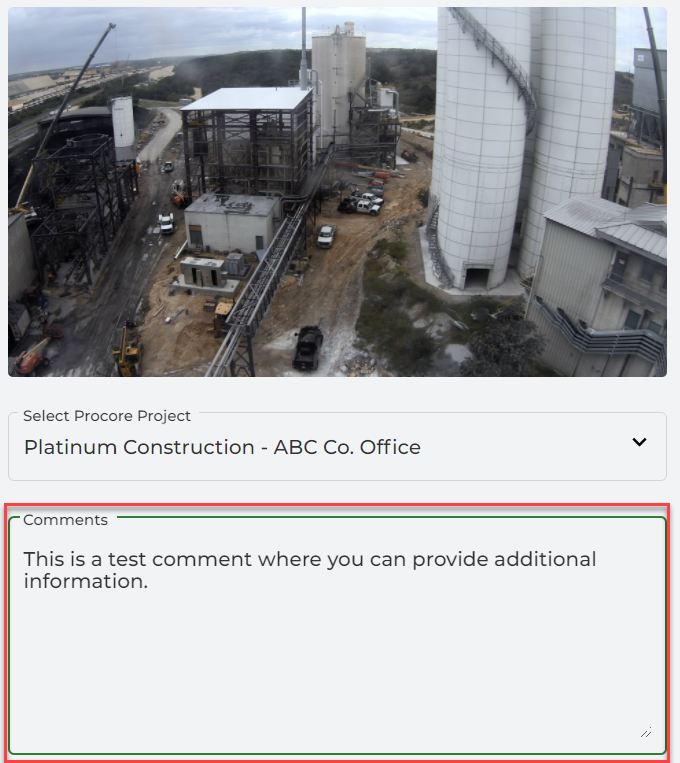
Click Share.
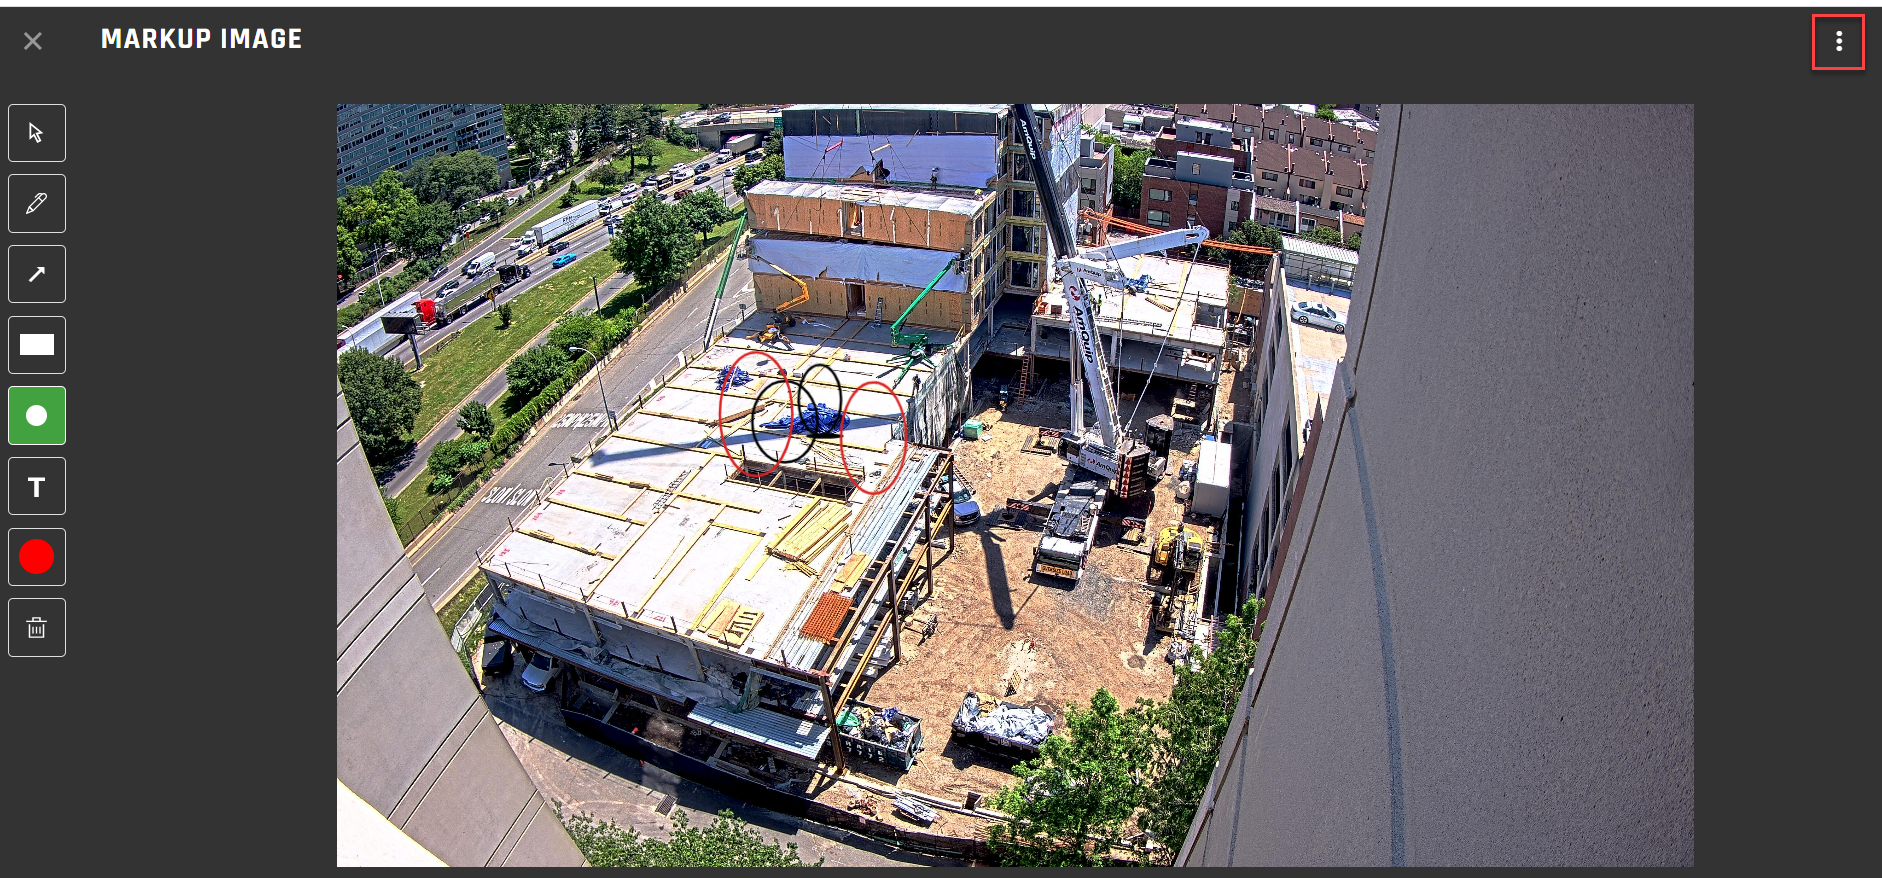
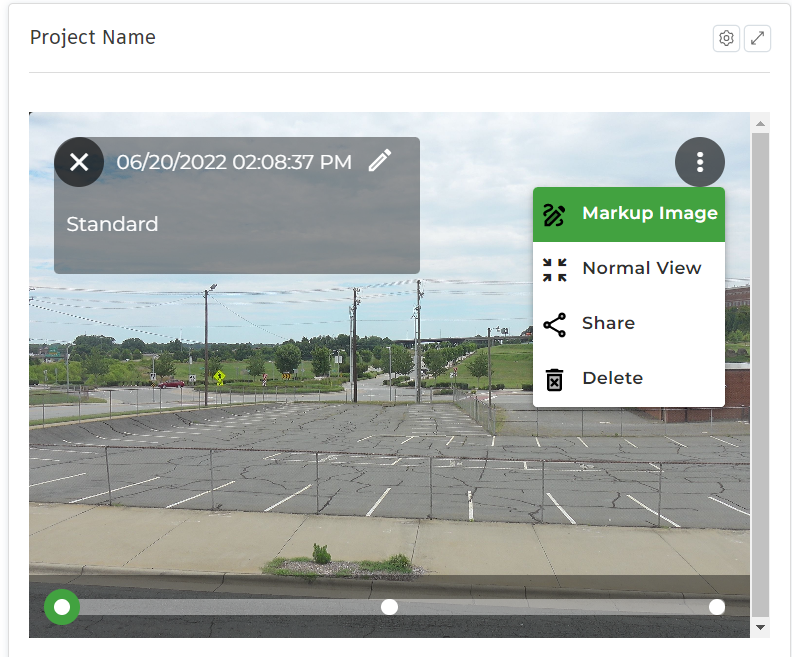
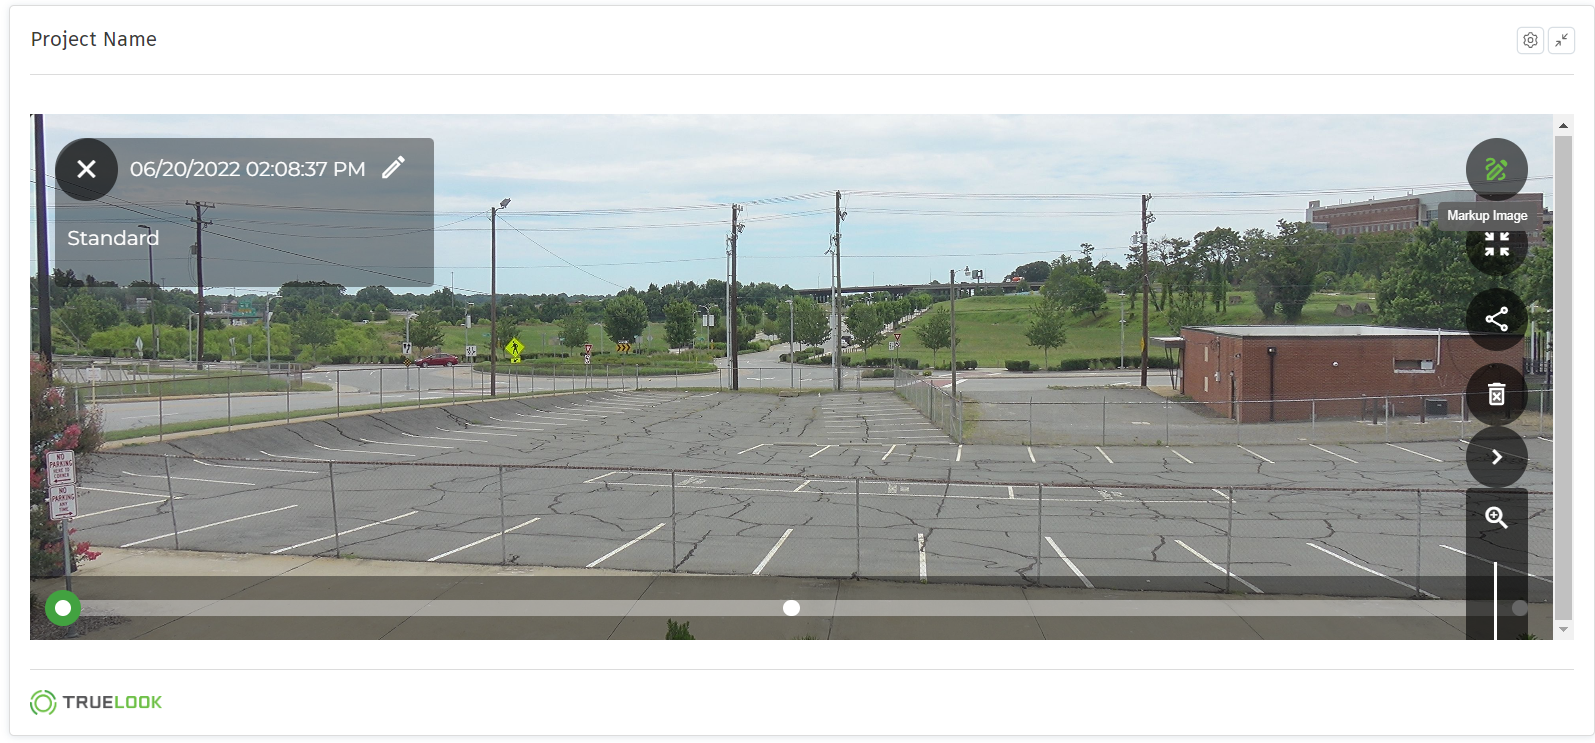
Markup Image and Create RFI
- In the TrueLook app, navigate to Dashboard.
- Click on the camera image you want to mark up. This can be done to any image from Live View or Time Lapse captured images.
- Click Share icon.
- Click Markup Image icon.
Note: If using Timelapse mode, select desired image from your calendar and time.
- Using Markup Image tools, mark up your image as needed.
Note: Marking up your image is optional.

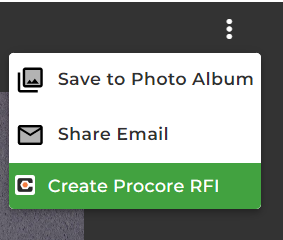
Markup Toolbar - When done with your mark-up, click vertical ellipses in the upper right corner.
- Click Create Procore RFI.
Note: To view RFI, you must be logged in to Procore.
- The Create Procore RFI Menu opens.
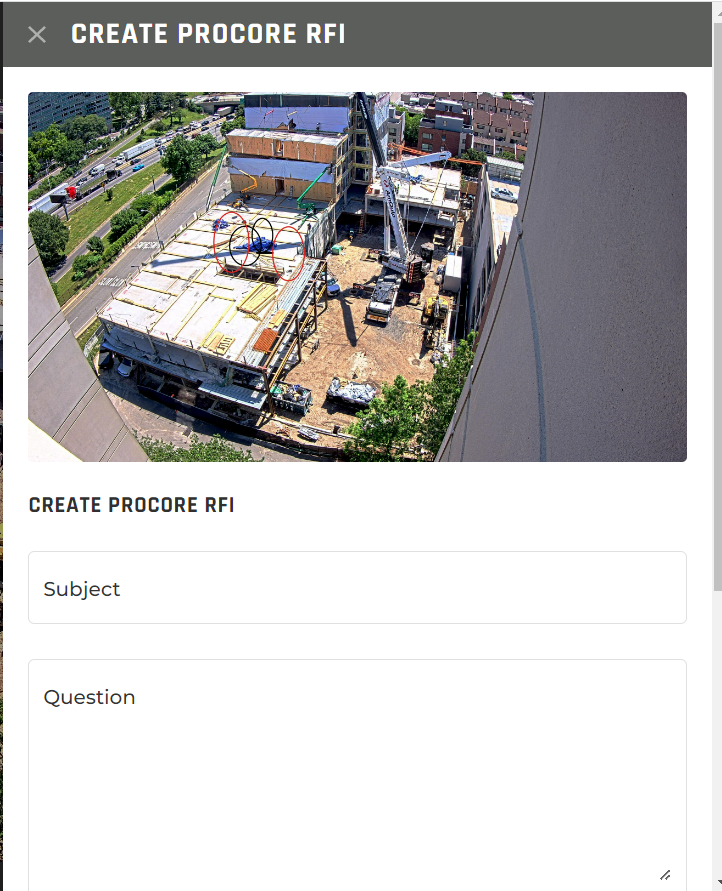
- Enter/select the following information.
- Subject: Subject name.
- Question: Question you want to ask.
- Select Procore Project: Specific Procore Project.
- Select RFI Manager: RfI manager.
- Select Assignees: Person(s) that you want to view the image.
- Click Create. The RFI will be created in your Procore project.
- A confirmation message appears. Your RFI is now in Procore.

Confirmation message
Log in to TrueLook from Procore
Procore users can use the TrueLook application from within Procore. Procore refers to this as an “Embedded Experience.”
- Log in to your Procore account.
- Click Select an App in upper, right-hand corner.
- Search for TrueLook and click on it.
Note: If you search TrueLook and it is not in the results, try clicking the Marketplace or App Management sub-tabs to find the TrueLook App. If you need additional assistance with installing the app in Procore, visit Procore support or call them at (833) 277-6267.
- Click TrueLook to download the app.
- Log in to TrueLook.
- You are now logged into TrueLook from the Procore app. You can navigate away from the TrueLook window and return to it by clicking the Truelook app in the upper right corner.

Autodesk
Quick Nav:
Requirements
Authorize TrueLook
Access TrueLook Cameras within Autodesk
Markup Image within Autodesk
Add New/Additional Projects
Linking Time-Lapses
Linking Photo Albums
Requirements
- Username & password for an Autodesk account with admin access to the Autodesk project.
- TrueLook Account with customer admin access.
- TrueLook Account with integration settings.
Authorize TrueLook
Note: Authorizing only has to be done once.
- Log in to the TrueLook platform app.truelook.cloud/login as a user that has permission for integration settings.
- Click the Settings in the top-right corner of the dashboard → Customer Details → Integrations tab
- Select Integrations.
- Select the Integrations tab.
- Click Connect on the Autodesk widget.
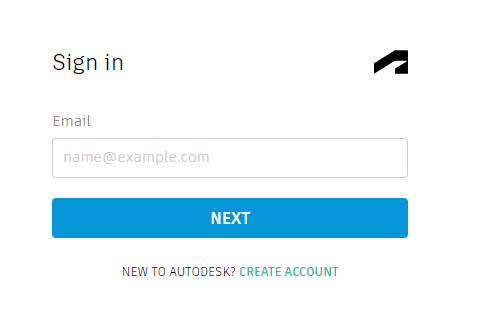
- Log in to Autodesk with your username and password.
- Click Allow
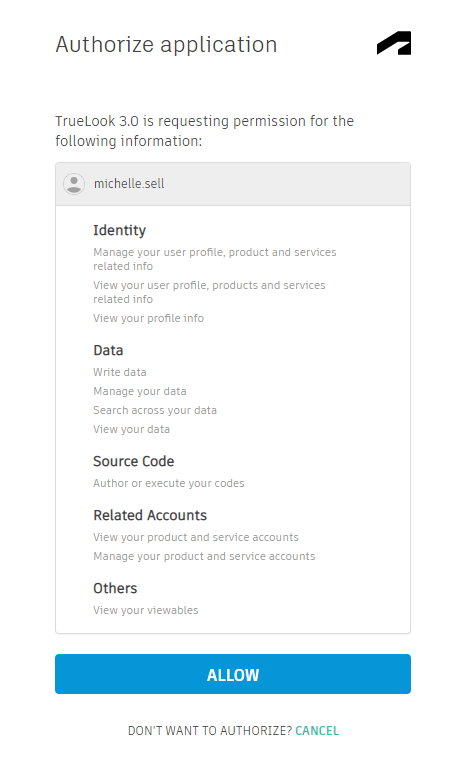
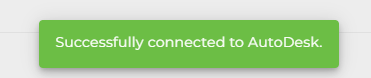
- You will see a message confirming the connection has been successful.
Access TrueLook Cameras within Autodesk
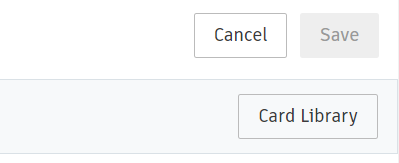
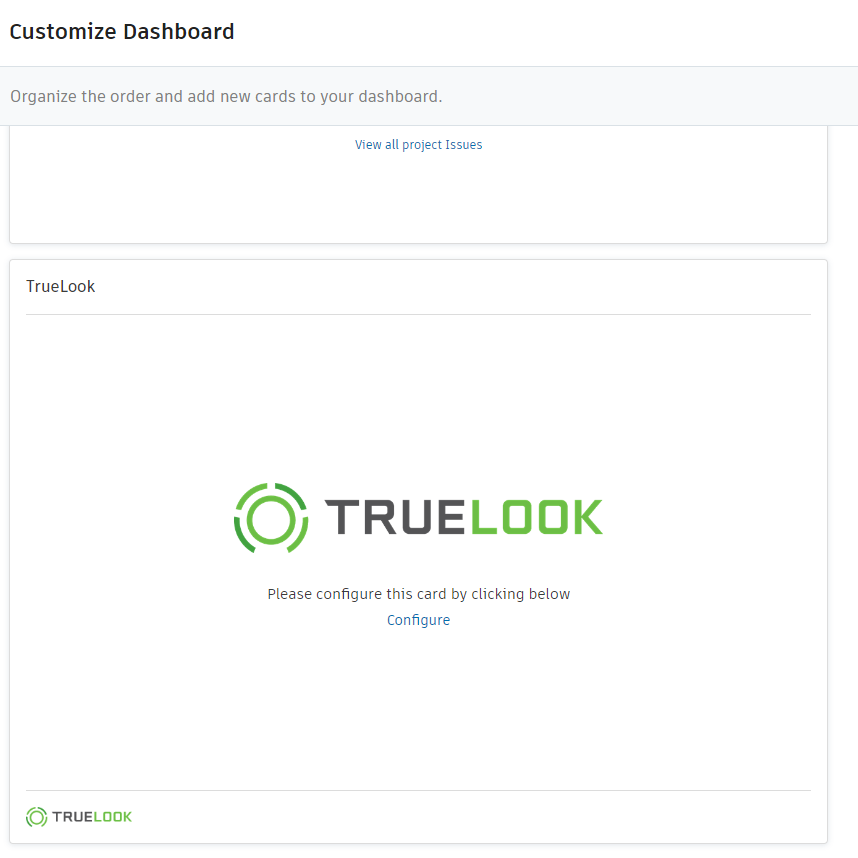
- From your dashboard, click on the “Customize” link at the top right corner of the dashboard.

- The “Card Library” link will appear.
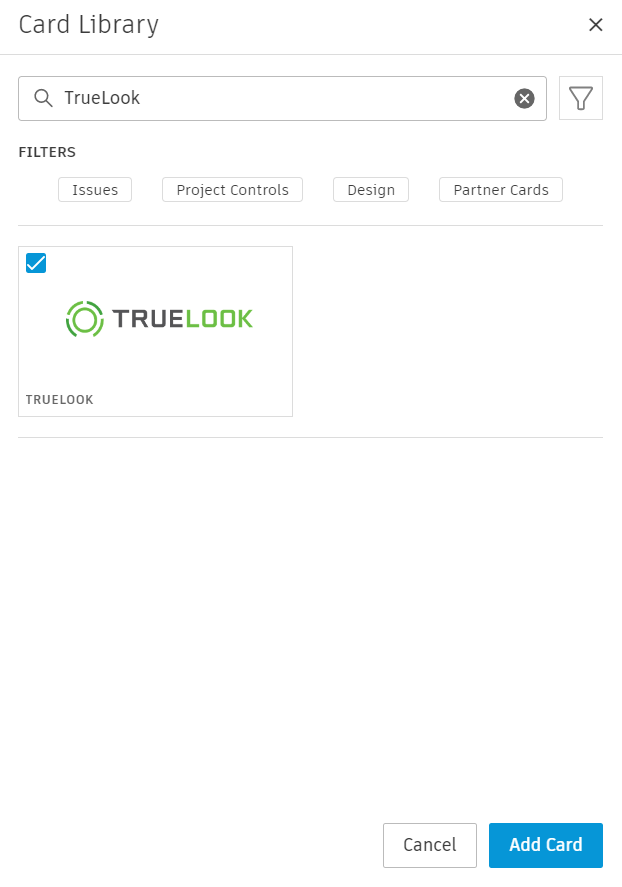
- Search for “TrueLook” in the card library. Click on our card and then select “Add Card” at the bottom right.
- The TrueLook card will now appear on your dashboard. Click “Configure” to add your camera. You may be prompted to sign into TrueLook prior to adding the camera.
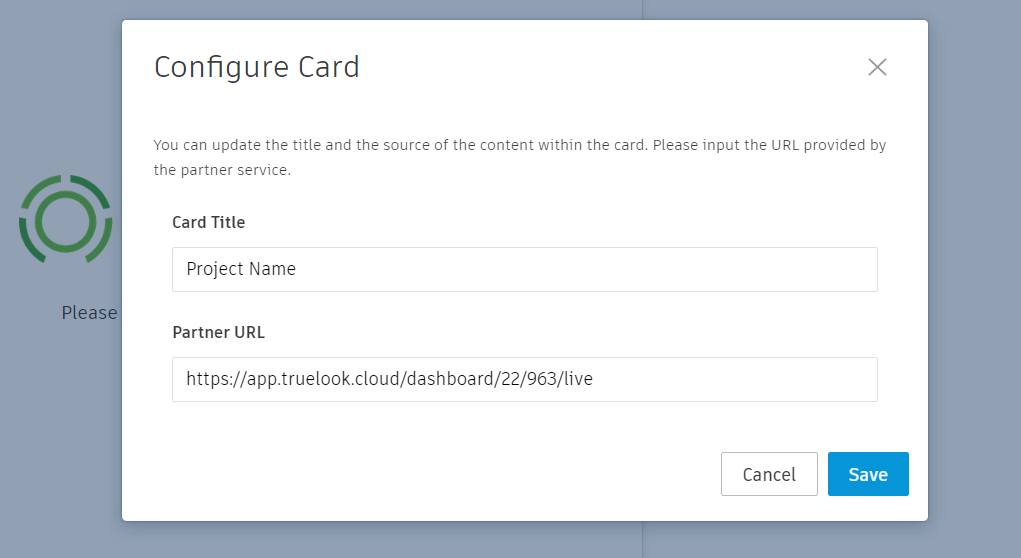
- From here, you can title the card with your project name and enter the URL for the TrueLook project you would like to view in this dashboard. Then, click “Save.”
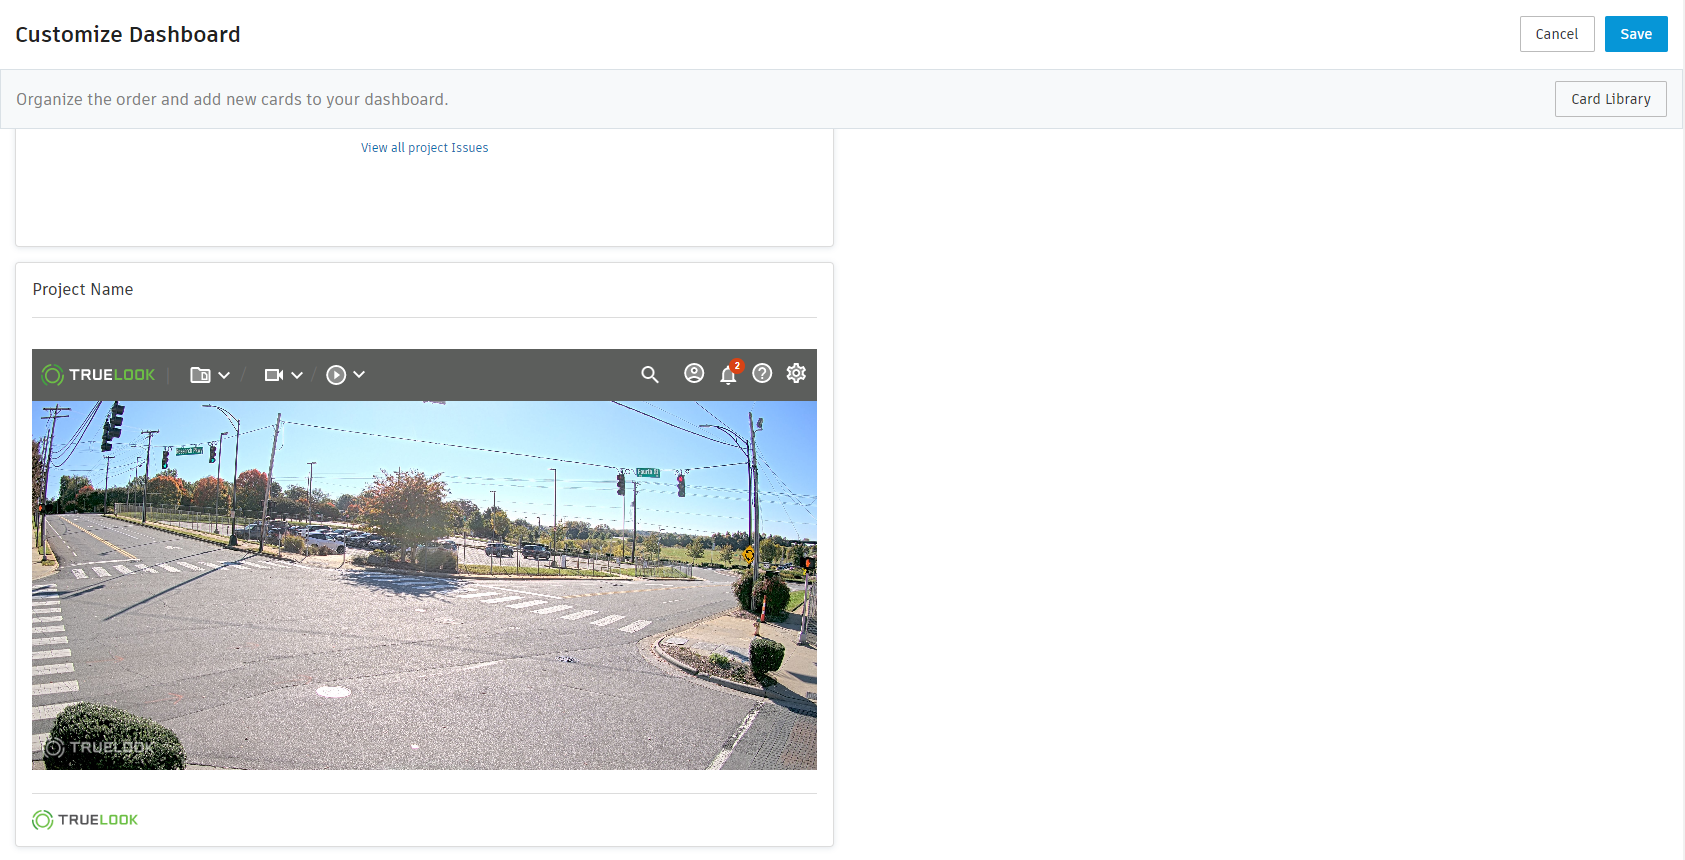
- You will now be able to see your TrueLook camera on the card. Click “Save” at the top right to confirm these changes.
- You now have all the same TrueLook options from within your Autodesk card. Click on the icons on the right side to start a live video stream, refresh the image, reset to the normal view, share, or create a time-lapse. The bottom bar allows you to control the camera. The image above shows a fixed camera’s options and the image below shows a PTZ camera’s options.
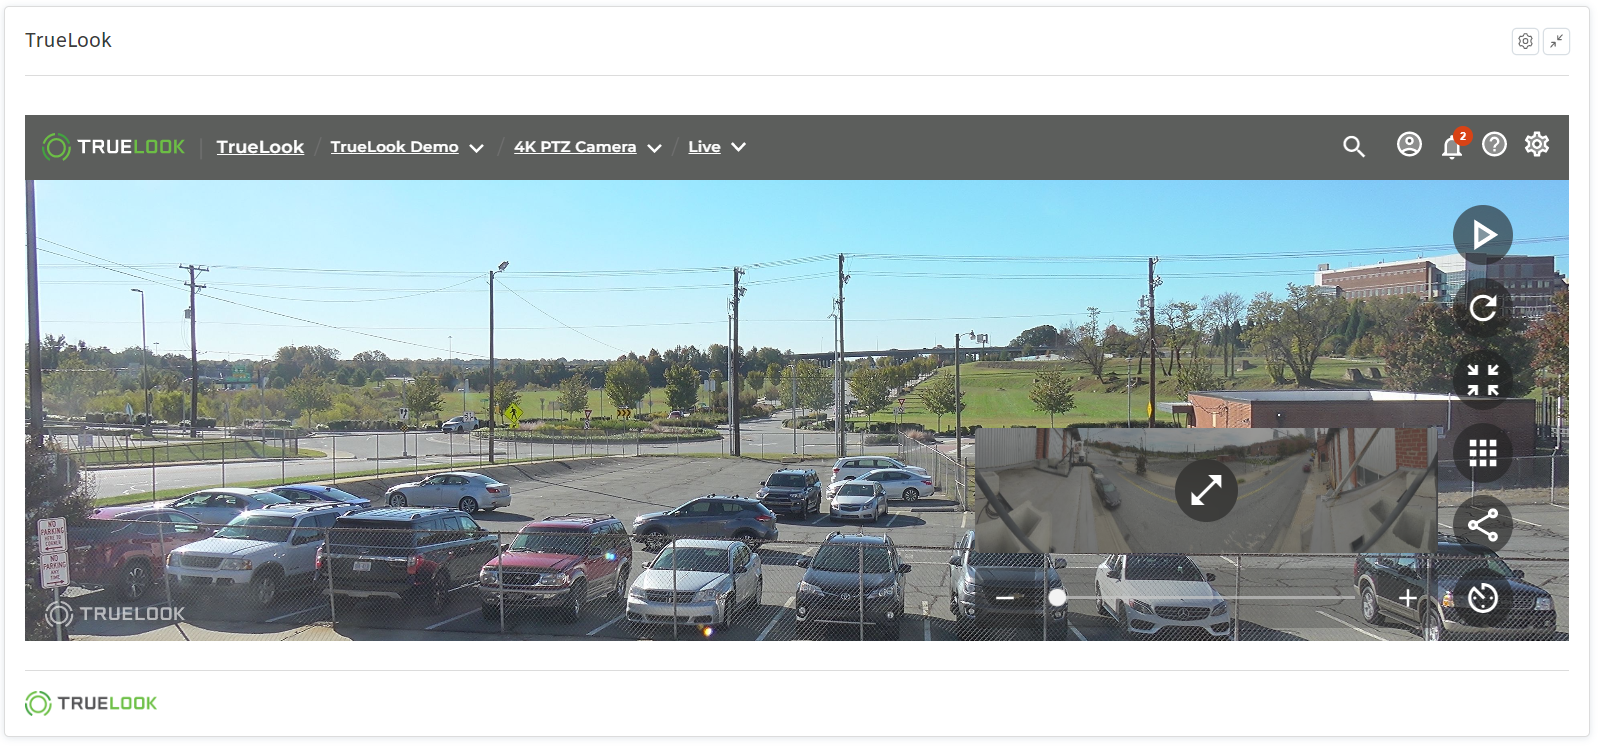
- Depending on your screen size, you may need to expand the card to fully access all PTZ camera options. The image below shows an example of the button overlapping that can be fixed by expanding the card. See the next step for how to expand it.
- If you’d like a bigger view of the card, you can “Expand” it like any other Autodesk card.
- You can navigate TrueLook from your Autodesk dashboard by navigating within your TrueLook card or you have the option to add additional TrueLook cards for quick access to each project.
Markup Image from within Autodesk
- For the best view, we recommend marking images with your Autodesk/TrueLook card expanded. Then, within your card, navigate to Photo Albums.
- Click on the image you want to mark up. This can be done to any image from live view or time-lapse captured images. If your Autodesk card is not expanded: In the top right corner of the image, click on the three dots and select “Markup Image”.
- If your Autodesk card is expanded: Click on the “Markup Image” icon at the top right.
- Using the markup image tools, add your desired text, shapes, arrows, etc. When you’re done, click on the three dots at the top right and select “Save to Photo Album”.

- You can then add a description (optional) and choose which photo album(s) you’d like to add the image to. Then click “Add to Album” and you’ll see a notification that the image will be added.

Add New/Additional Projects
You can link new or additional projects in the Autodesk integration window. You have the ability to send images from an already-created time-lapse or photo album. Linking photo albums and time-lapses is optional.
- In the TrueLook app, from My Info > Integrations tab, click Edit on the Autodesk widget.
- In the Manage Autodesk Integration window, link Autodesk project(s) to TrueLook project(s).
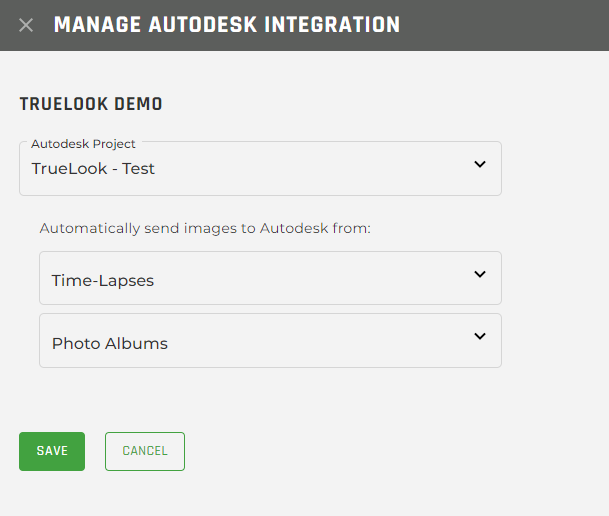
Note: If time-lapses or photo albums are NOT selected, no images will be automatically sent to Autodesk
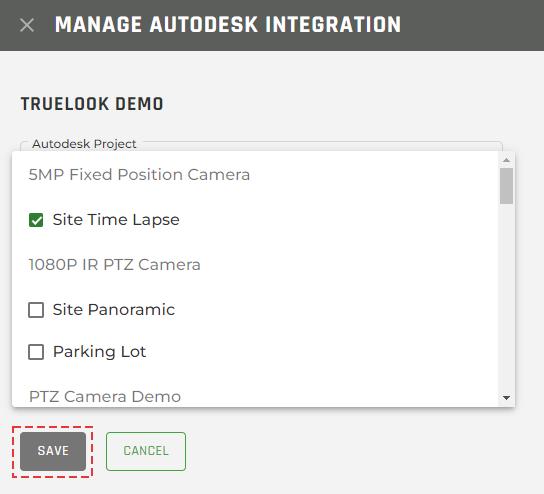
Linking Time-Lapses
If you want to link time-lapses,
- Select Time-Lapses.
- Choose Camera(s).
- Select Time-lapse.
- Click Save.
A confirmation message will display validating a successful integration with Autodesk.
Linking Photo Albums
If you want to link photo album(s),
- Select Photo Albums.
- Photo Album Selection.
- Click Save.
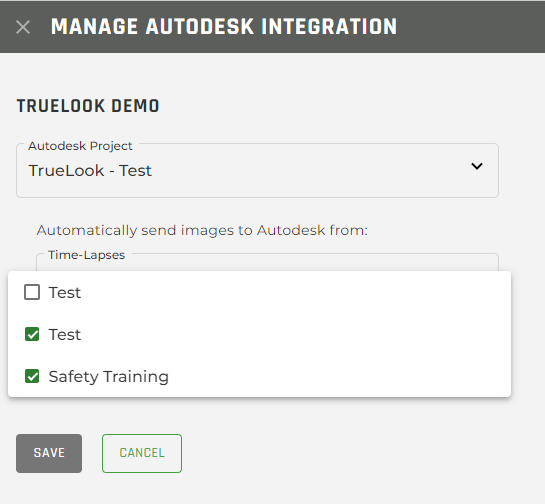
A confirmation message will display validating a successful integration with Autodesk.
DroneDeploy
Video on How to Set up the DroneDeploy Integration:
Add Your Camera to DroneDeploy
- Log in to the TrueLook Platform.
- Click the Settings icon in the upper right-hand corner.
- Select Sharing Center.
- Click the
 Sharing Link button. Note: sharing links can only be created by account admins.
- You can use a sharing link you’ve created previously.
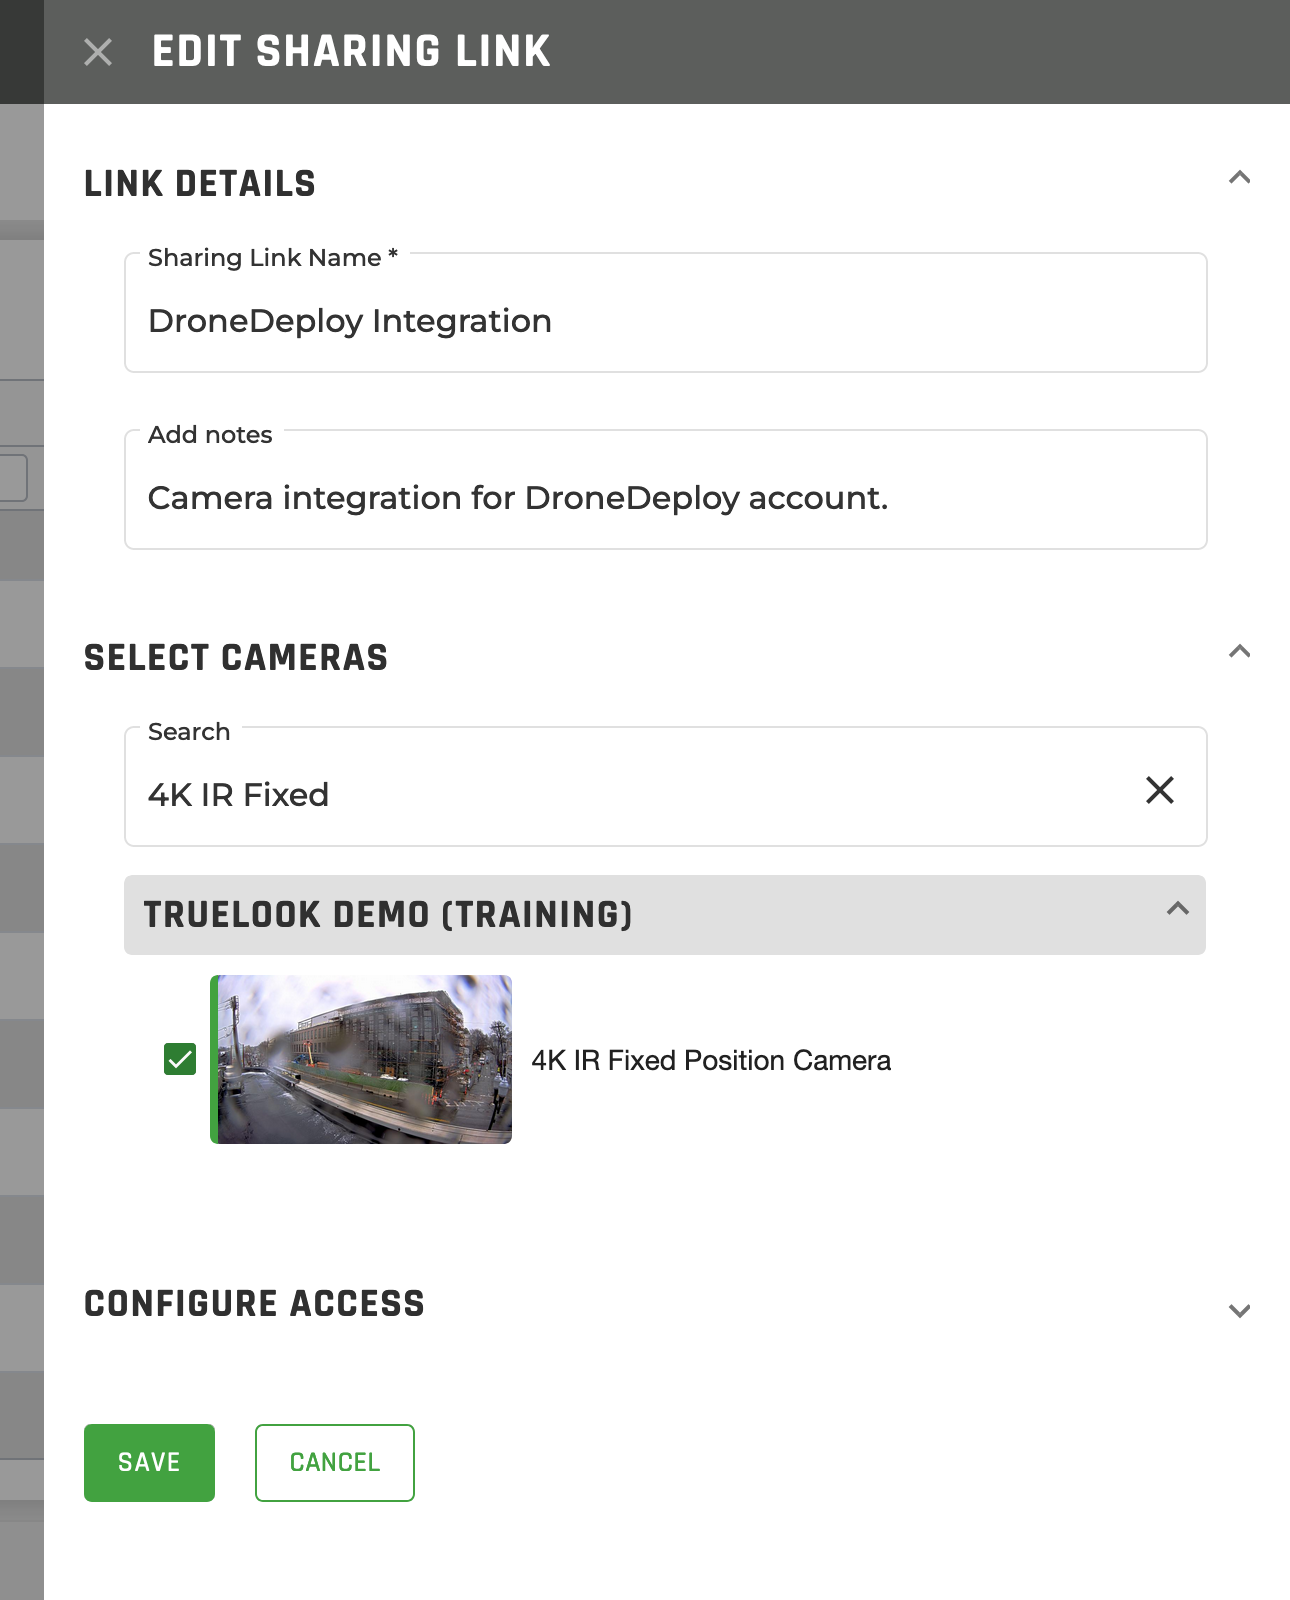
- Name your new sharing link then select your cameras and options.
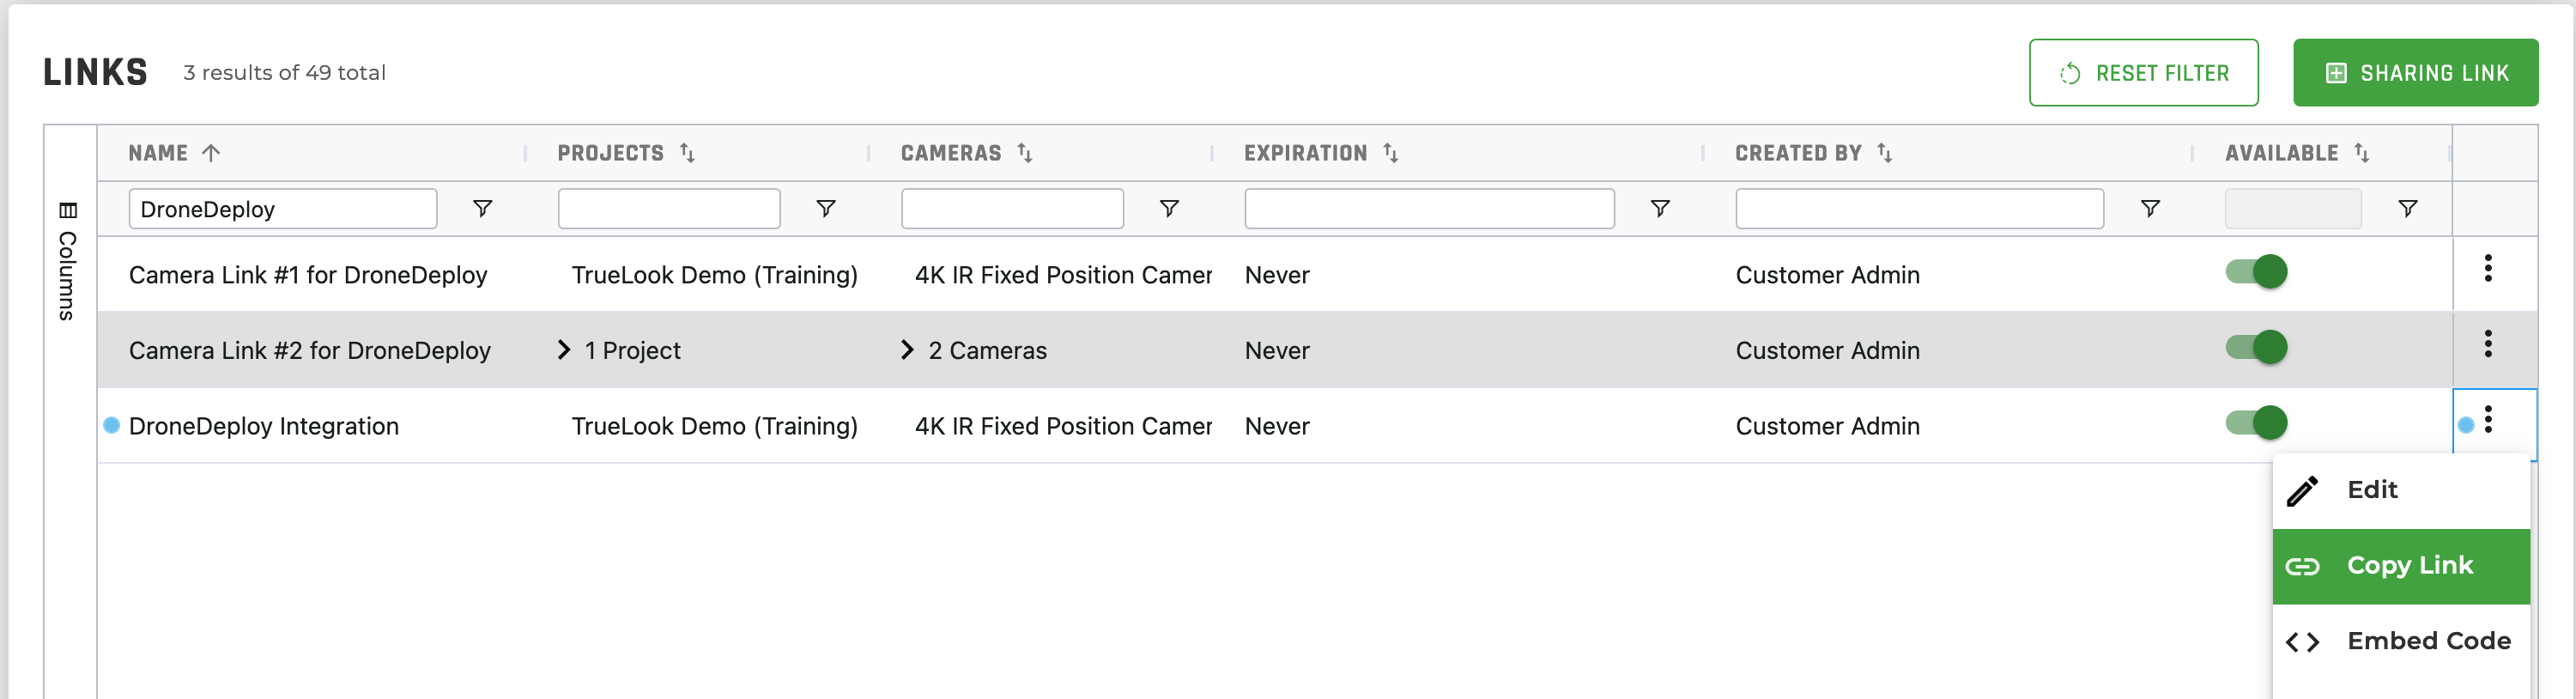
- Find your sharing link name in the Links table.
- Click the
 dotted menu icon on the same row to the right.
 - Select Copy Link from the dropdown.
- Log in to DroneDeploy.
- Click into the project you want your camera visible on.
- Click on the Cameras tab.

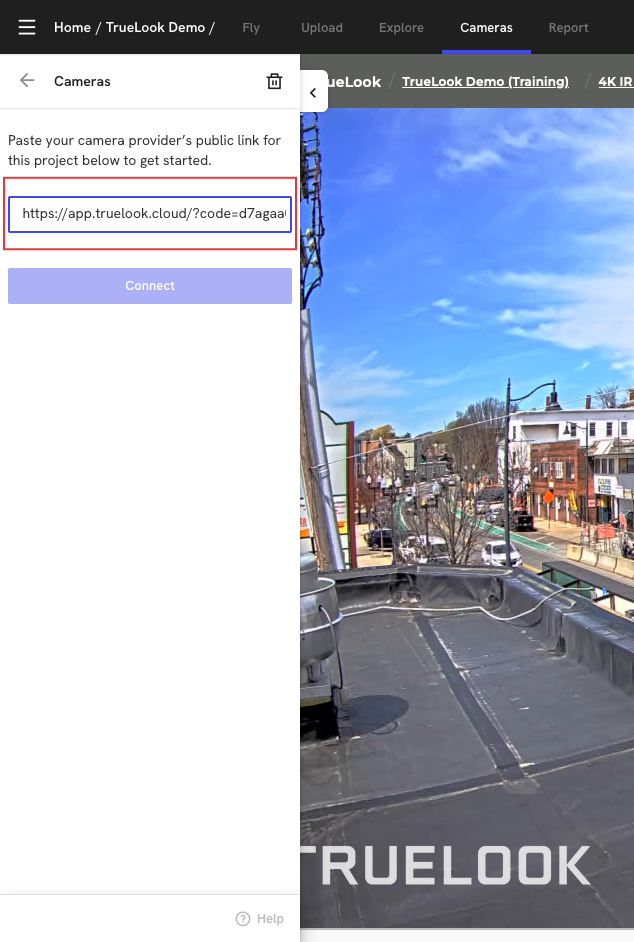
- Paste the link you copied from TrueLook into the center text box.
- Click “Connect” and now your camera is integrated!
Change the Camera on a DroneDeploy Project
You can change the camera by clicking the ![]() upper-left tab. This reveals a side panel to change the current camera link to another.
upper-left tab. This reveals a side panel to change the current camera link to another.
Raken
Add Your Camera to Raken
Note: Must have an active Raken Professional, Performance, or Enterprise subscription
- Log in to the TrueLook Platform.
- Click the Settings icon in the upper right-hand corner.
- Select Sharing Center.
- Click the Sharing Link button. Note: sharing links can only be created by account admins.
- You can use a sharing link you’ve created previously.
- Name your new sharing link then select your cameras and options.
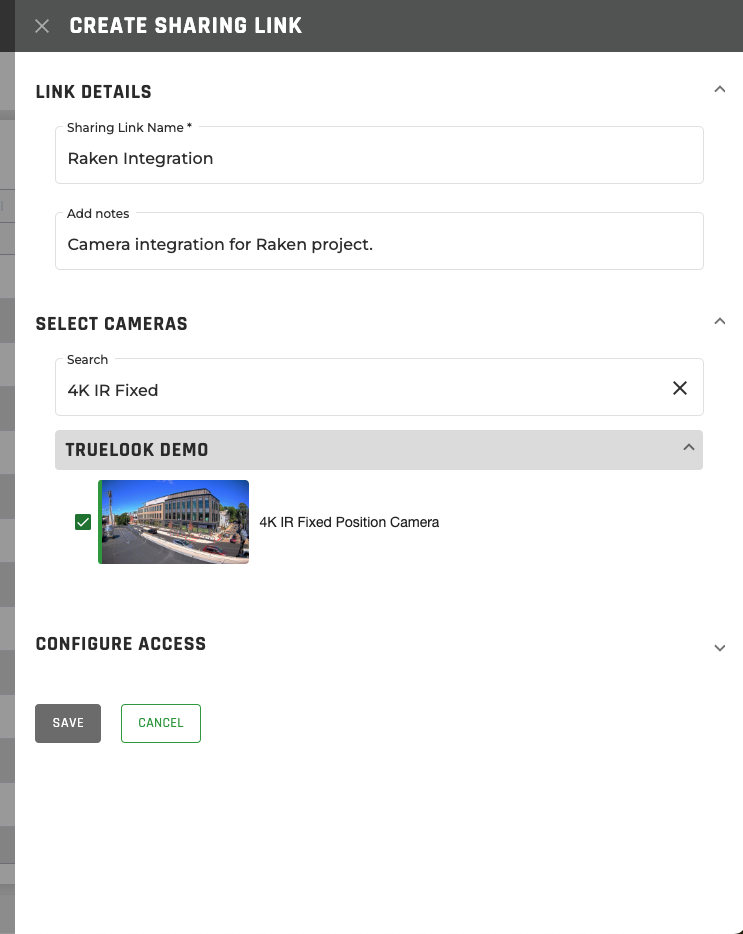
- Find your sharing link name in the Links table.
- Click the dotted menu icon on the same row to the right.
- Select Copy Link from the dropdown.

- Log in to Raken.
- Click on the Company tab at the top of the page then click on the Integrations tab.

- Click on the tile for TrueLook to open the integration settings.
- Click the
 Connect button in the top-right of the page.
 - Click Settings in the left sidebar.
- Under Project TrueLook sources: Select a Raken project and then paste your copied sharing link from TrueLook. Click Save.
- One camera can be linked per Raken project.
- To change the linked camera: At the bottom of this Settings page, you can delete any project-camera links. This is required to add a new sharing link to the project that was freed up.

- Once saved, you can view the TrueLook Camera from your Raken account project.
-
-
- Click the Projects button at the top of the page.
- Select the project the camera was linked to.
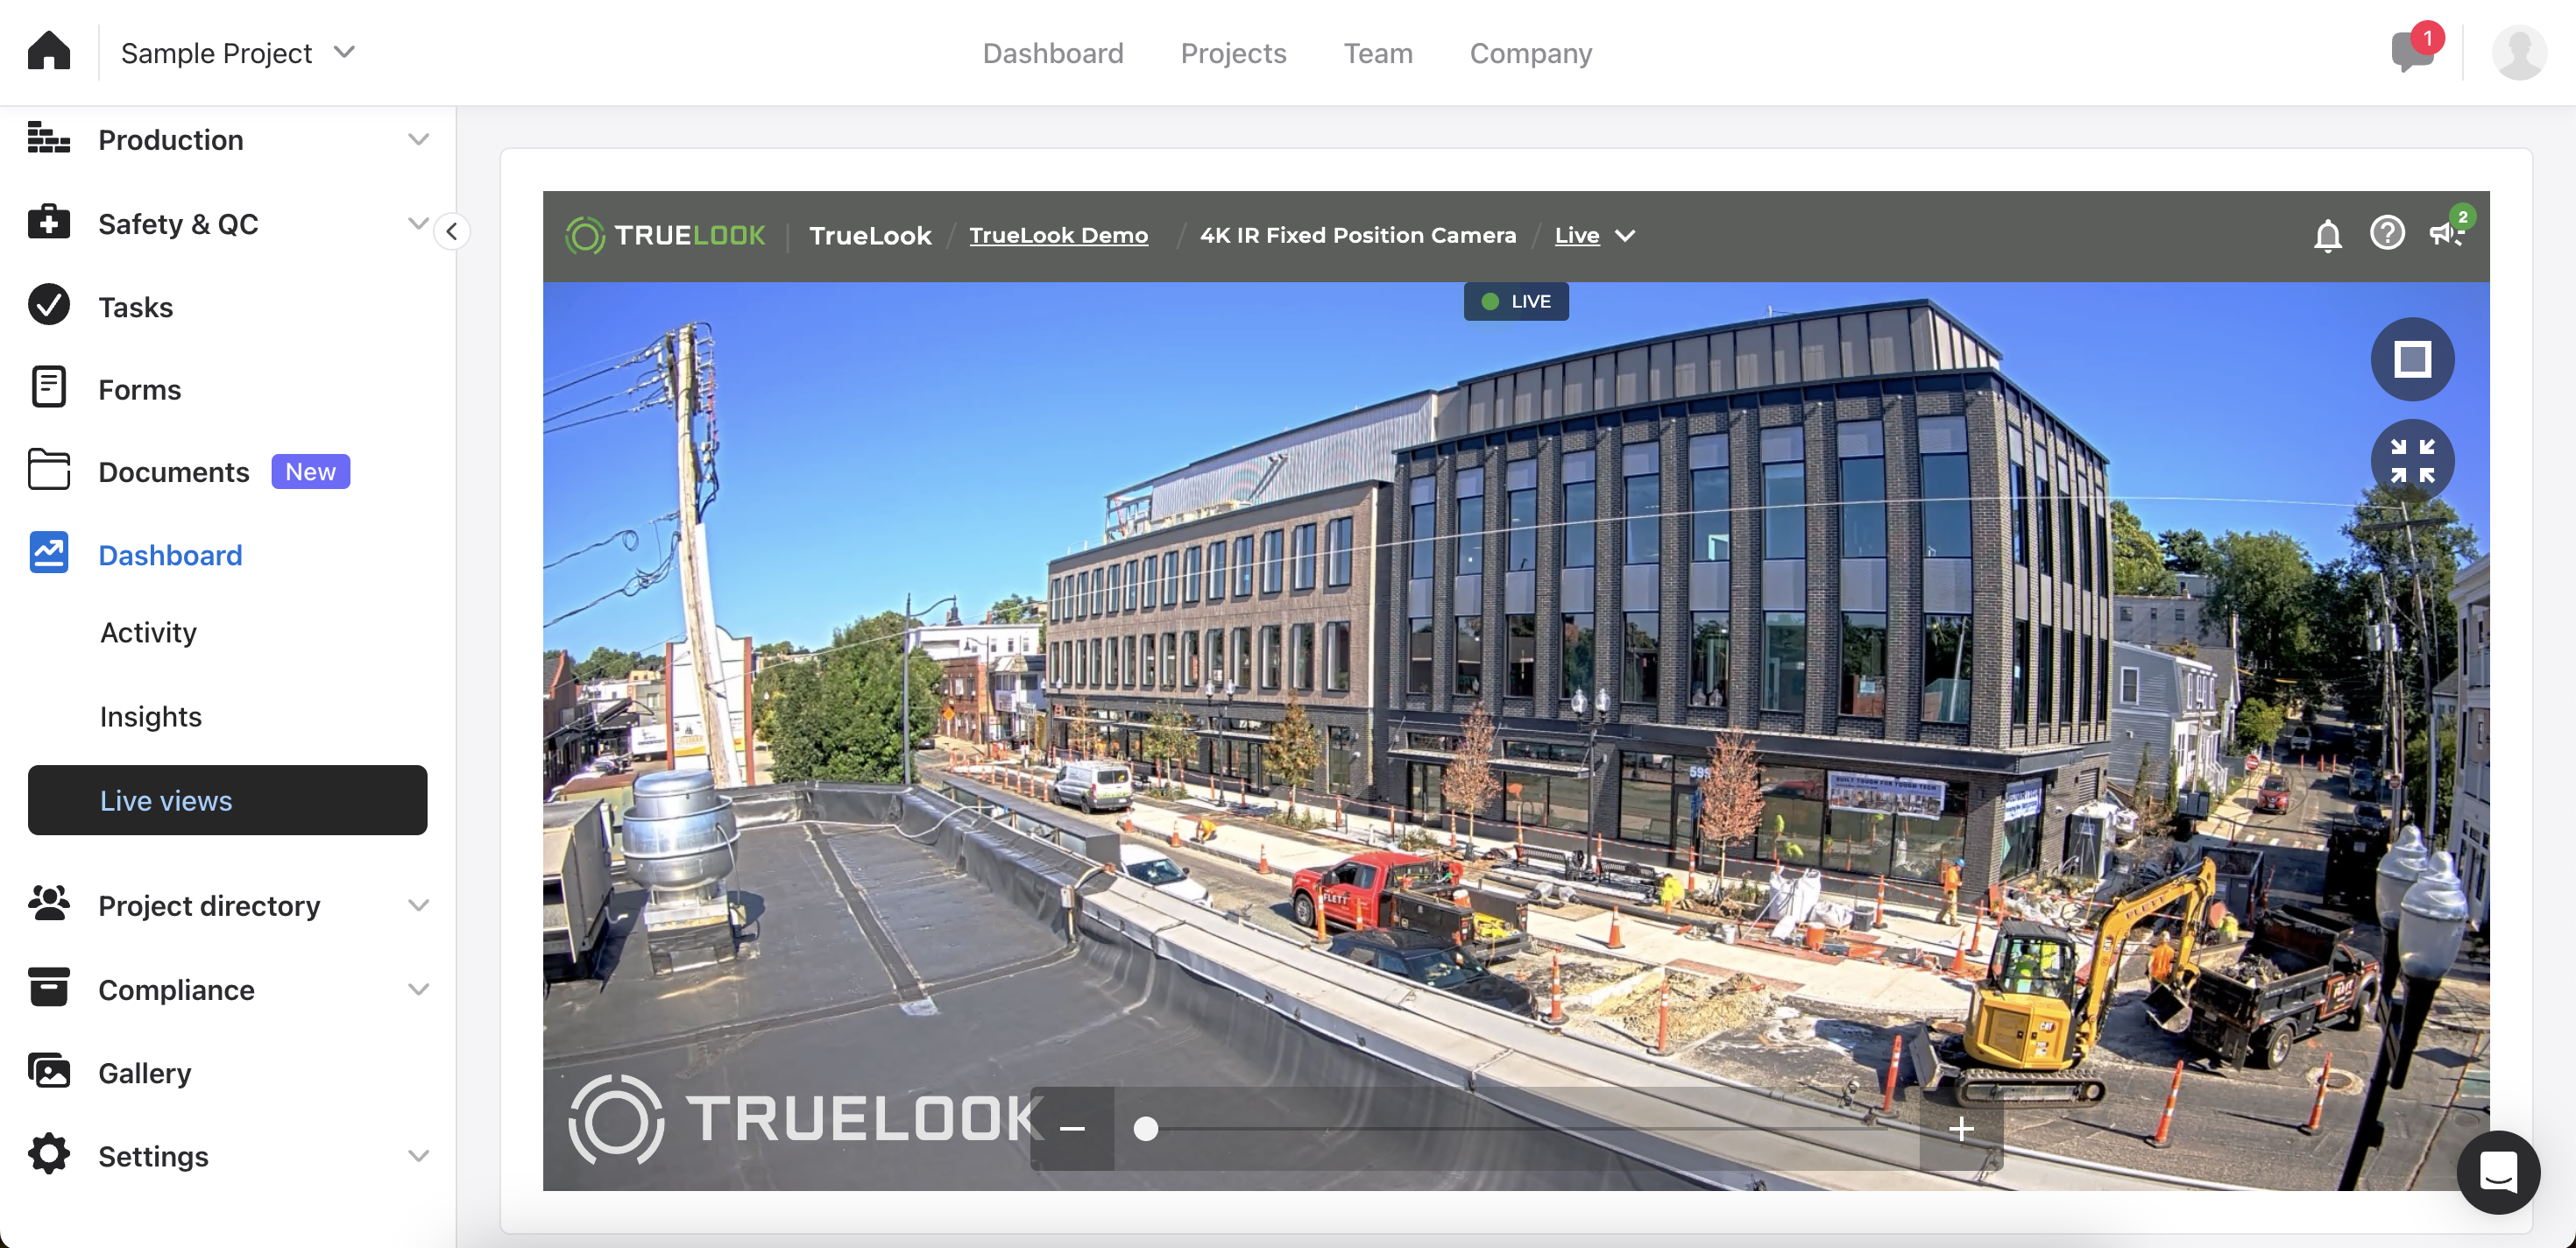
- Click Dashboard -> Live views
-
-
You can now view your TrueLook Camera from your Raken project!
Single Sign-On
For information on how to log in to the TrueLook Platform using your Autodesk or Procore credentials, see Single Sign-On.