Once you have selected a camera to view, you can select the Photo Albums page. There is one Photo Albums page for every project, no matter how many cameras are active for the project.
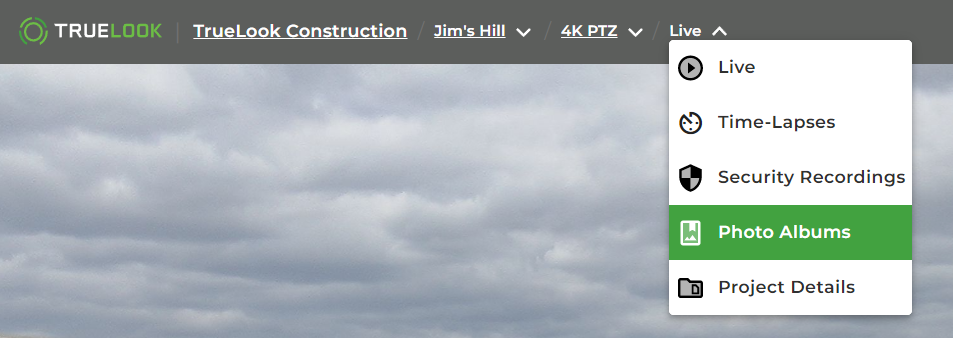
Photo Albums are used to store images or videos manually captured from the system as well as images uploaded directly through the application on a device like a tablet or a cell phone.

Albums can hold many photos or videos and you can create as many albums as you want for each project.
From here you can:
- Click into a photo album
- Rename an individual photo album
- Delete an individual photo album
- Upload additional photos and/or videos to a photo album
- Create a Photo Album
Viewing Photos and Videos
To view the individual media (photos and videos), click on a Photo Album.
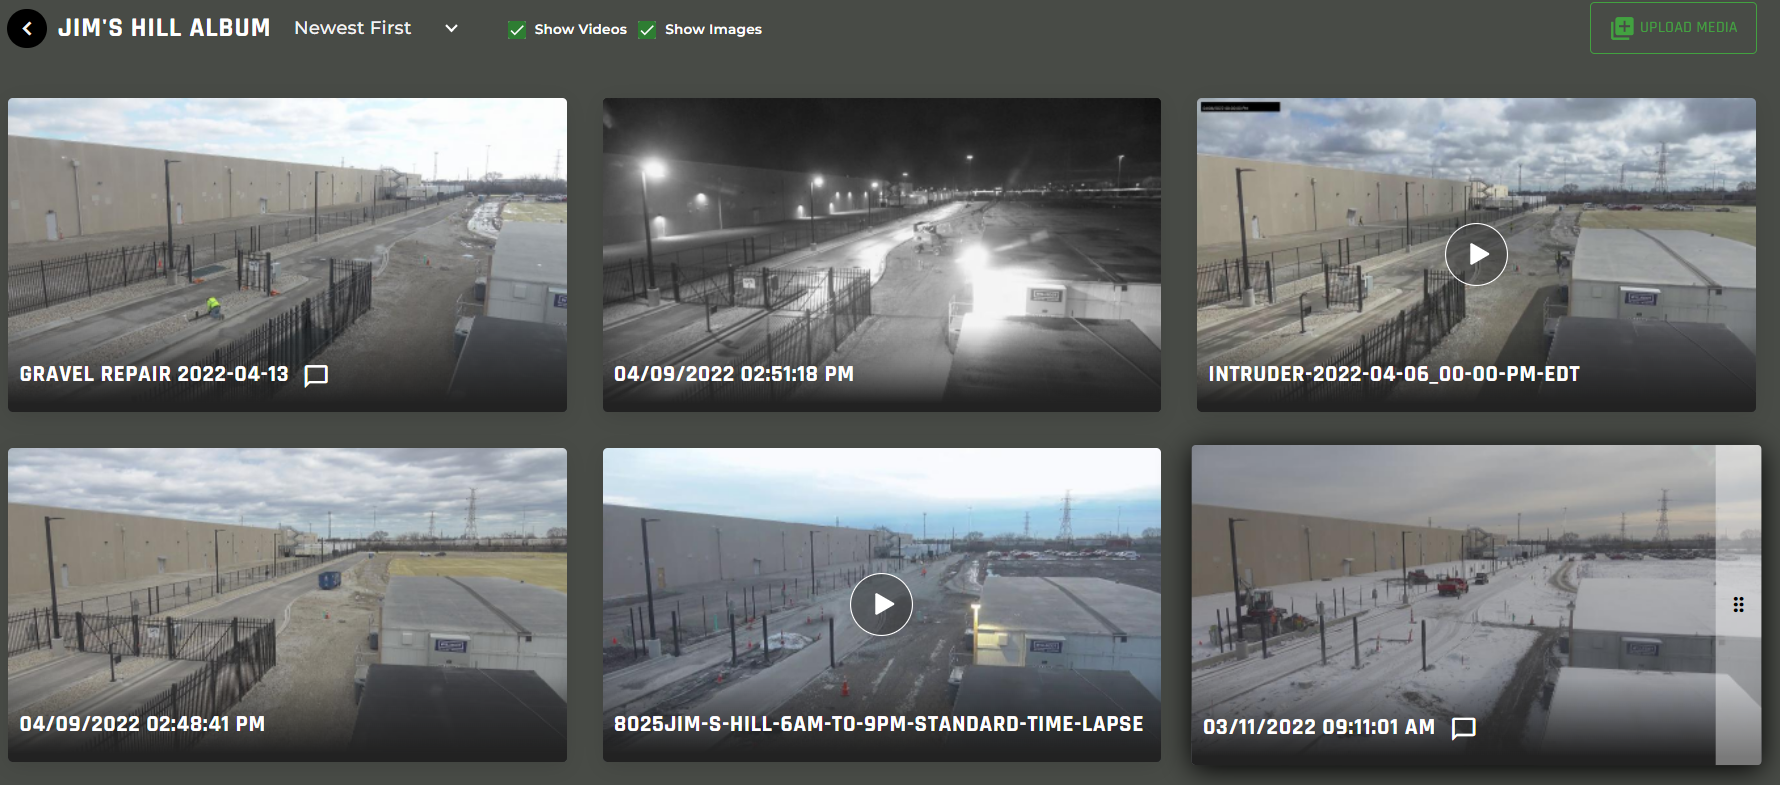
From here you can:
- View individual photos or videos
- View photo or video descriptions
- Rename an individual photo or video
- Delete an individual photo or video
- Search for a photo or video
- Upload additional photos and/or videos
Photo Album Media Viewer
Once you have clicked on an image in the photo album, the Photo Album Media Viewer will popup and display the image that you selected.
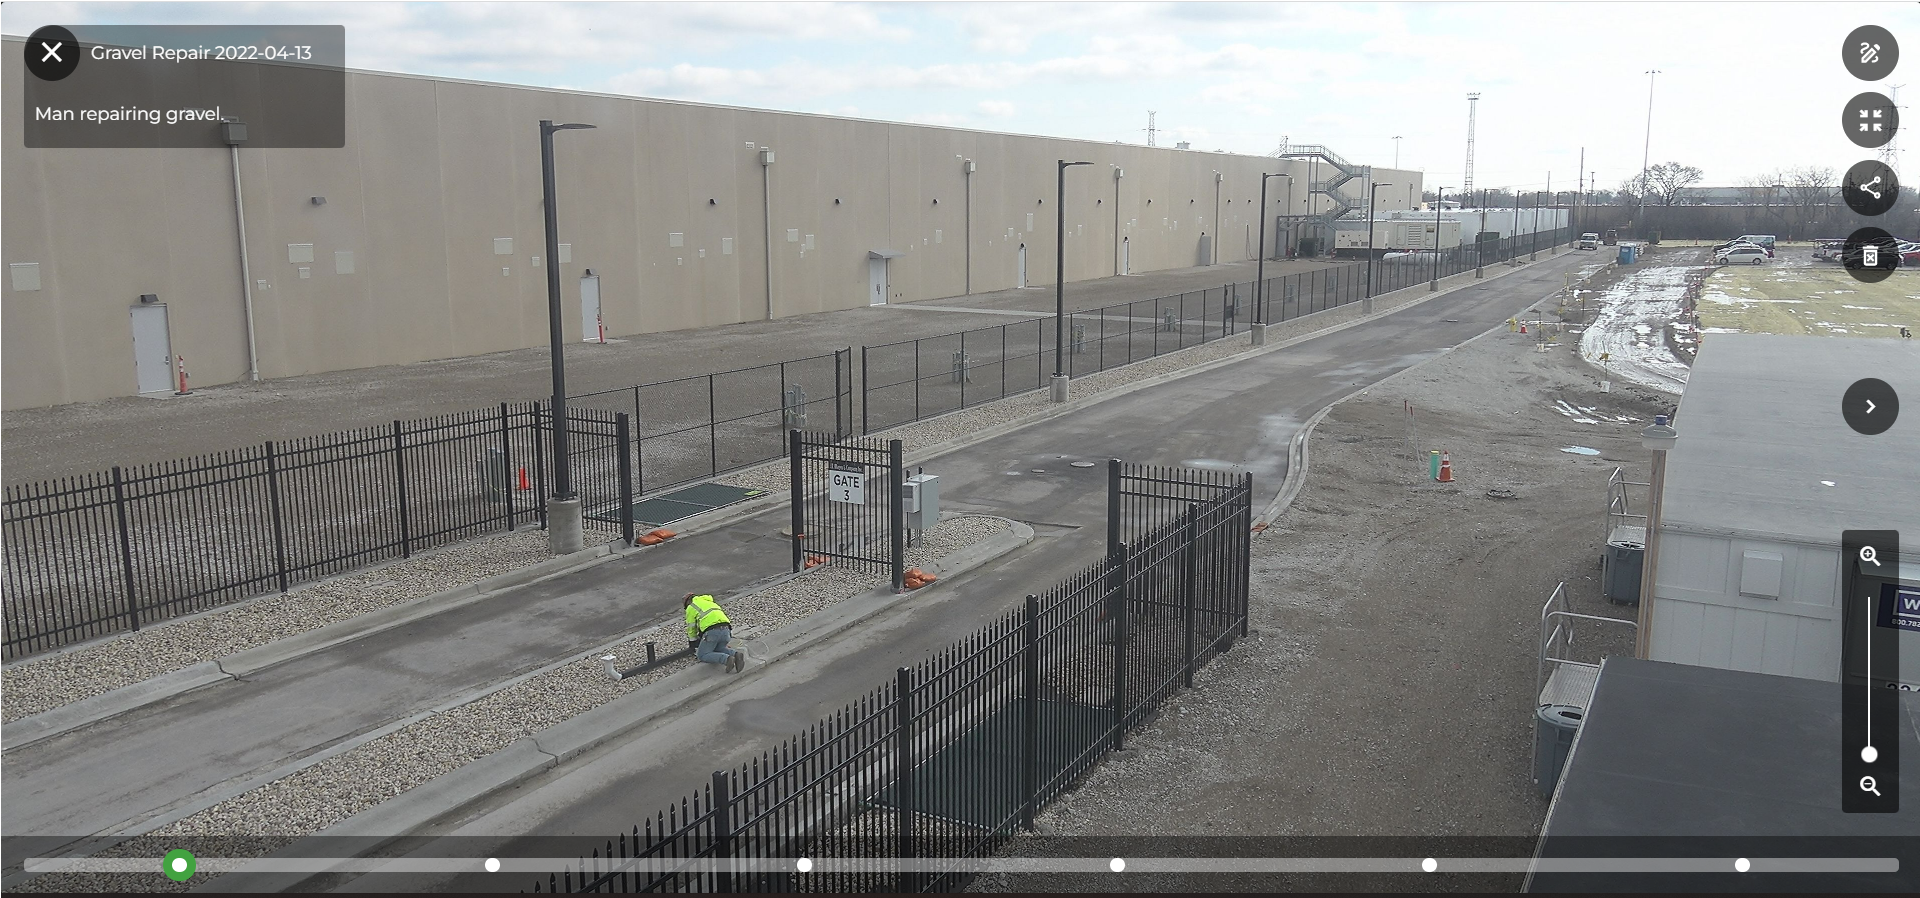
From here you can:
- View the photo or video
- Zoom In / Out on an individual photo (not available for video)
- Move to the Next or Previous photo or video
- Markup the photo (not available for video)
- Share the photo (not available for video)
- Delete the photo (not available for video)
- Increase/decrease Delete the photo viewing area for the photo (not available for video)
- Play all photos and/or videos in this photo album as a slideshow
- Note: each photo will be displayed for a few seconds and only the first few seconds of video will be shown while the slideshow is active.
Create Photo Album
From the Dashboard, navigate to your desired project/camera and click the Photo Album icon.
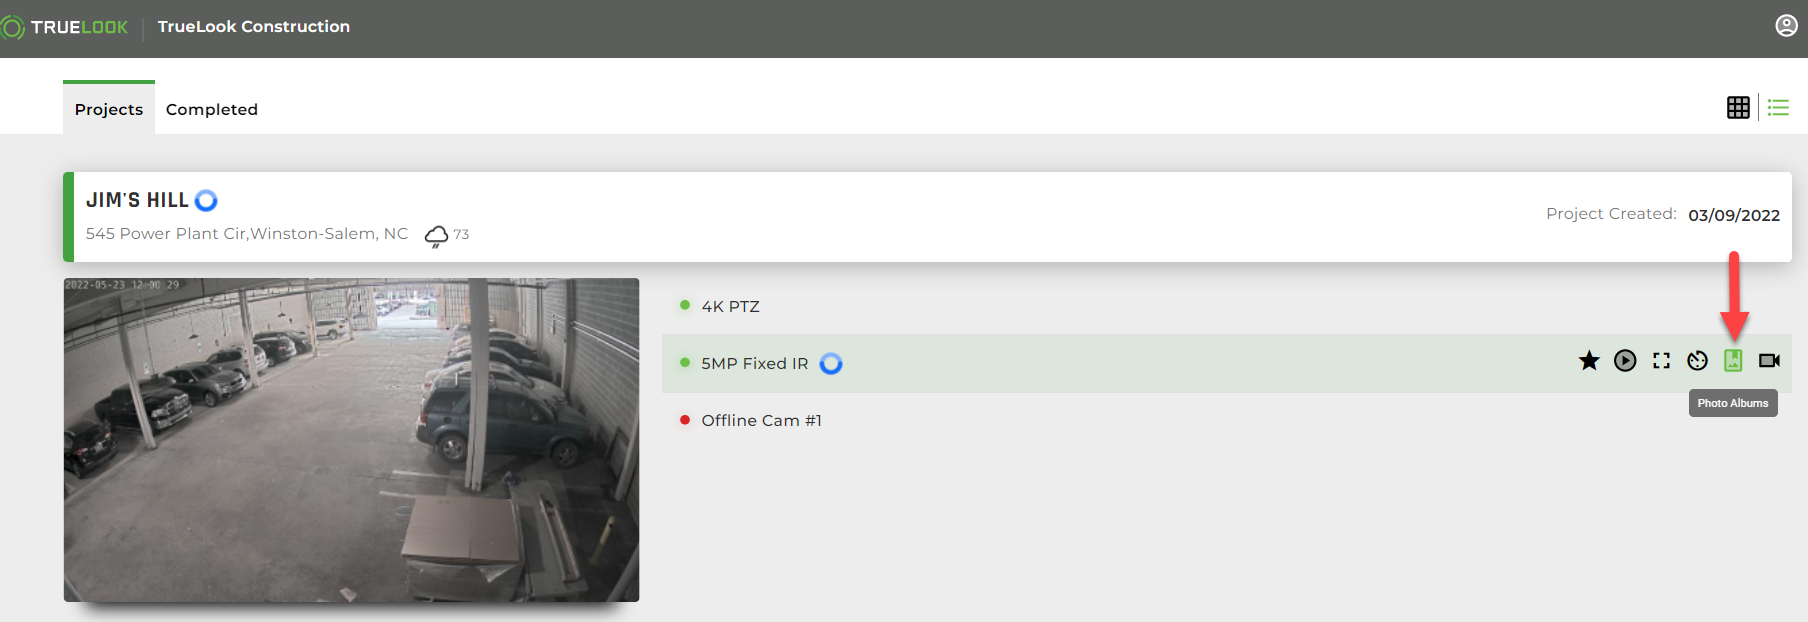
If you do not have any photo albums, the following page displays:
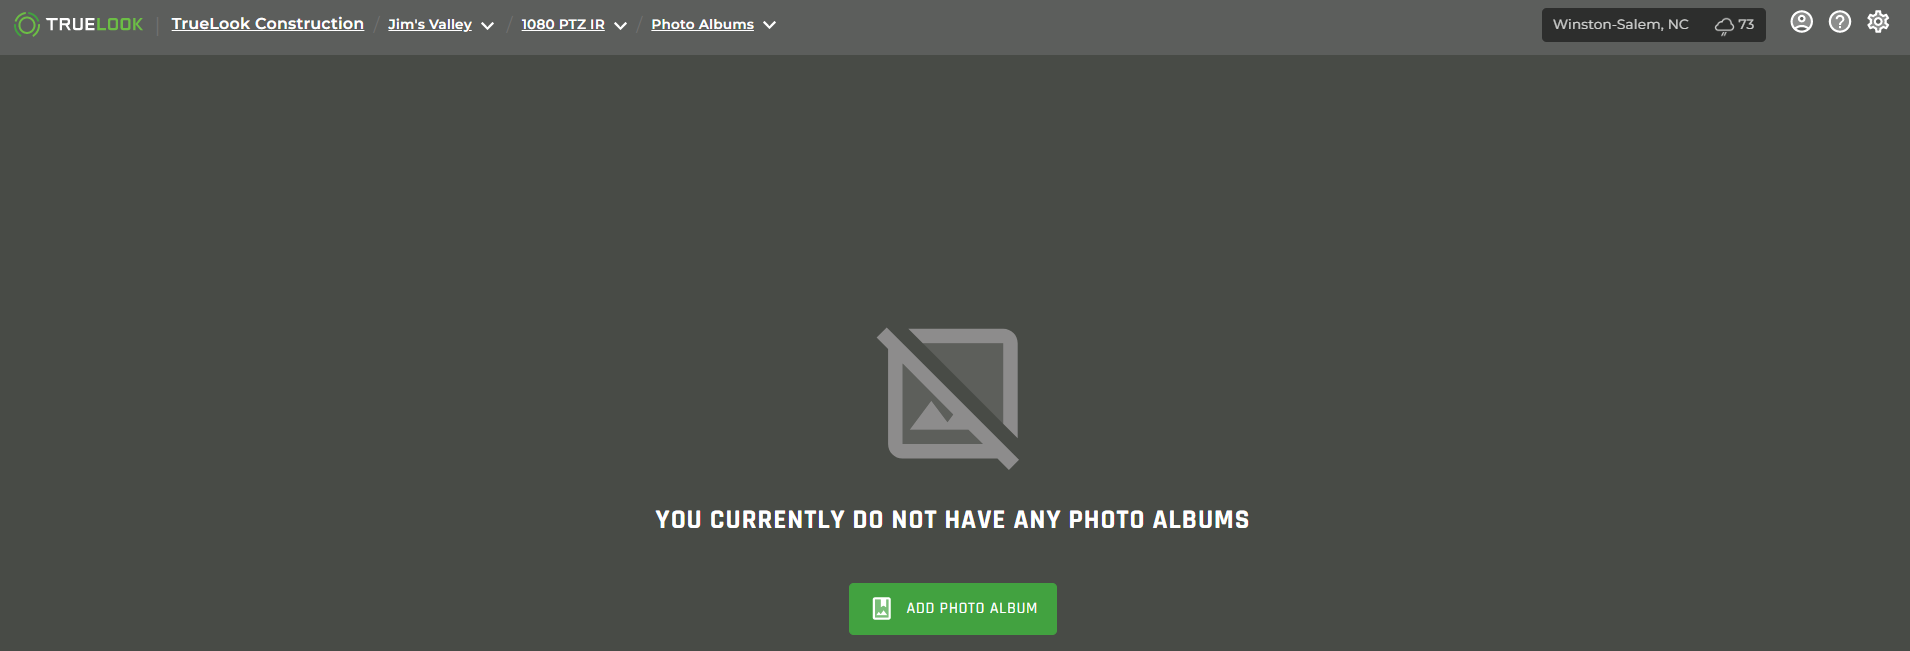
If you have existing photo albums, the page showing your existing photo albums displays.

1. Click Add Photo Album. The Add Photo Album window displays:
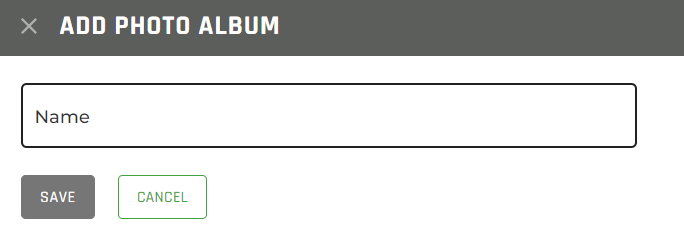
2. Enter a name and click Save.
The photo album appears in your photo albums list but there are no photos uploaded yet. See the Upload Files to Photo Album topic for detailed information.
Photo Album Menu Options
From this menu, you can add new photos, rename the photo album, download the entire photo album or delete the photo album. The meaning of each icon and the process for completing each of these options are outlined below.
To display the menu, hover over the desired photo album thumbnail. The menu is displayed at the bottom of the photo album.
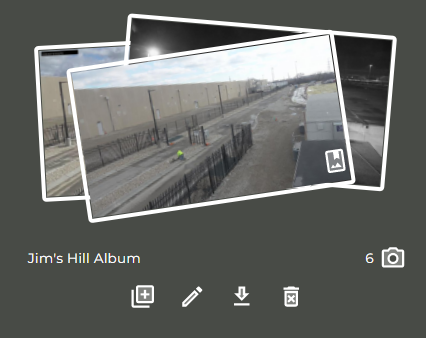
Add Photos to Album
![]() Click to upload files to the photo album.
Click to upload files to the photo album.
Rename Photo Album
![]() Click to rename the photo album.
Click to rename the photo album.
Download Photo Album
![]() Click to download the entire photo album.
Click to download the entire photo album.
Delete Photo Album
![]() Click to delete the entire photo album.
Click to delete the entire photo album.
Uploading Files
You must have already created a Photo Album to upload files. If you have not created a photo album, perform Step 1 from Create a New Photo Album topic.
You can either upload a photo directly from the Photo Album cover or from within the Photo Album.
Uploading Files From Photo Album Cover
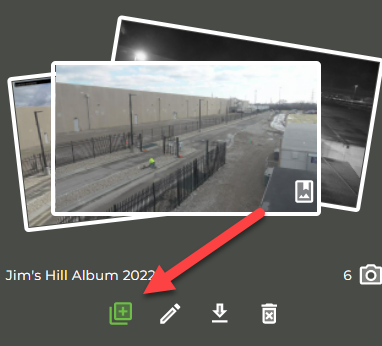
Hover over the desired photo album thumbnail and click the Upload Media icon to display the Upload Media drawer.
Upload Files Within Photo Album
If the photo album does not contain any photos or video yet, the following page displays.
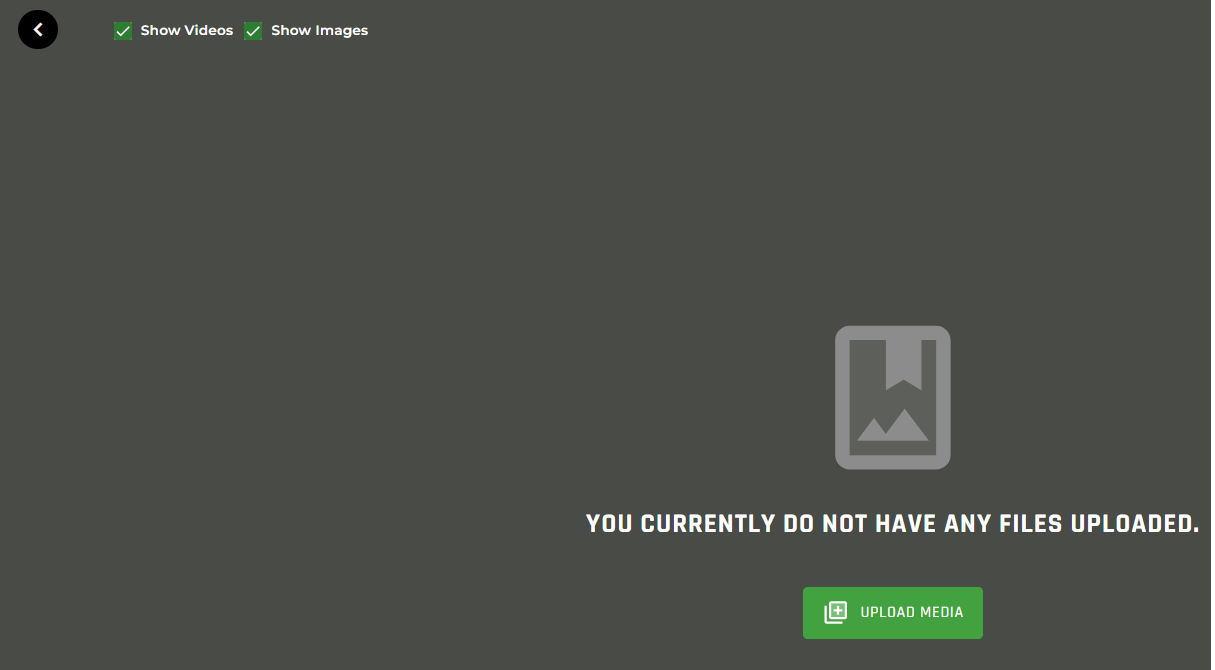
If the photo album contains files, you will see the Upload Media button in the top right, above the photos and/or video.

Click the Upload Media button to display the Upload Media drawer.
Upload Media Drawer
- Once you have clicked the Upload Media button/icon, the Upload Media drawer is displayed.
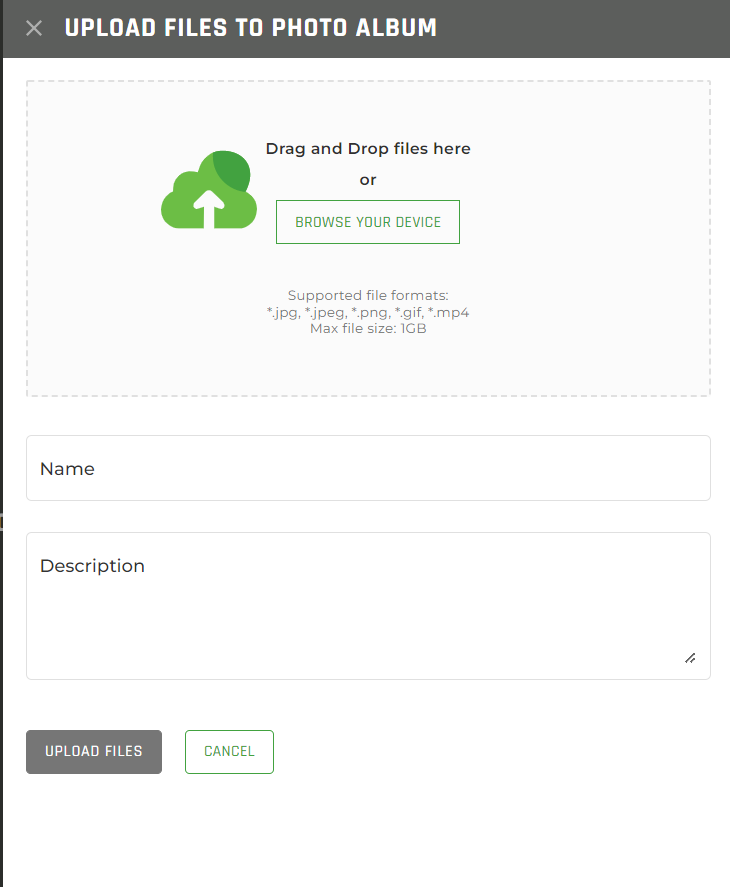
- Click BROWSE YOUR DEVICE or drag and drop the image files you want to upload to the window.
- If you have selected only one file to upload, enter a Name for the uploaded file. If you have selected more than one file to upload, Name is not an option.
- Enter a Description for the images.
- When finished, click Upload Files.
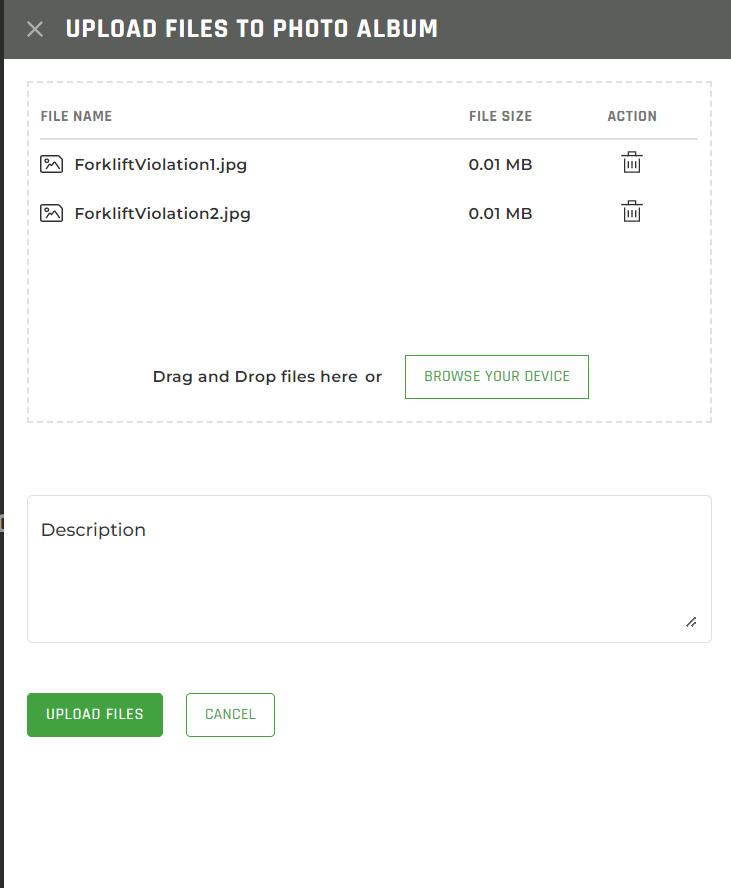
Upload Drawer - The files are now uploaded to the photo album.
Renaming Photo Albums
Photo albums can be renamed by performing the following steps.
- Hover over the desired Photo Album thumbnail and click the Rename icon from the menu.
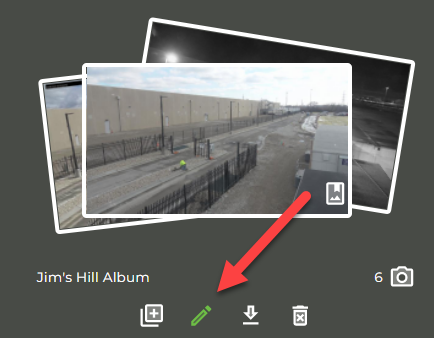
- The Rename Photo Album drawer displays.
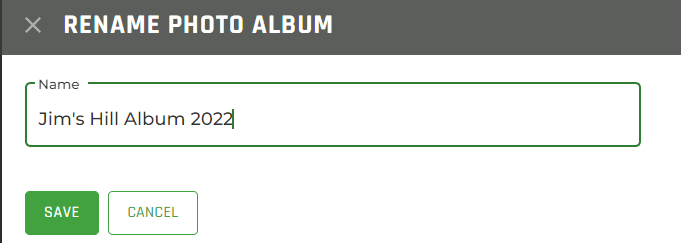
- Enter a new name for the photo album and click Save.
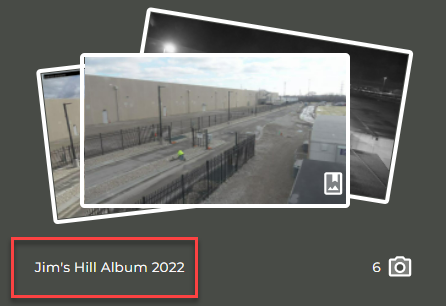
- The photo album will then be renamed on the Photo Albums page.
Download an Entire Photo Album
An entire photo album can be downloaded by performing the following steps:
- Hover over the desired Photo Album thumbnail and click the Download icon from the menu.
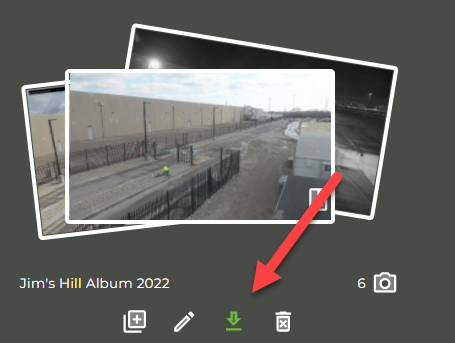
- You will receive a snack bar message stating the file is being created.

- Check your email for a subject line reading: Your Album images are ready for download now!
- In the email, select the Click to Download link to retrieve the downloaded Photo Album. You have 7 days to retrieve this downloaded Photo Album.
Delete a Photo Album
Photo albums can be deleted by performing the following steps.
- Hover over the desired Photo Album thumbnail and click the Delete icon from the menu.
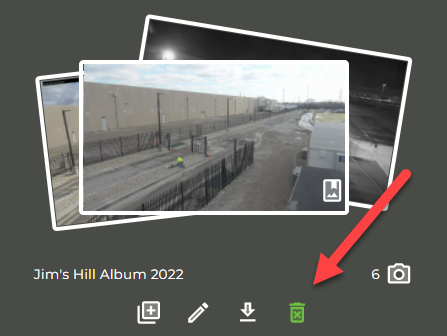
- The following message displays.
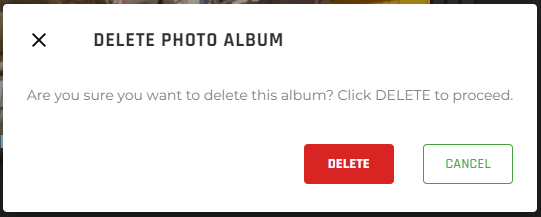
- Click Delete. The following message displays and the Photo Album is removed (deleted) from the page.

Filter Files in Photo Album
You can filter a photo album to show only images or videos. By default, the photo album shows all images and videos.

To show only videos, click the Show Videos box.
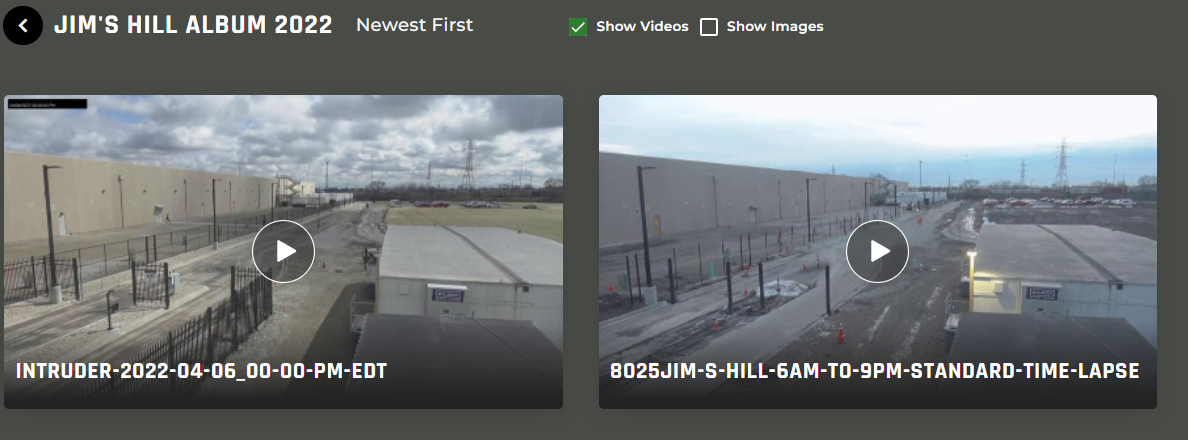
To show only images click the Show Images box.
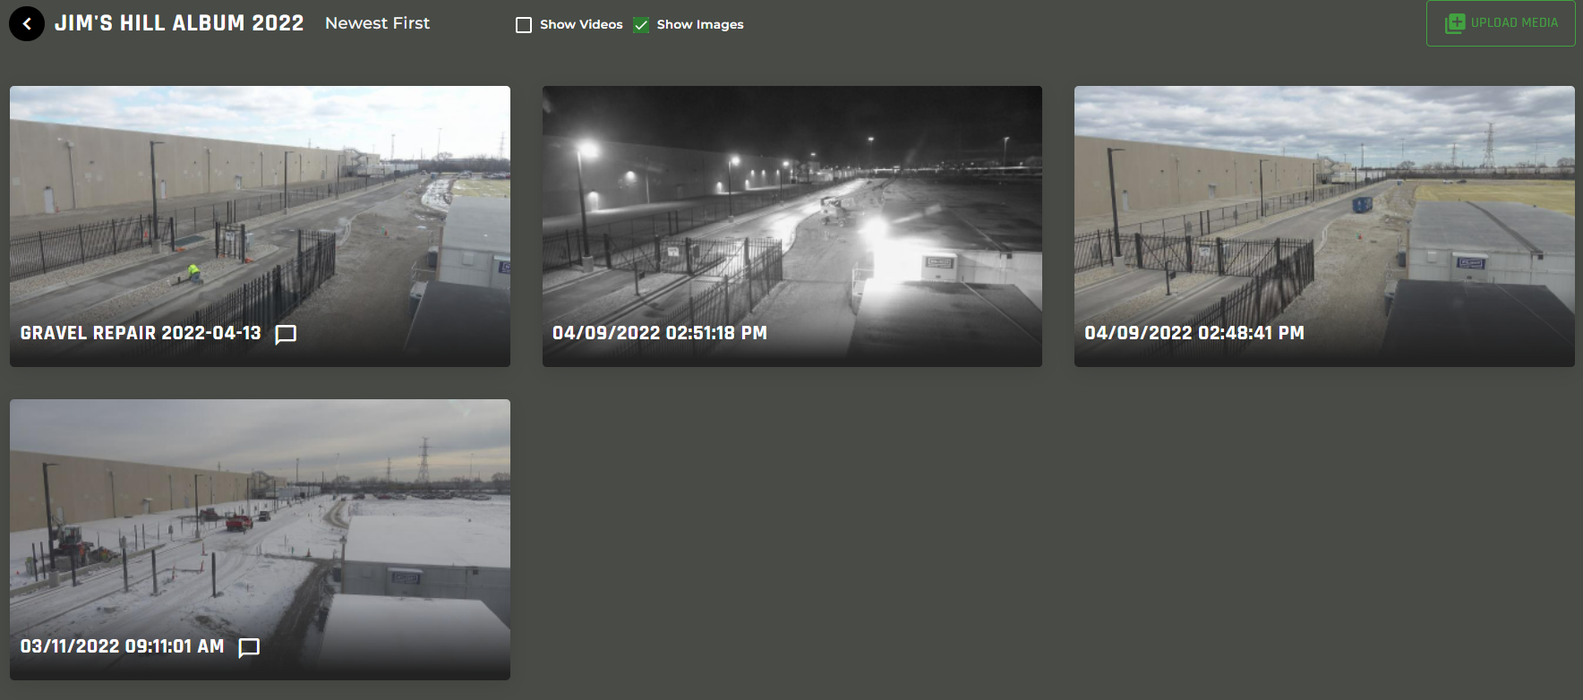
Manage Images/Videos within a Photo Album
You can rename, download, share or delete an image/video from within a Photo Album. There is also an additional option for photos, allowing you to add markups.
To display the image/video photo album menu, hover over the desired image/video thumbnail and click the vertical ellipses on the right side of the image/video.
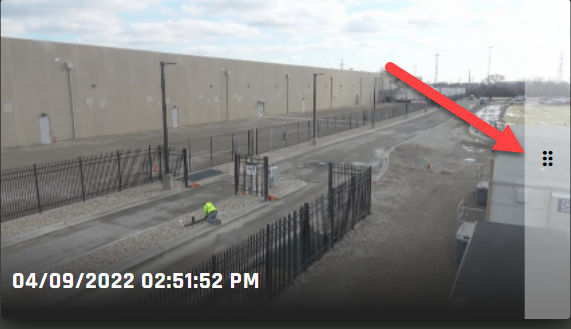
Once you click the vertical ellipses, the full image/video photo album menu is displayed.
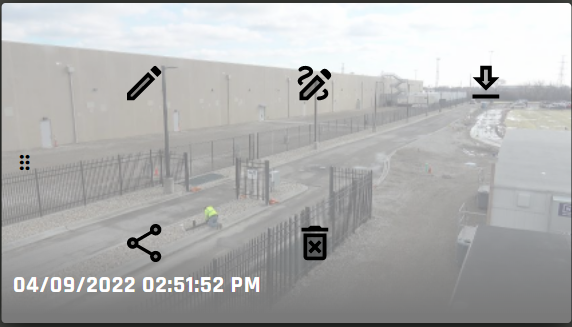
Reminder: Markup is only available on images.
Photo/Video Menu Options
Rename Photo/Video
 Click to rename the photo or video.
Markup Photo
 Click to markup the photo.
Download photo/video
 Click to download photo/video.
Share photo/video
 Click to share photo/video.
Delete photo/video
 Click to delete photo/video.
Rename Image/Video
- After displaying the image/video photo album menu, click the Rename icon from the menu.
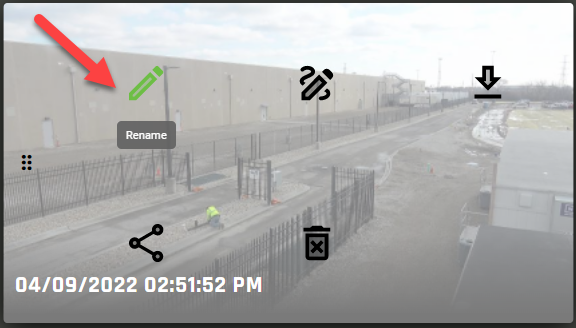
- The Rename File drawer displays
- Enter a new Name for the image/video.
- If desired, enter a Description for the image/video.
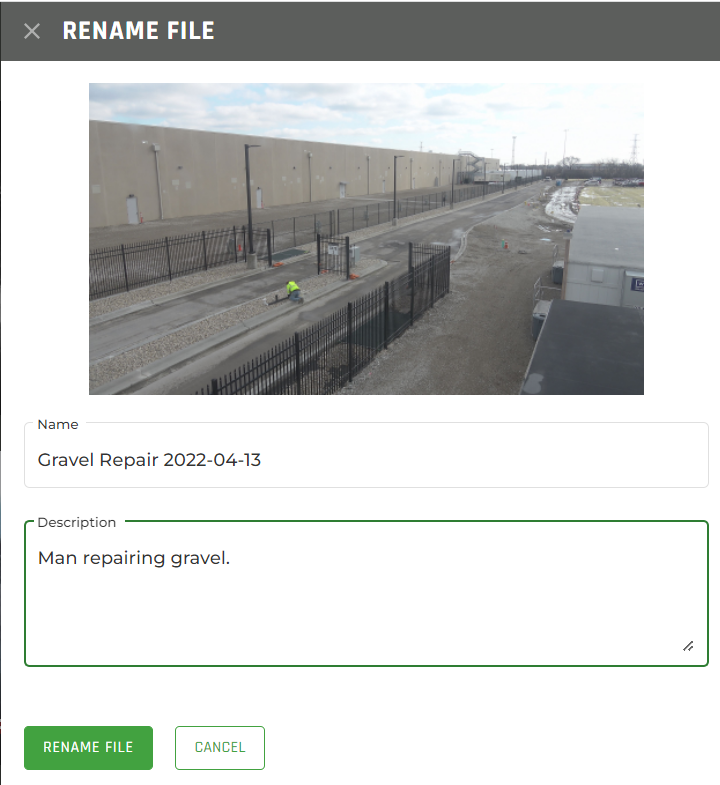
- Click RENAME FILE.
- You will receive a confirmation message that reads:

- The photo will now appear renamed on the Photo Albums page.
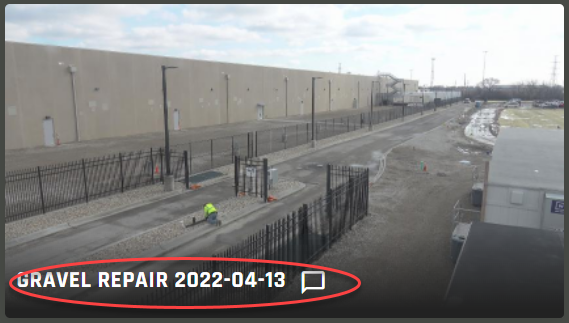
- If you do not want to save any changes, click CANCEL.
Markup Image
Refer to our Markup Image section under Sharing Videos & Images for more information about how to mark up images. Please note that the markup option is only available for images.
Download Photos:
Photo album images can be downloaded by performing the following steps.
- After displaying the image photo album menu, click the Download icon from the menu.
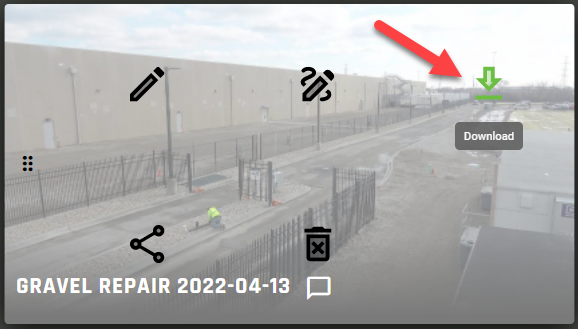
- The download image drawer is displayed.
- You can choose to add the project name, address and/or timestamp to the image.
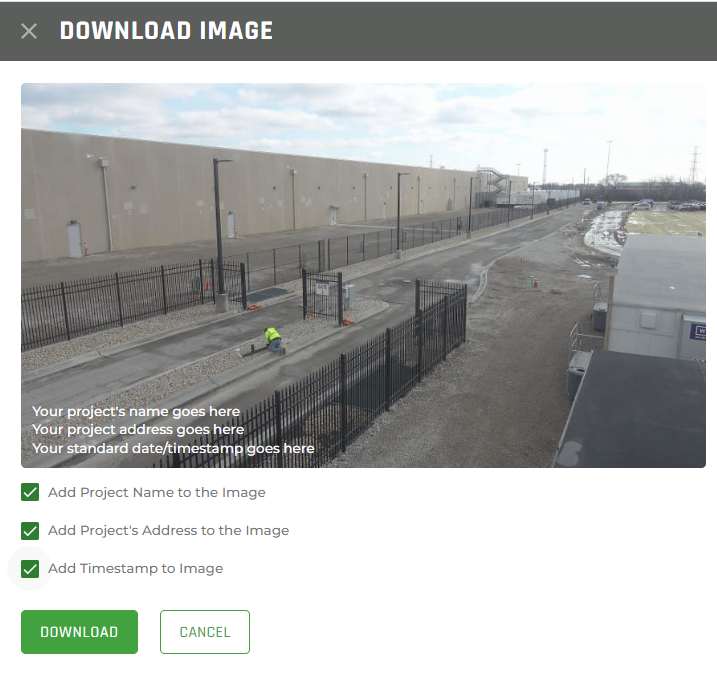
- Click DOWNLOAD to download the image. Once the image has started downloading, you will receive a confirmation message:

- Check your Download folder (or download area of your browser) to retrieve the downloaded image.
- If you do not want to download the image, click CANCEL.
Download Videos:
Photo album videos can be downloaded by performing the following steps.
- After displaying the video thumbnail, click the Download icon from the menu.
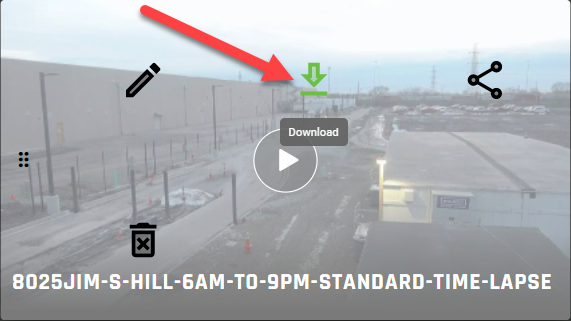 \
\ - Once the video has started downloading, you will receive a confirmation message.

- Check your Download folder/area for your browser to retrieve the downloaded video.
Share Photos/Videos:
You can share a photo album image or video
Refer to Sharing Videos & Images for more information on how to share a photo or video.
Delete Photos/Videos:
Photo album images and videos can be deleted by performing the following steps.
- After displaying the image/video photo album menu, click the Delete icon from the menu.
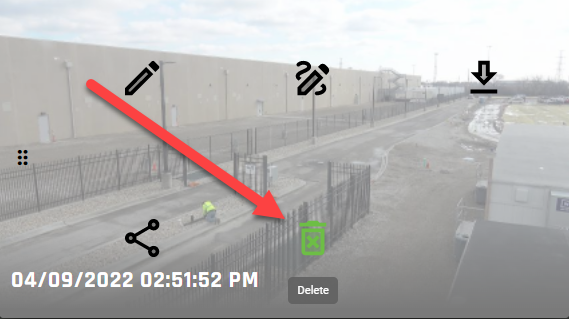
- When you receive a confirmation to delete the file, click DELETE.
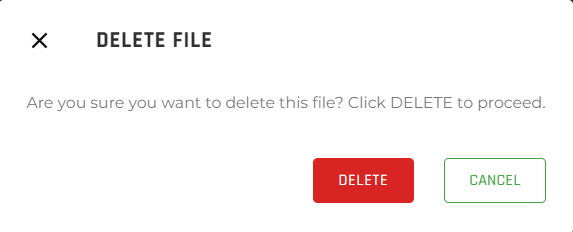
- If you do not want to delete the image, click CANCEL.