Watch the Overview or Continue Reading to Learn About our Dashboard
View Control
You can switch between views by selecting one of two icons in the View Control located in the upper right of the Dashboard page:
Camera ViewLists your active cameras as well as completed camera thumbnails sorted by project. |
|
Project ViewDisplays your active and completed projects along with a list of the cameras within each project. |
|
Map ViewShows a geographical view of your active and completed projects. |
The last view selected is the default page for the dashboard. For example, if your last view on the dashboard was the project view, the next time you log in or navigate back to the dashboard, the project view will be displayed.
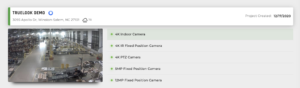
Project View
When you click the project view, you will see a list of your projects and their associated cameras. The project tab has active projects displayed by default. To view completed projects, click the completed tab.
From the project view, you can toggle between a view of active or completed projects. You can also add a camera to your favorites or view any of the following:
- Time-Lapses
- Live View
- Default View
- Security Recordings
- Photo Albums
The following statuses are associated with the project view:
 |
A green bar indicates active projects. |
 |
A gray bar indicates completed projects. |
From this view, you can see the current weather conditions at each project’s location and the number of live cameras for each project.
Note: Users only have access to the projects they are assigned to. The Customer Admin has complete control over which projects each user can access. If a user is given access to only one project, they will not be able to access the main dashboard or the drop-down list of other projects.
Camera View
When you click the camera view, you will see a thumbnail image of all of your active cameras grouped by project. The cameras tab is shown by default and it lists all active cameras. To view previous camera media, click the completed tab.
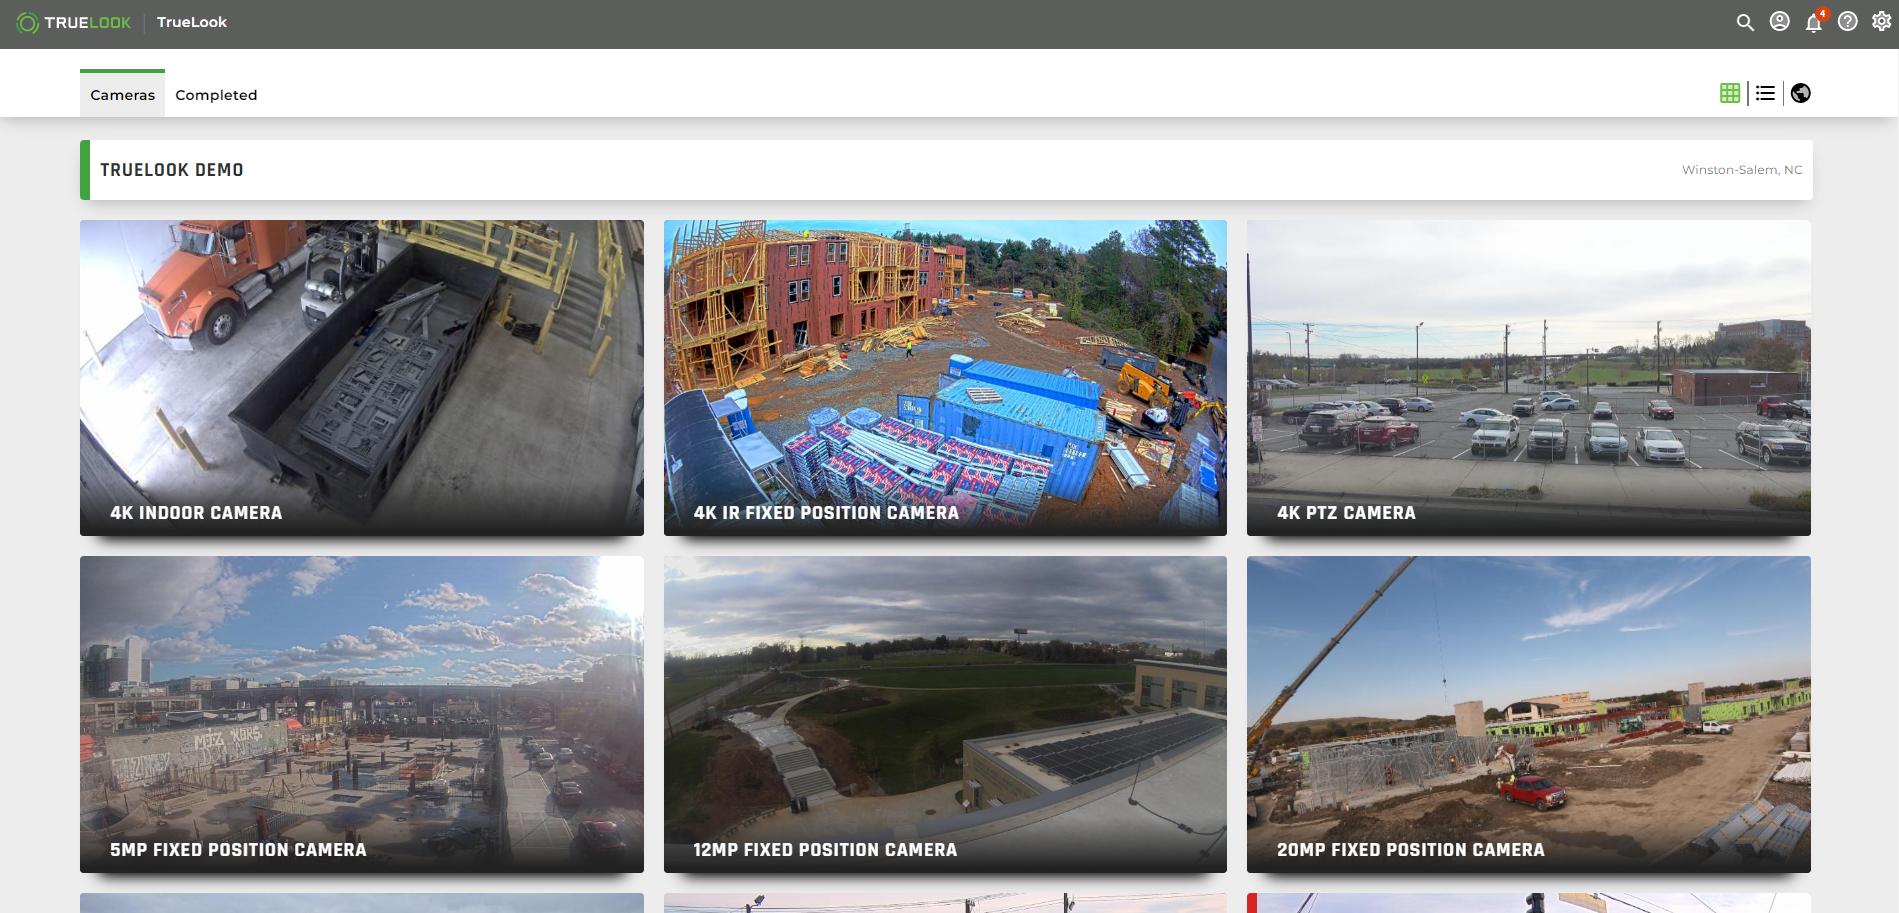
Camera Statuses
The following statuses are associated with the Camera view:
|
A green bar indicates online camera(s). |
|
A gray bar indicates completed cameras. |
 |
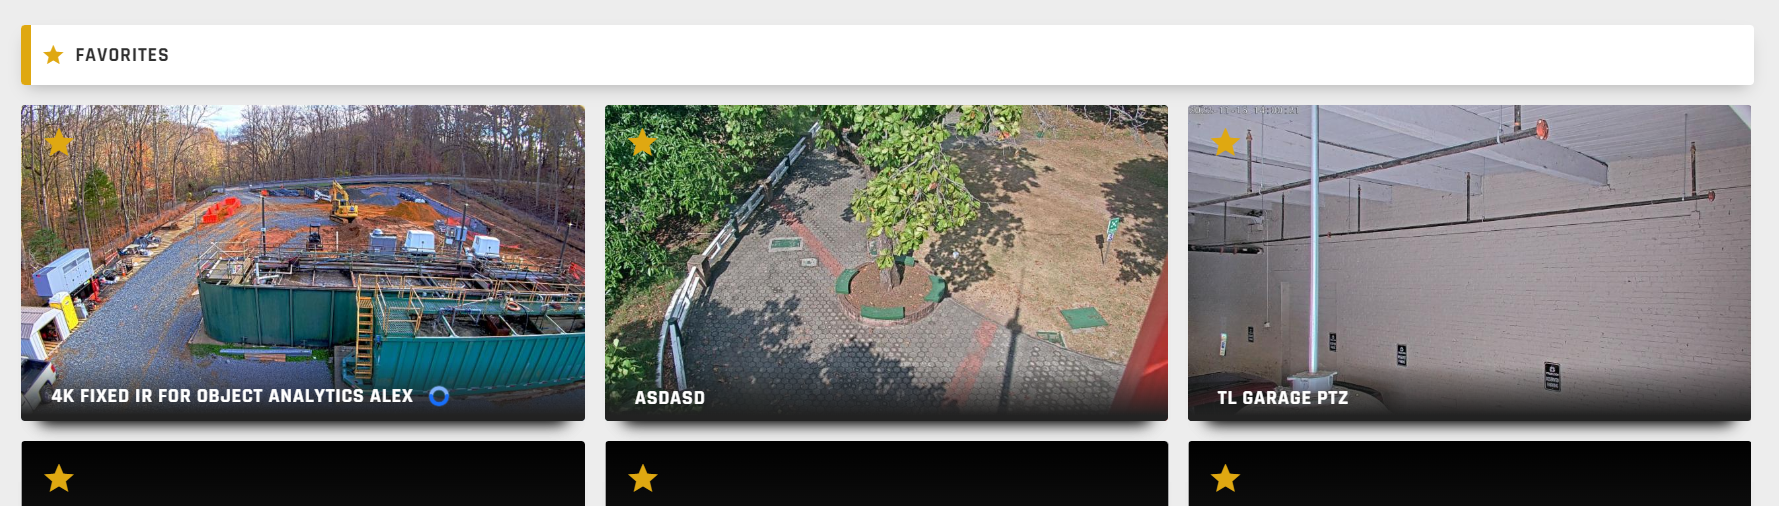
A yellow bar indicates your favorite cameras. |
 |
A red bar indicates active jobsite surveillance alerts (if applicable). |
Favorite Cameras
Favorite cameras are displayed at the top of the camera view for quick access.
To mark a camera as favorite, click on the vertical ellipses on the right edge of that camera’s thumbnail. Then select the star icon.
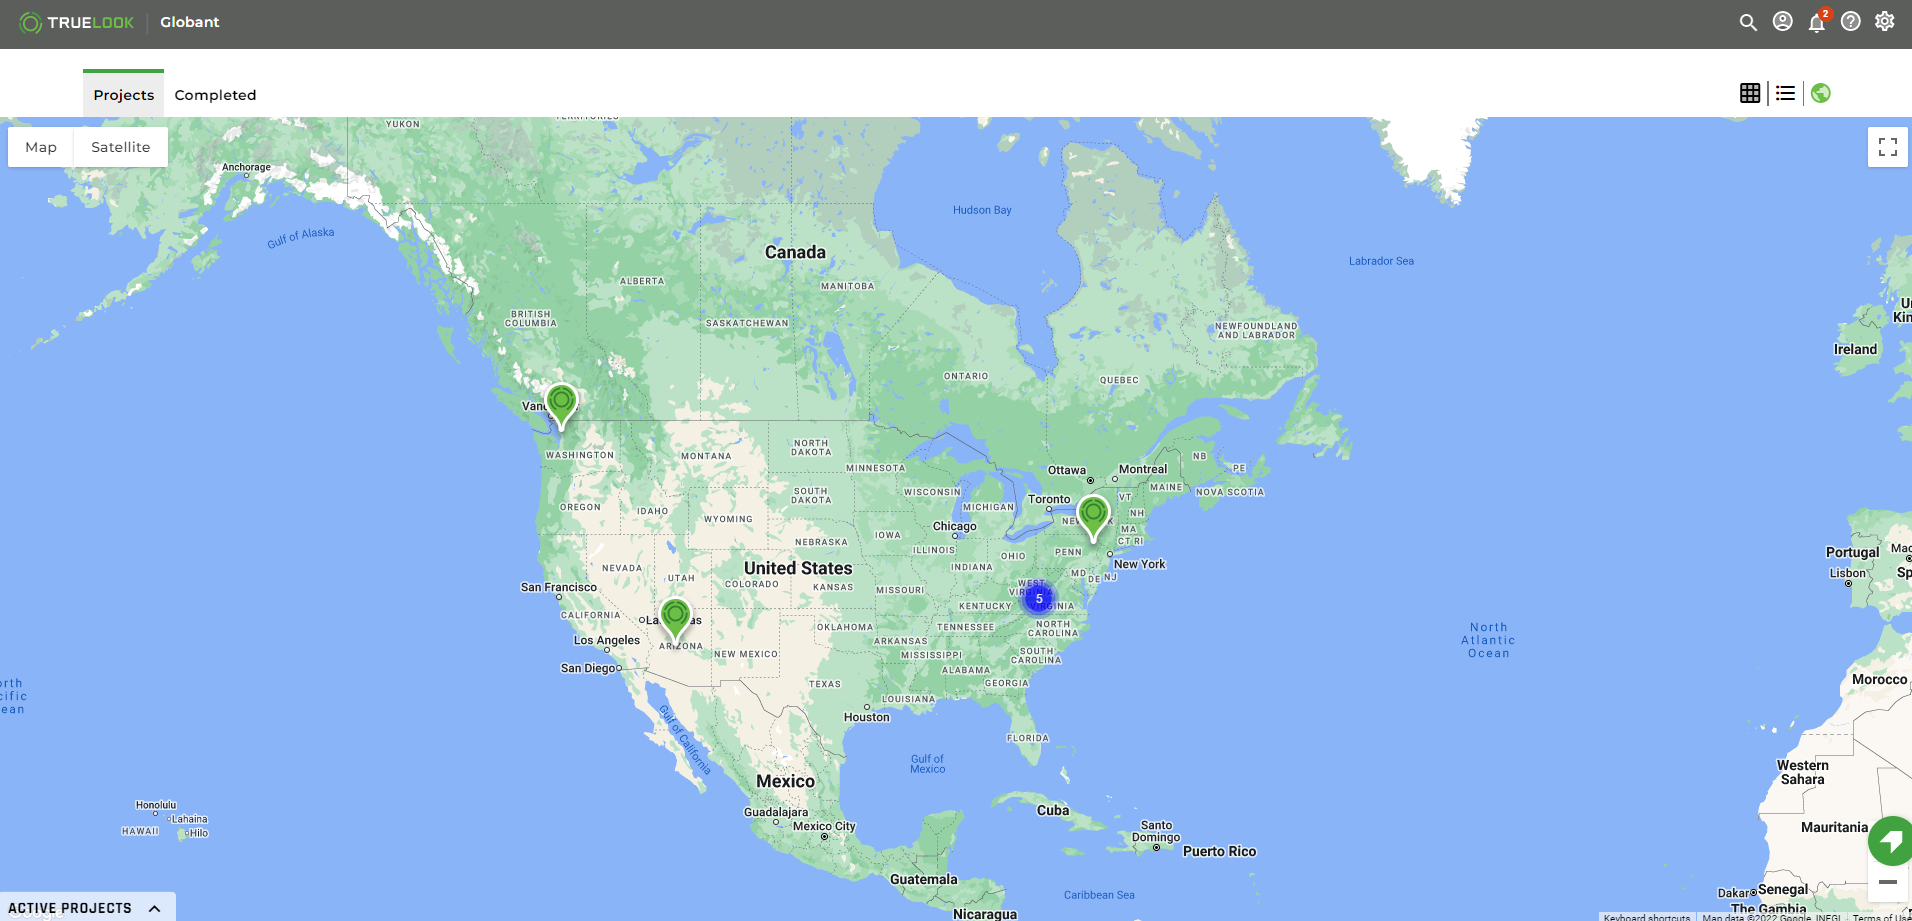
Map View
Locating a Project
From the dashboard, click the map icon ![]()
From this view, you can geographically locate your projects. By default, your active projects are displayed on the map and the map is centered based on where a majority of your projects are located.
Single Project |
If only one project is located in an area, the project is represented by a single map marker. |  |
Multiple Project |
If you have multiple projects located in an area, those projects are represented by a blue map marker. The number is how many projects are located in that area. |  |
Active Project |
Active projects are identified by a green map marker and only displayed on the projects tab. | |
Completed Project |
Completed projects are identified by a gray map marker and only displayed on the completed tab. |  |
Full Screen View |
To view in full screen, click the full screen icon. | |
Terrain View |
To show terrain, click map and then check terrain. | 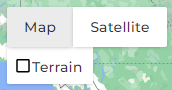 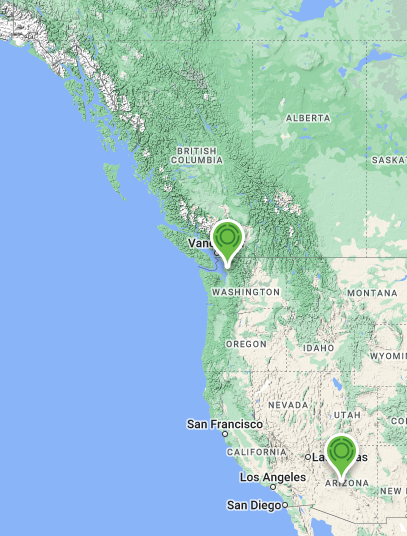 |
Satellite View |
To switch from map (the default) to satellite, click satellite. Labels can be checked to see location labels/borders or unchecked to hide those. | 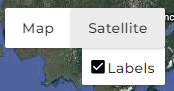 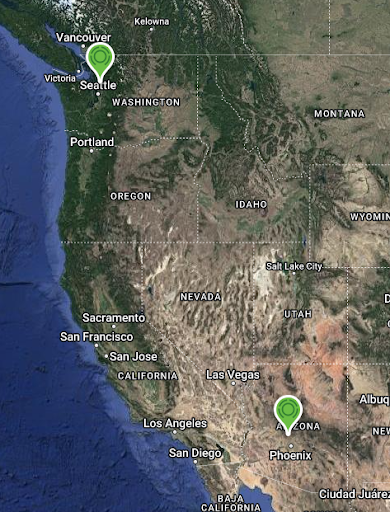 |
Zoom In/Out |
You can use the zoom controller to zoom in and out on the map. |  |
Map View Project Details
You can view the details of a project from the map by clicking on the desired map pin.
Live View |
You can click the camera icon to view the camera’s Live View page. | |
Weather |
The weather is also displayed for that project’s location. |
Project Carousel
You can also view your projects using the project carousel which is located at the bottom left of the map and collapsed by default. Click to expand the carousel and browse with the side arrows or select a project you wish to view.

Global Actions
There are several actions located in the header that you can use to navigate to key areas.

| Global Search | This icon allows you to search within the platform. |  |
Account |
Account Options:
|
 |
Notifications |
Click the Notification icon to view alerts. Unread alerts are indicated by a red circle. |  |
Help |
The help icon links you to support.truelook.com for help articles and how to videos. |  |
Settings |
The settings icon allows you to:
|
 |
Resource Center |
Allows you to view announcements, give feedback, and launch product guides. |  |
Global Search
Global search allows you to search for the following artifacts from any page within the TrueLook platform:
- Projects
- Cameras
- Photo Albums
- Photos
- Movies
- Time-Lapse Movies
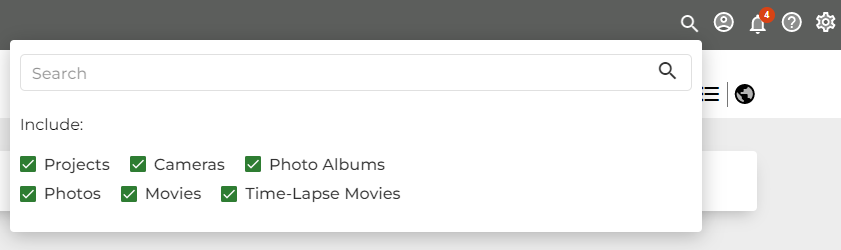
How to Search
Enter at least three characters into the search box and results will appear in order of relevance. You can limit your results with the checkboxes by unchecking areas you don’t want to be included in the search.
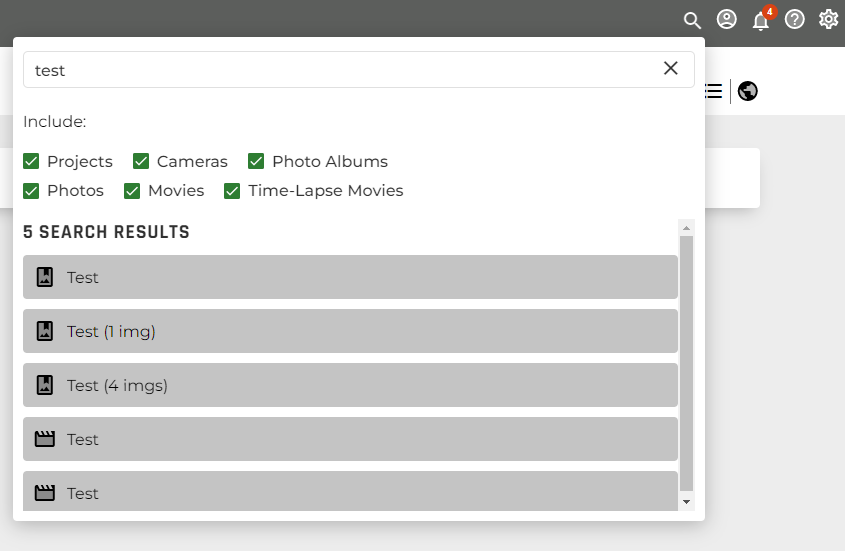
Search Results
If results are available based on your search criteria, you will see the total number of search results available and the list of options. You can scroll (if necessary) to find your desired result and select it to go to that area of the platform.
The icons next to each search result indicate what type of result it is:
| Represents Time-lapse movie(s) results. | |
| Represents camera(s) results. | |
| Represents Project(s) results. | |
| Represents Photo Album(s) results. | |
| Represents Photo(s) results. |
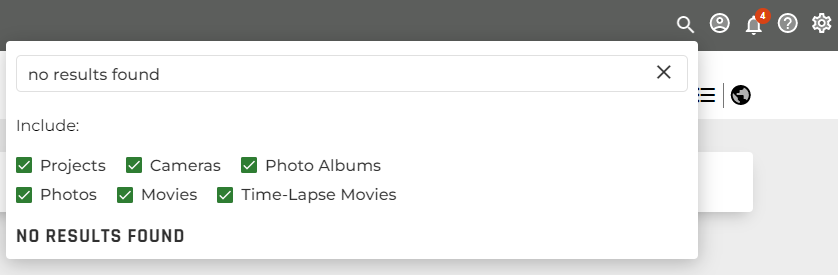
Clearing Search Results
You can click the “x” in the search box to reset/clear your search.
No Search Results
If no search results are available, you will receive a message that reads “NO RESULTS FOUND”.
Navigation
A breadcrumb menu appears after you navigate away from the dashboard.

From the breadcrumb menu, you can navigate to other projects and cameras or view various media files for the camera you’ve currently selected.
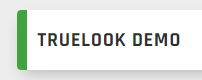
Switching Between Projects
Click the project name in the breadcrumb menu to see a list of your projects. Select the project you want to switch to and the new project will be opened on its live view page.
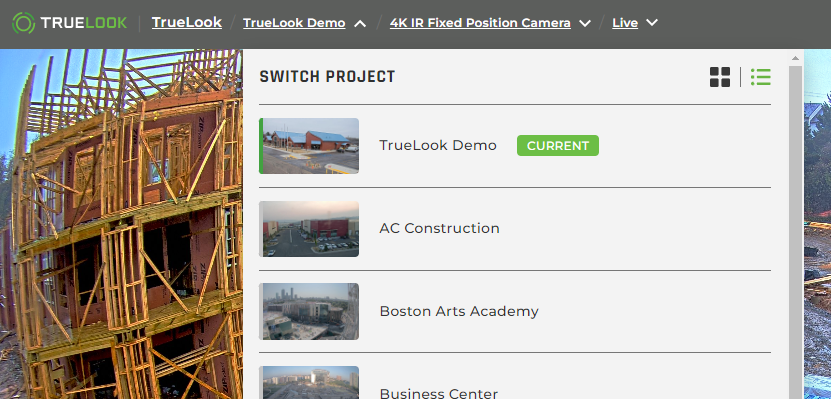
Note: You can switch between Project View and Camera View in the camera breadcrumb menu by clicking the appropriate icon.

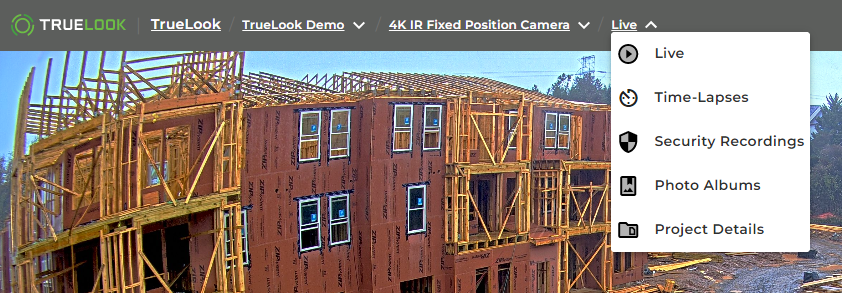
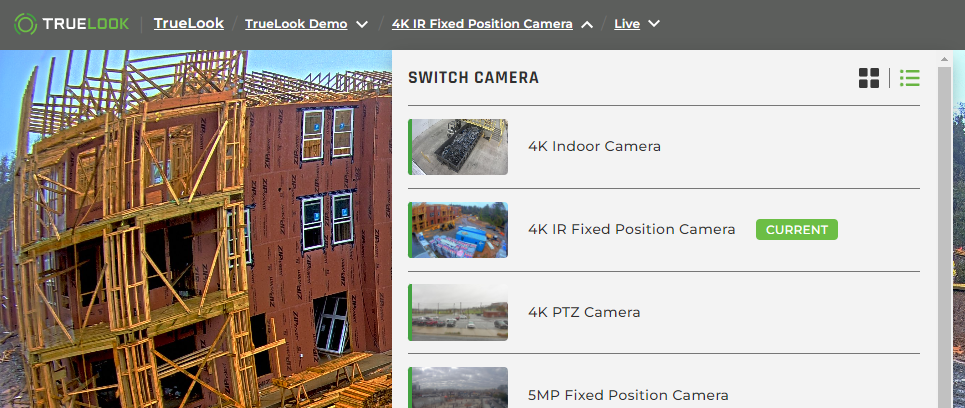
Switching between Cameras
Click the camera name in the breadcrumb menu to see a list of your cameras. Select the camera you want to switch to and the new camera’s live view page will open.
Viewing Project Data and Files
Click the media file breadcrumb (on the live viewing page, it reads “Live”). A list of your options will display so you can select the data type you’d like to view.